Midterm Worksheet
EIGHT STEPS
Step 1: Develop Your Idea
I am currently still in my second year in Design and Technology– meaning that I am still heavily inexperienced in the tech field. Currently, I don’t have projects regarding technology that are worthy of being in a proper portfolio for applications. With this in mind, I want to make my final portfolio for this class to merely include projects I’ve created over the years. It will focus more on how my identity as an artist expanded as I grew up. Projects shown in this portfolio will include some projects I’ve done in high school, first year in Parsons, and some small projects I’ve made so far in second year.
Step 2: Discovery & Research
Since I don’t have a final identity as an artist working in technology, I researched a variety of portfolios and websites of creative technologists/ museums that combine art and technology.
My biggest inspiration for going into Design and Technology is a museum in Tokyo, Japan called Team Labs Borderless. Just like the work they do, their website reflects the immersion and colorful elements the audiences experience in the museum itself.
Step 3: Target Your Audience
Since this is a portfolio, I assume my audiences will be people interested in my work, or people I would want to work with. With this in mind, I want to keep this website simple and easy to access while still showing good amounts of my work.
I would think of doing this by not making it too crowded and overwhelming, and keeping the layout as simple as possible.
Step 4: Introductory Framing and Concluding Call to Action
Not only do I want audiences to like my works on display, I hope that I can show them that I have an understanding of user experience by making the website simple enough to navigate through, but visually appealing enough through my projects on display.
Step 5: Inspiration & Concepts
.jpg)
My first moodboard uses very light colors and minimal elements. I wanted this idea to feel lighter, less overwhelming, and easy to look at. With my target audience in mind, I think this website would be easy to navigate as there are not too many elements and the colors are soft, giving an easy going feel in the website. To showcase my work, the minimal elements allow the art works to be the center of attention.
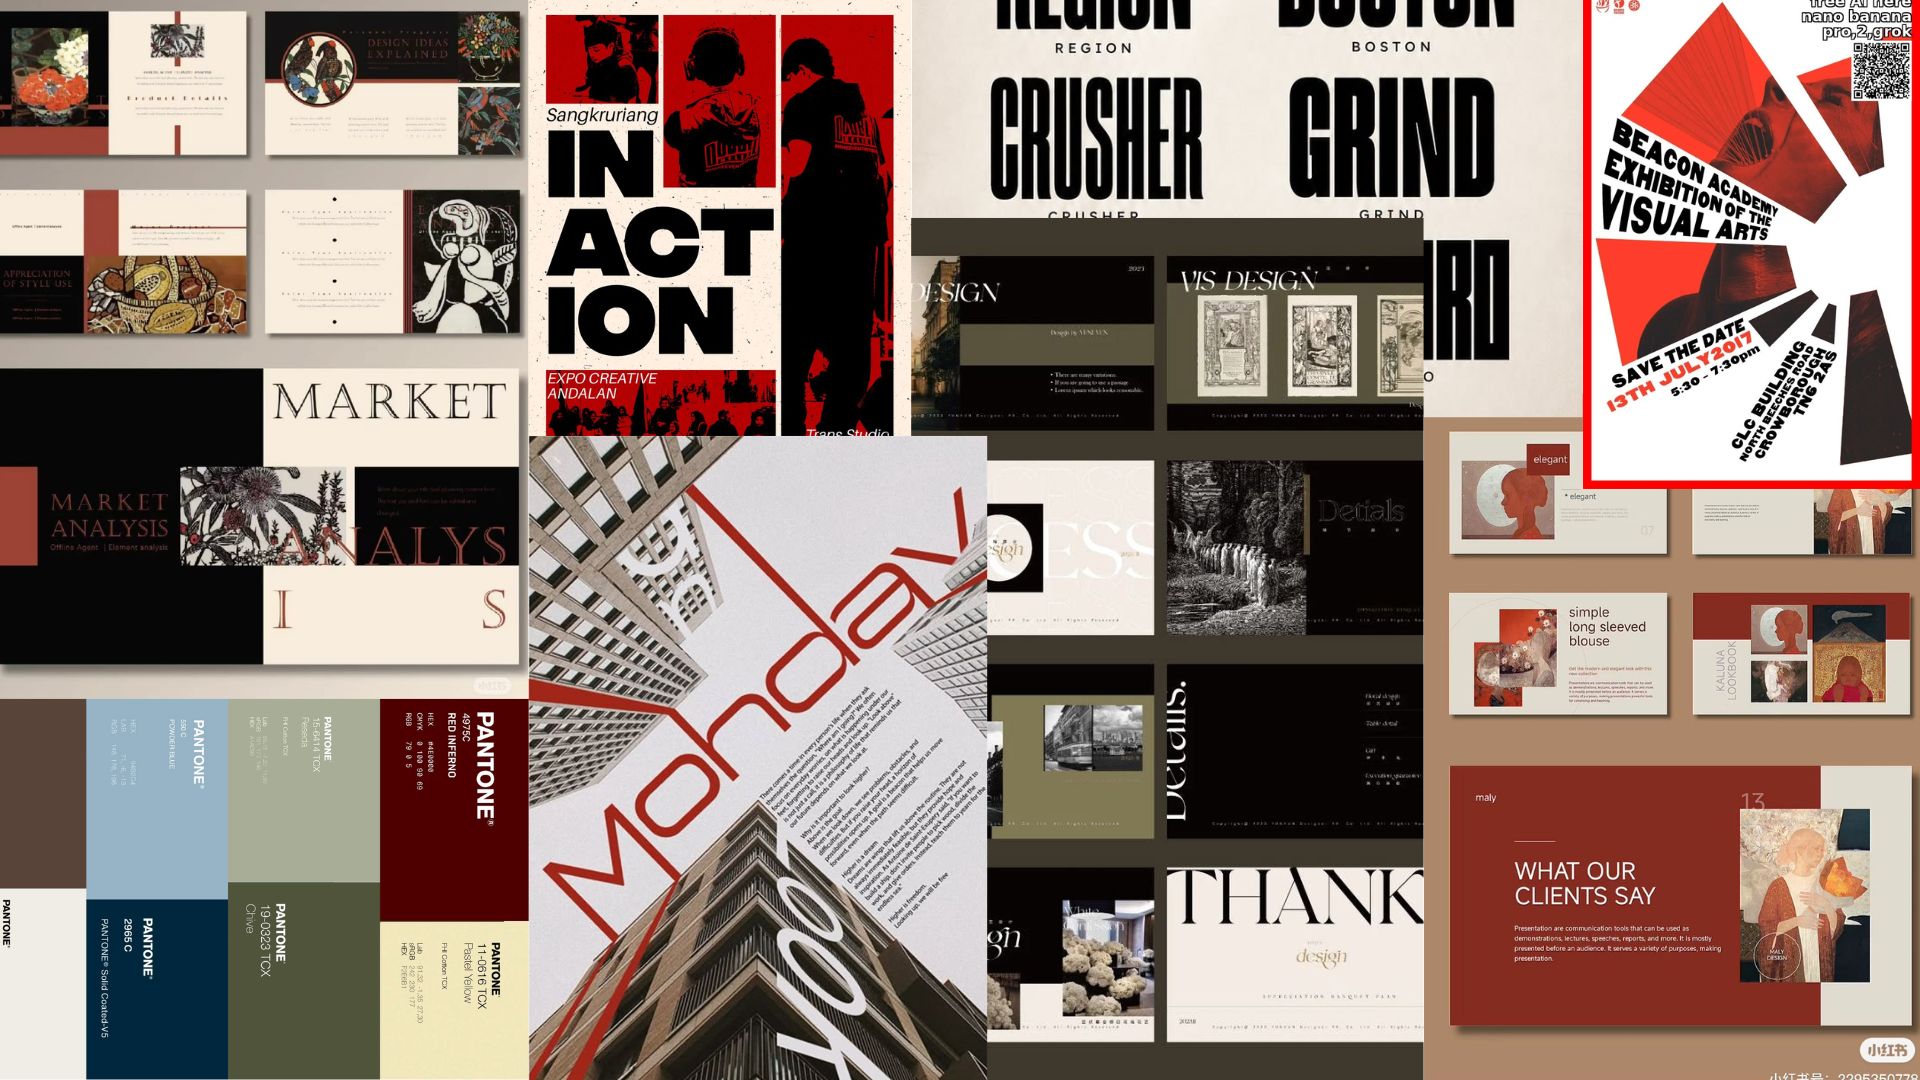
My second moodboard is heavy, but not too loud. I wanted to go into an intense mood wherein it really captures whoever looks at it. With my target audience in mind, I think a website like this would be able to hook an audience right away with elements. Working with my showcased projects, I think the projects would play the role of the decorative elements, creating an immersive experience for the audiences.
Step 6: Thumbnails & Sketches
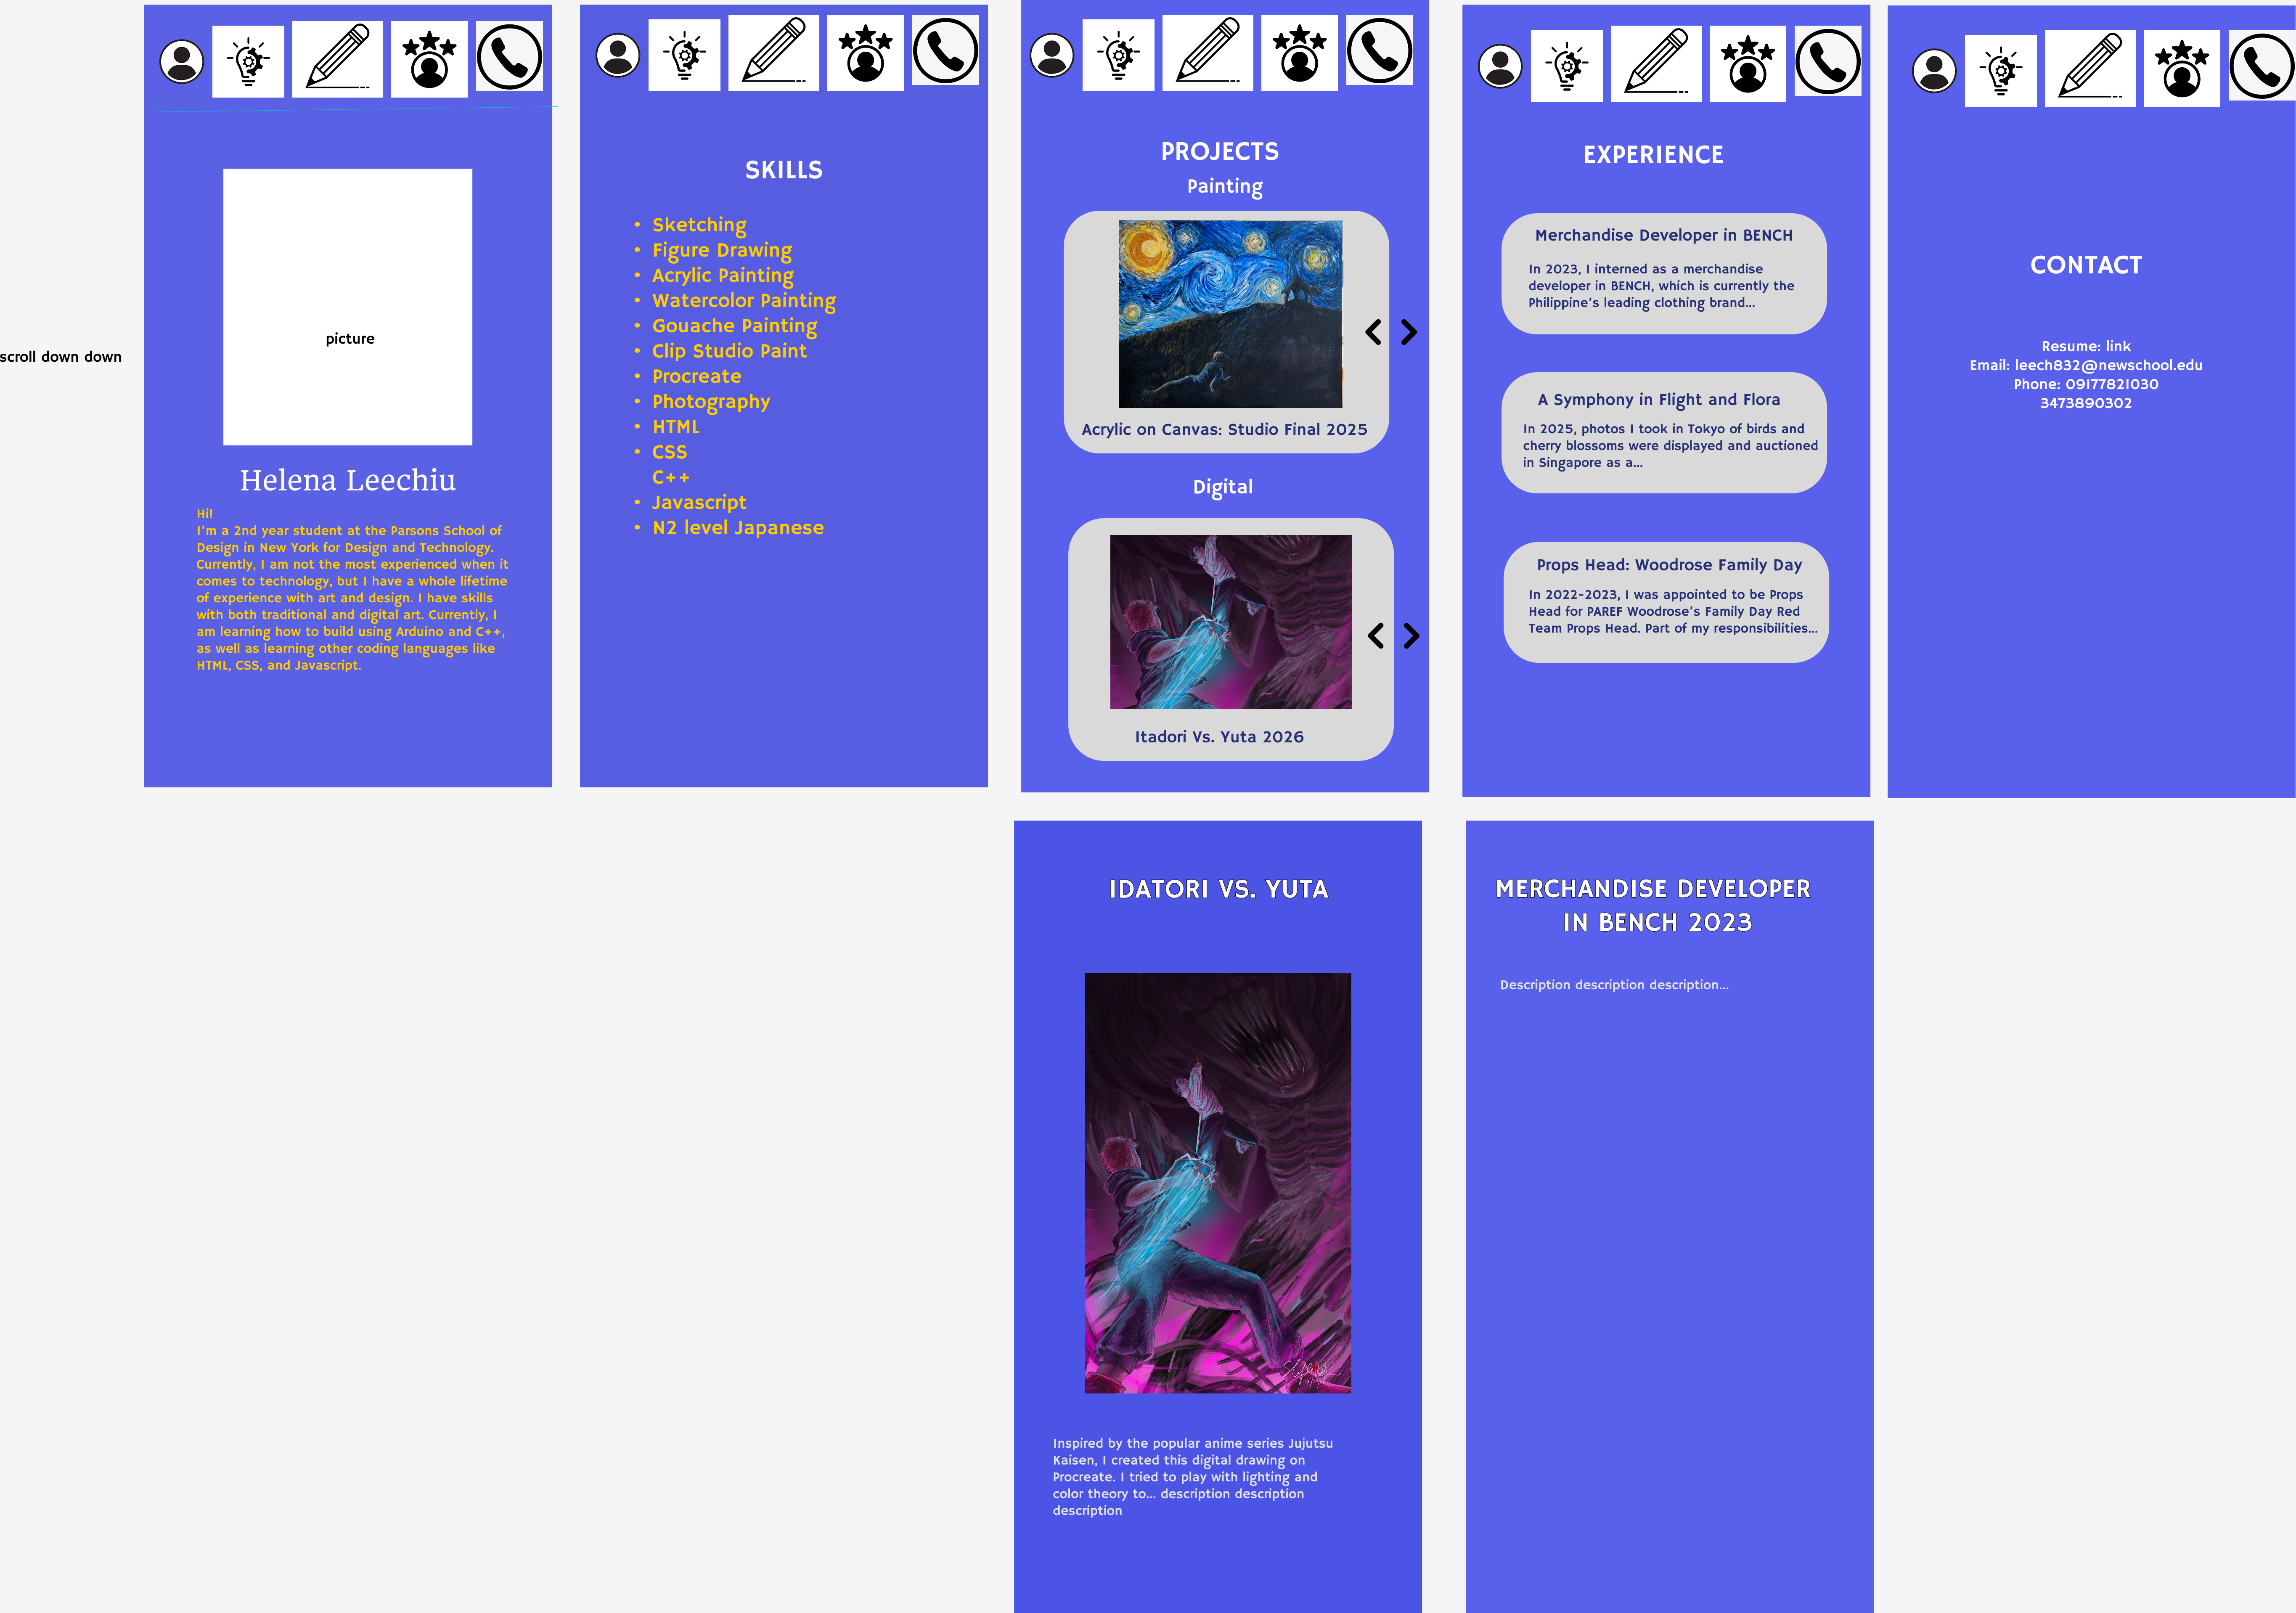
For the phone layout, I was conflicted as to where to put the menu. Unlike laptops, phones are narrow which make it difficult to see things like landscape paintings in detail. To allow more space for the other elements of the website– which should be the main focus– to be seen clearly, I opted for a horizontal menu bar on top. So that the menu doesn't look too cramped, I plan to make icons to represent the words “about”, “skills”, “projects”, “experience” and “contact”. This way, it is still easy to understand and click while not taking up too much space.
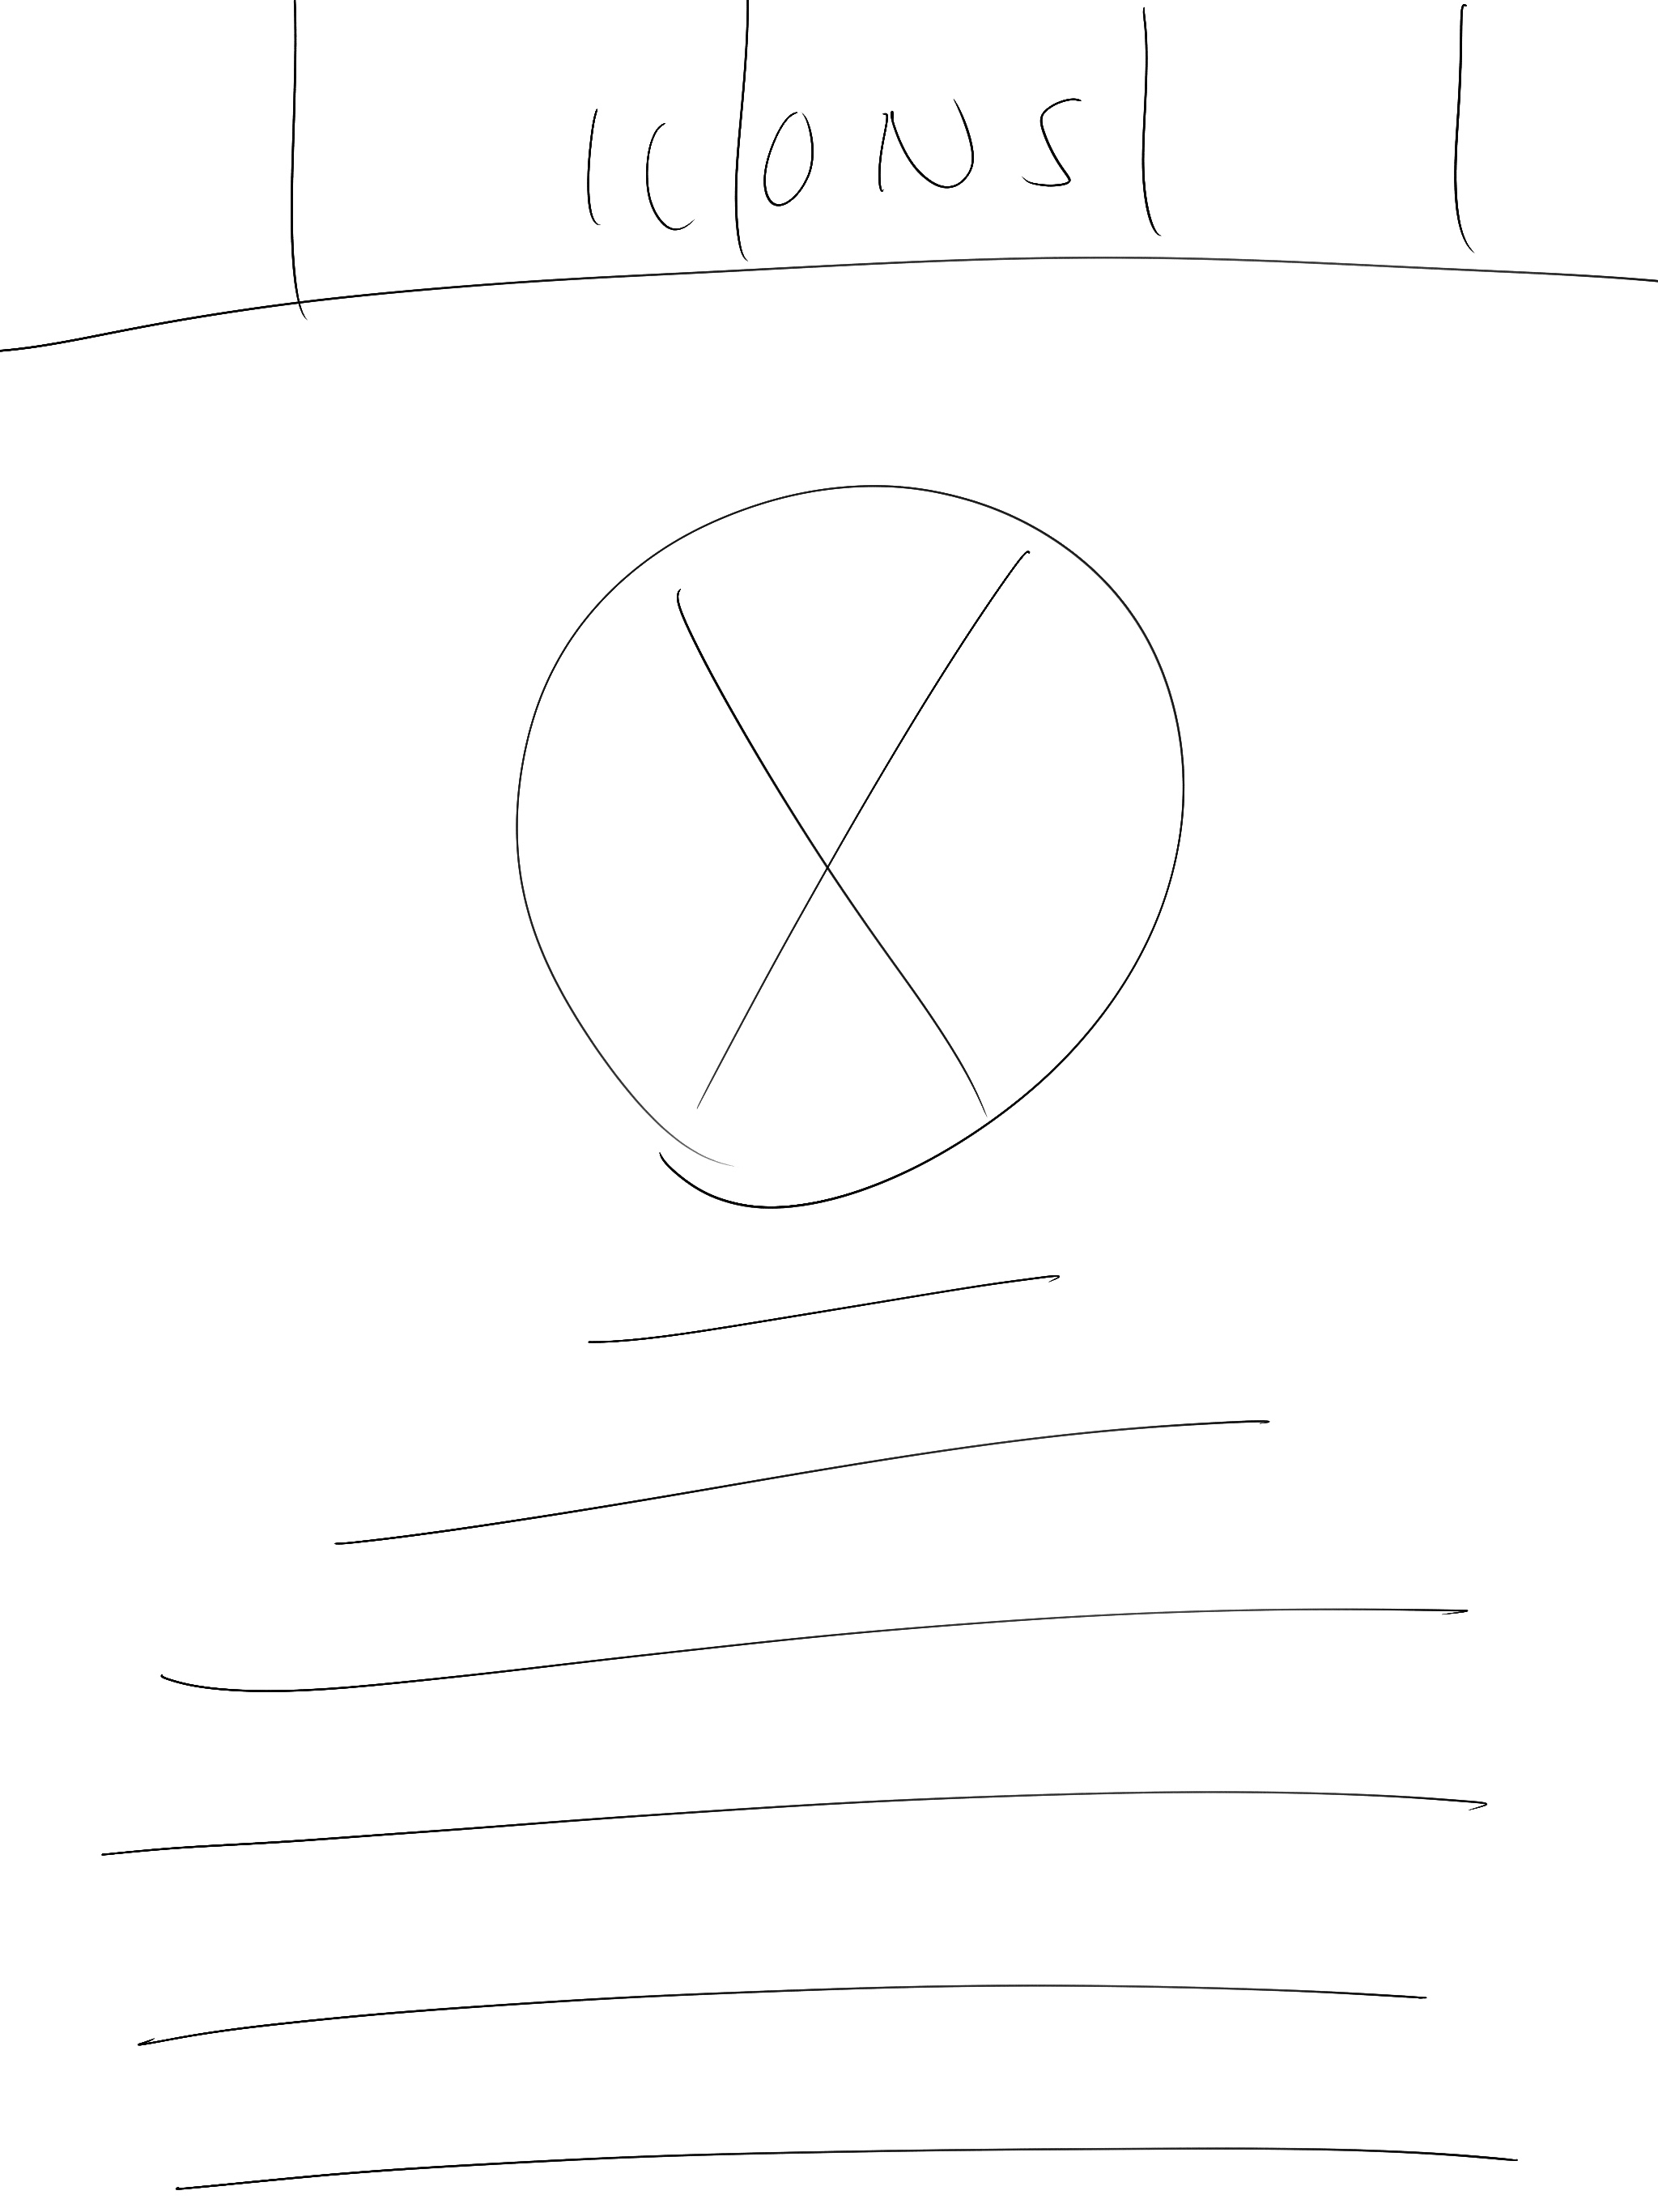
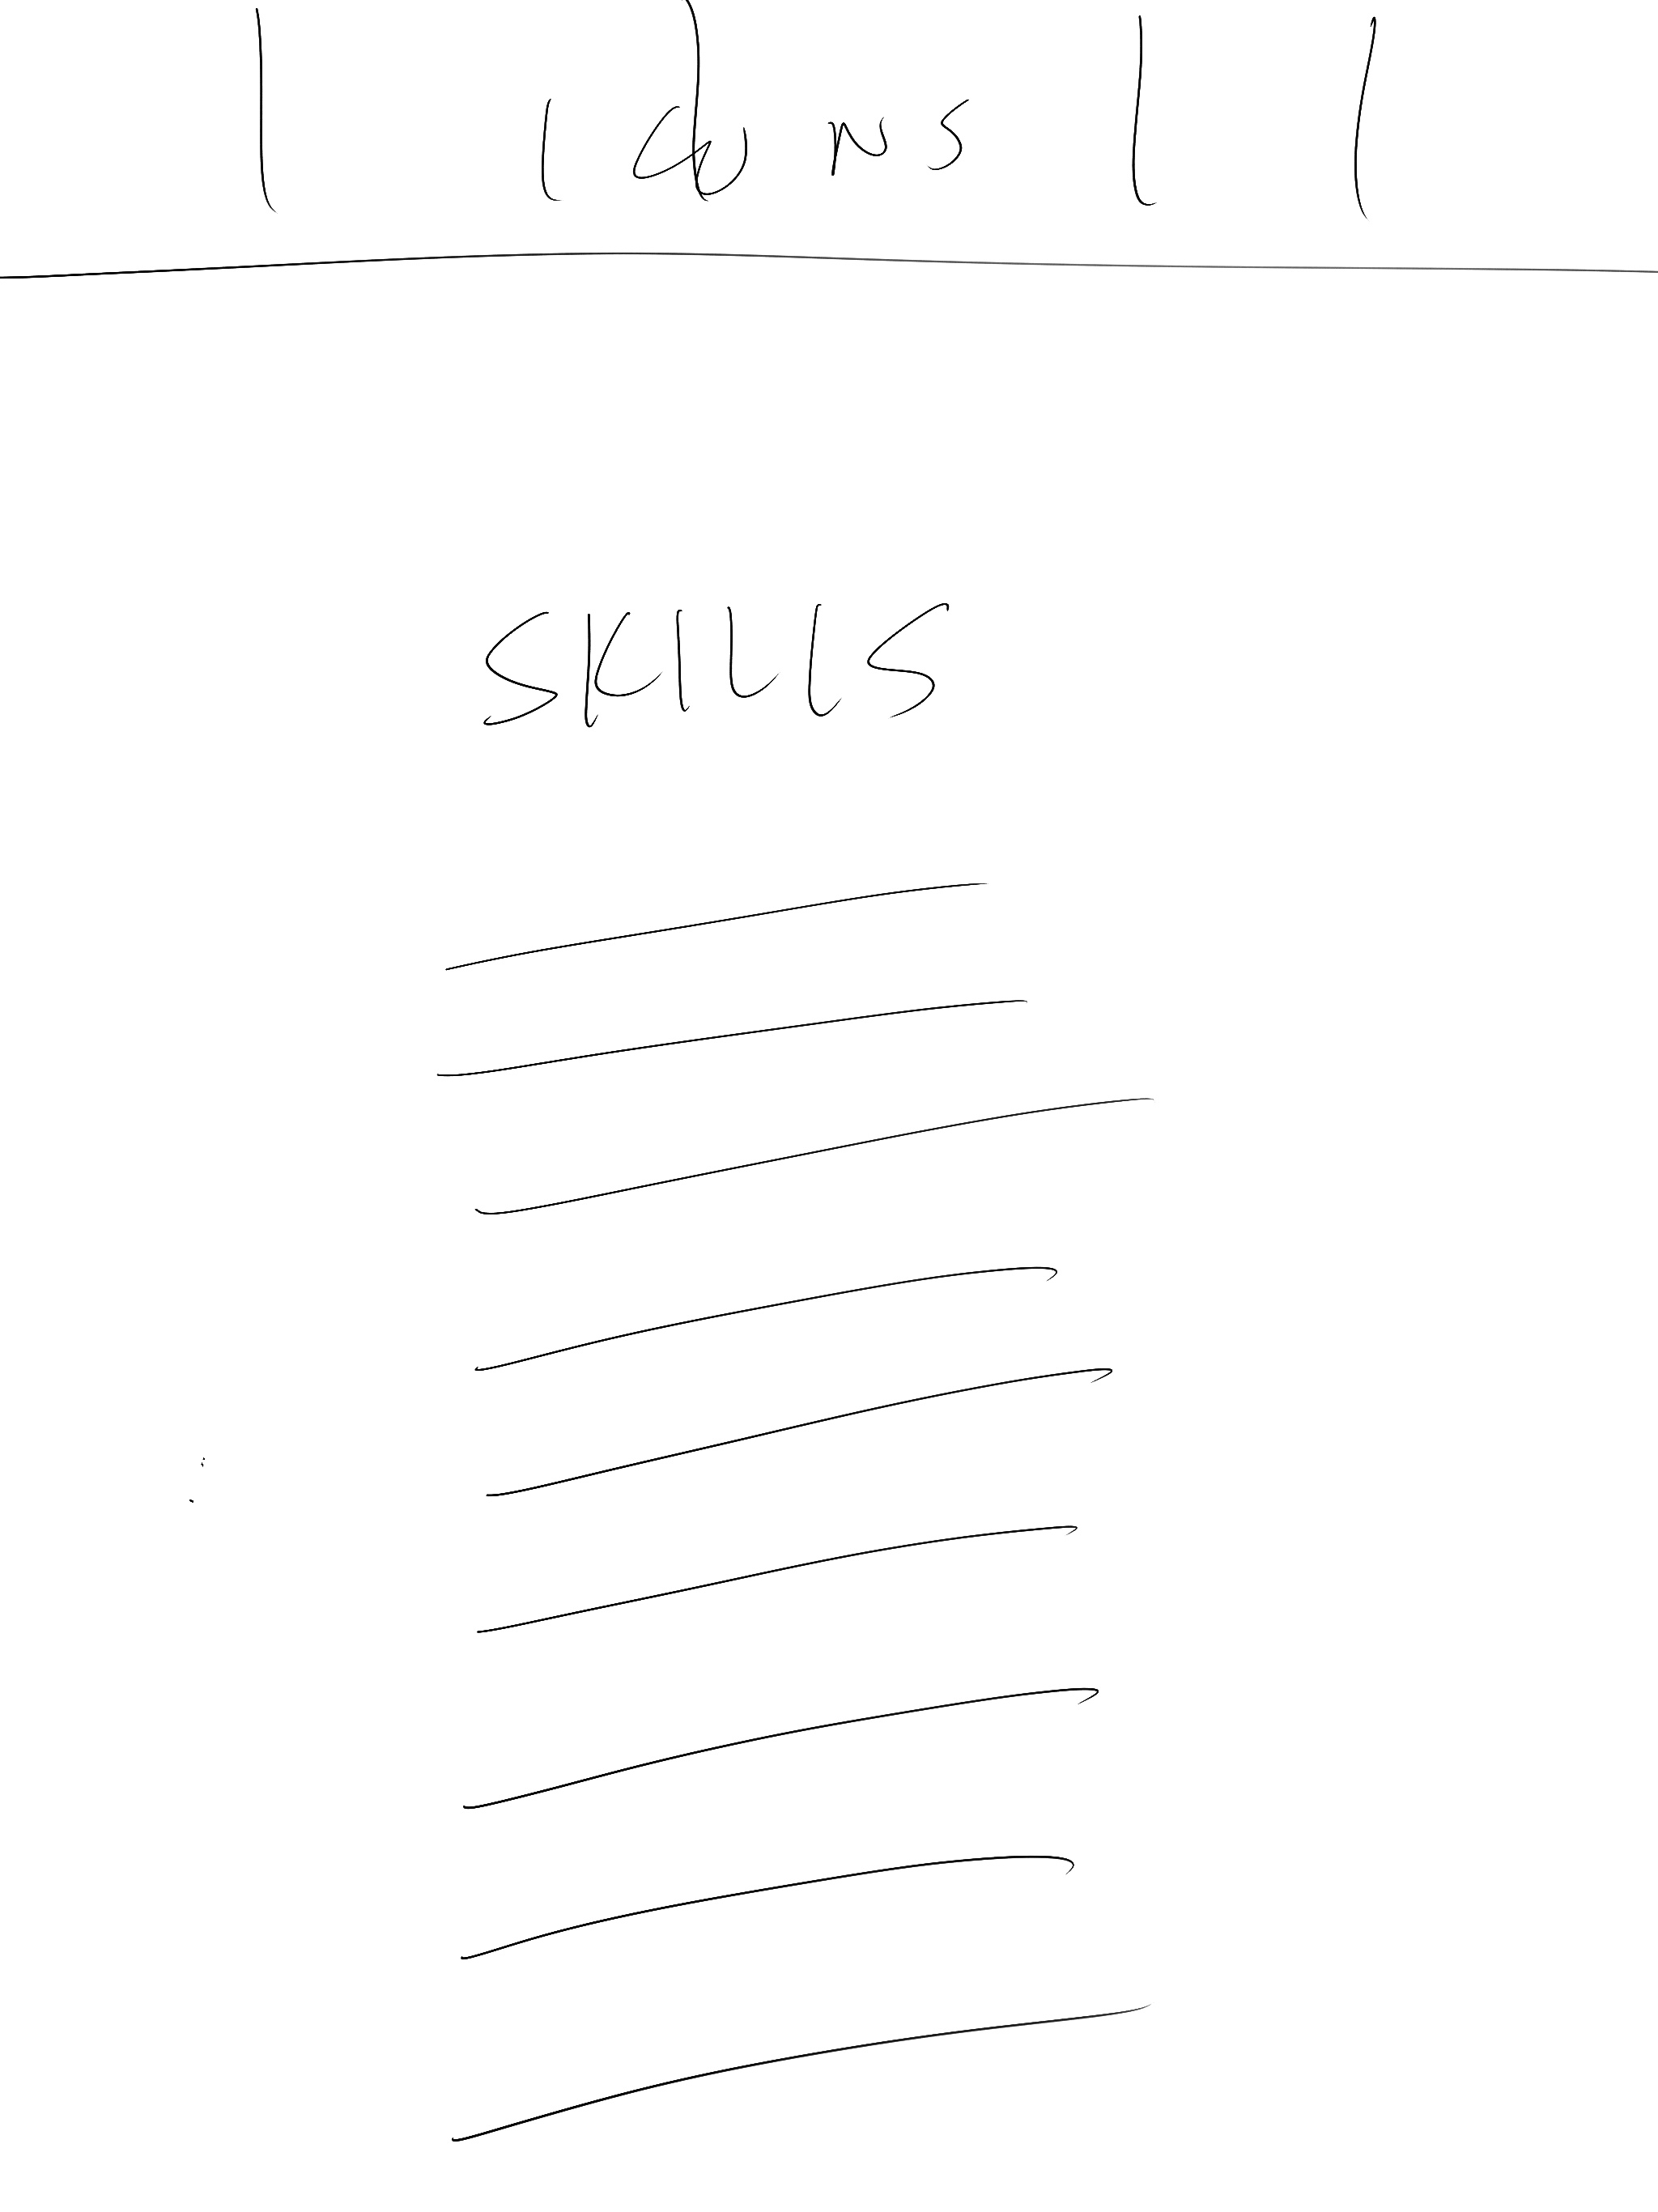
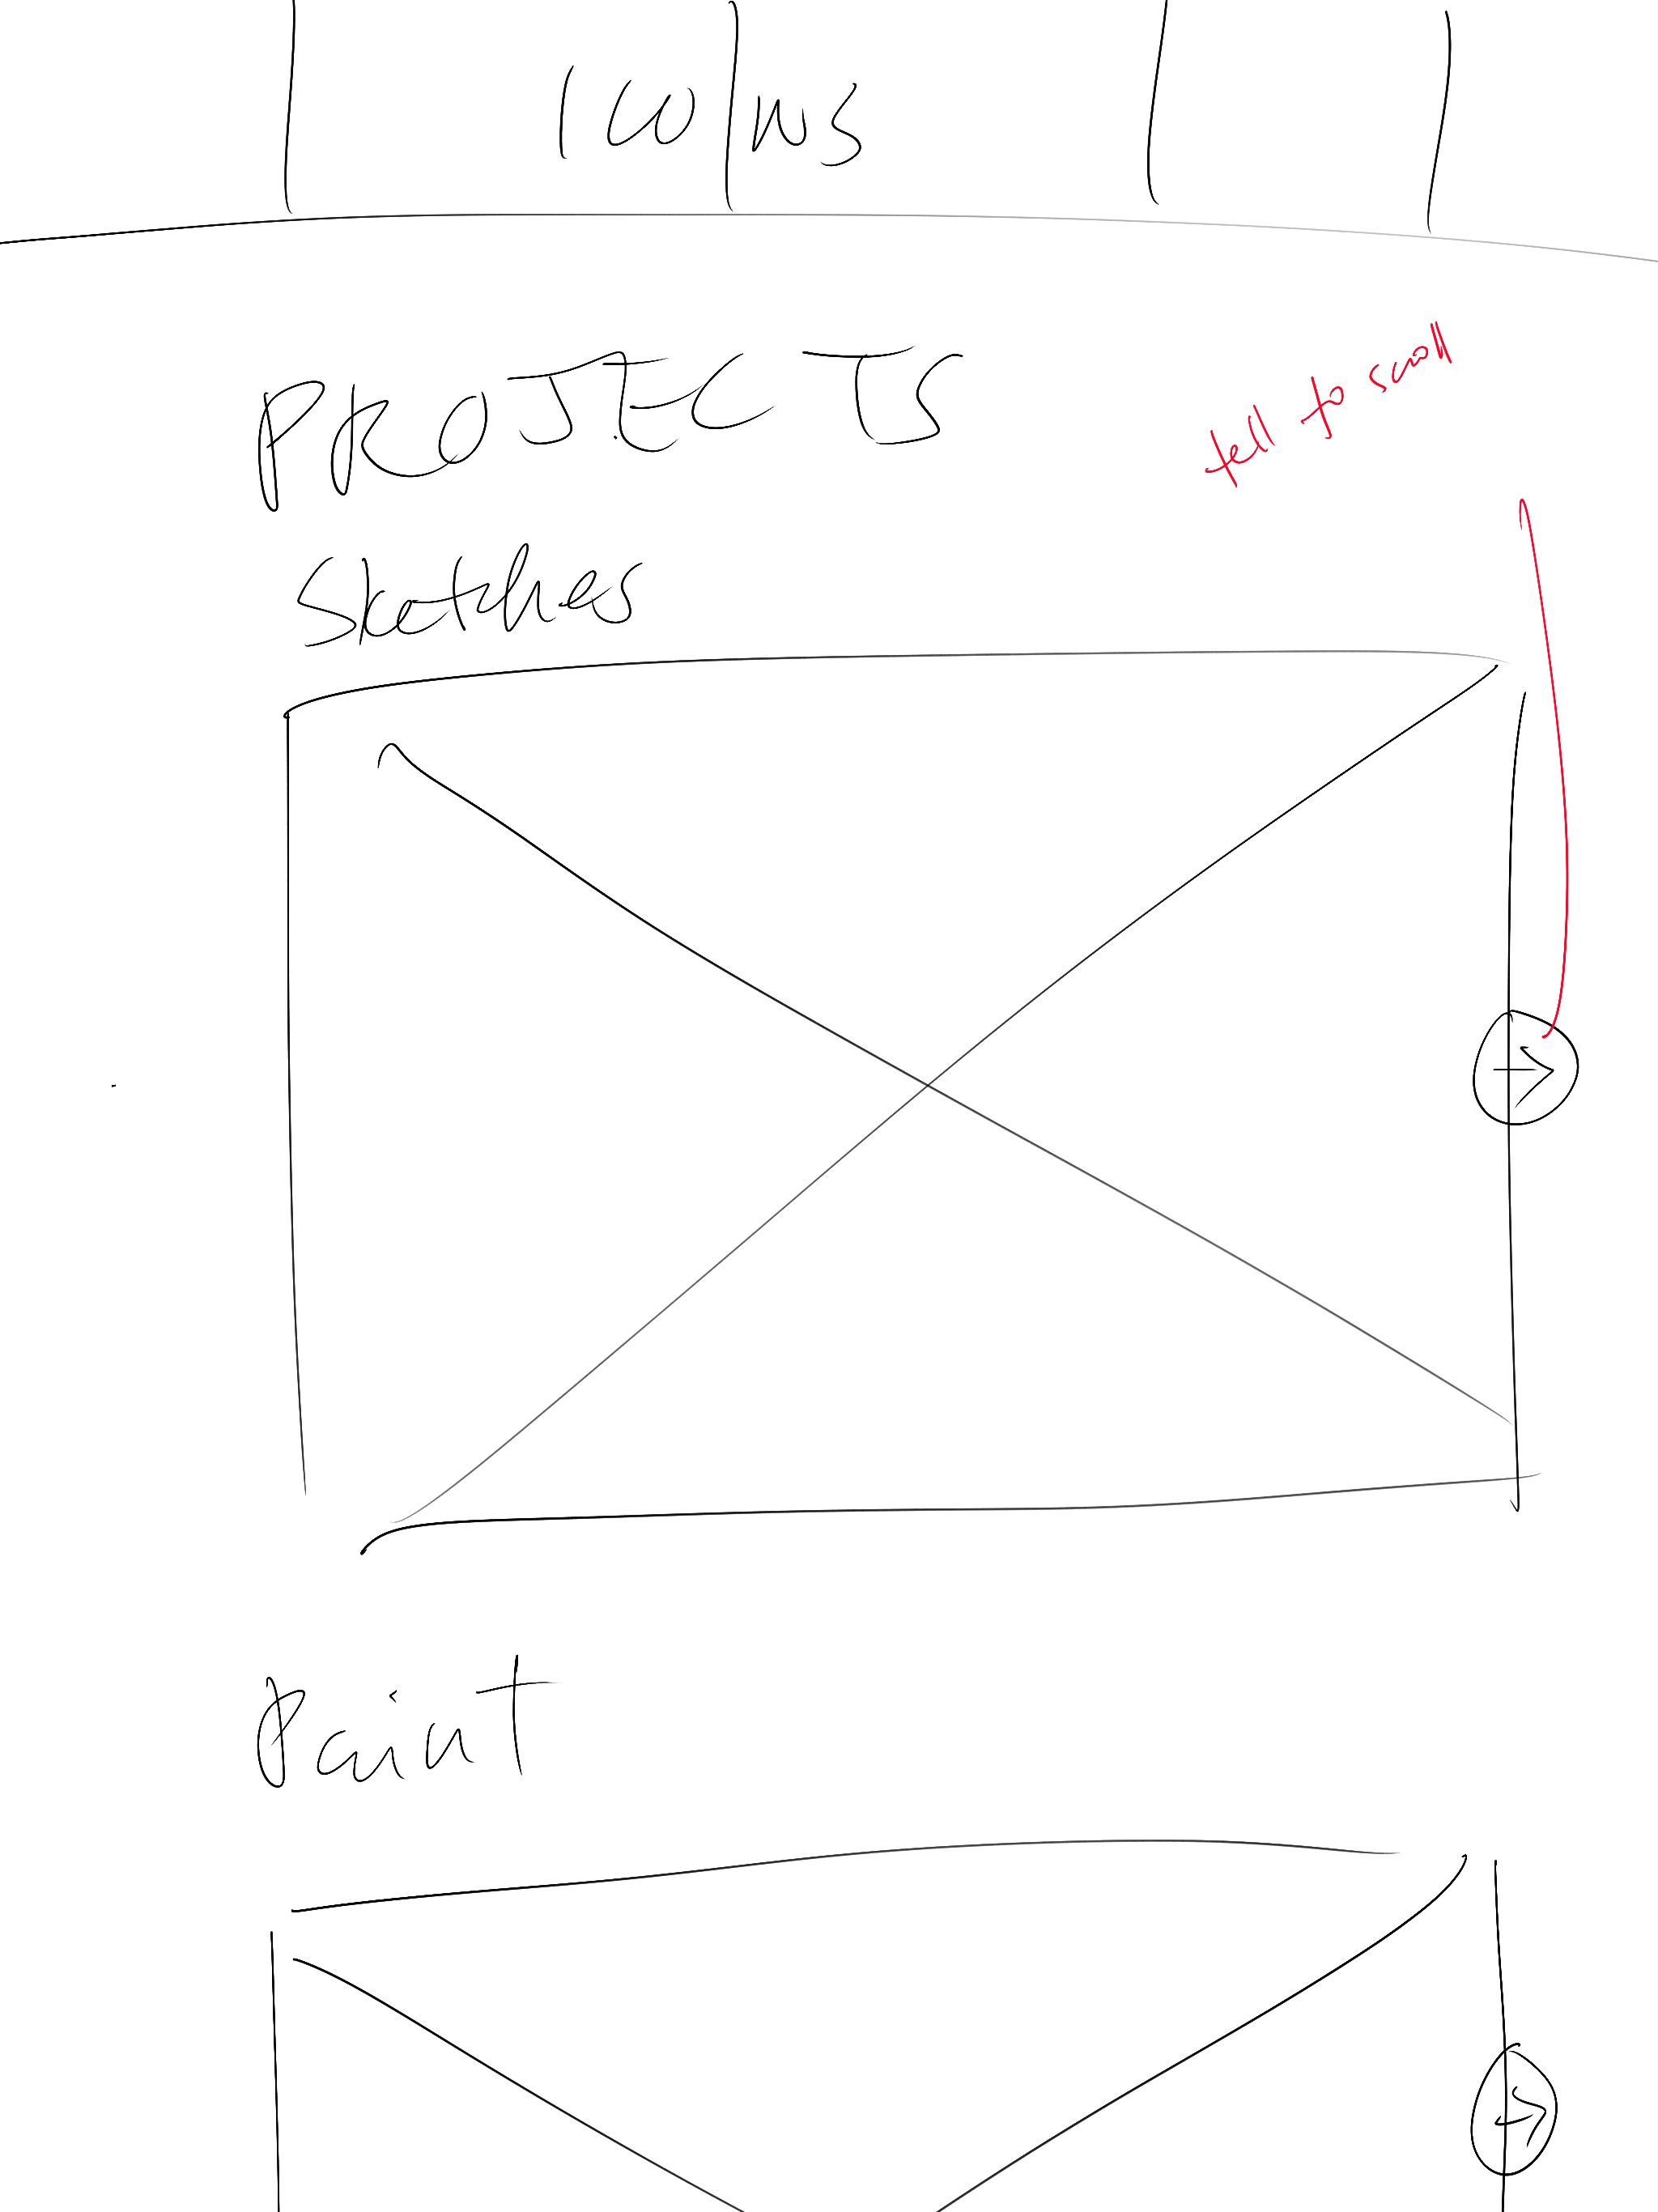
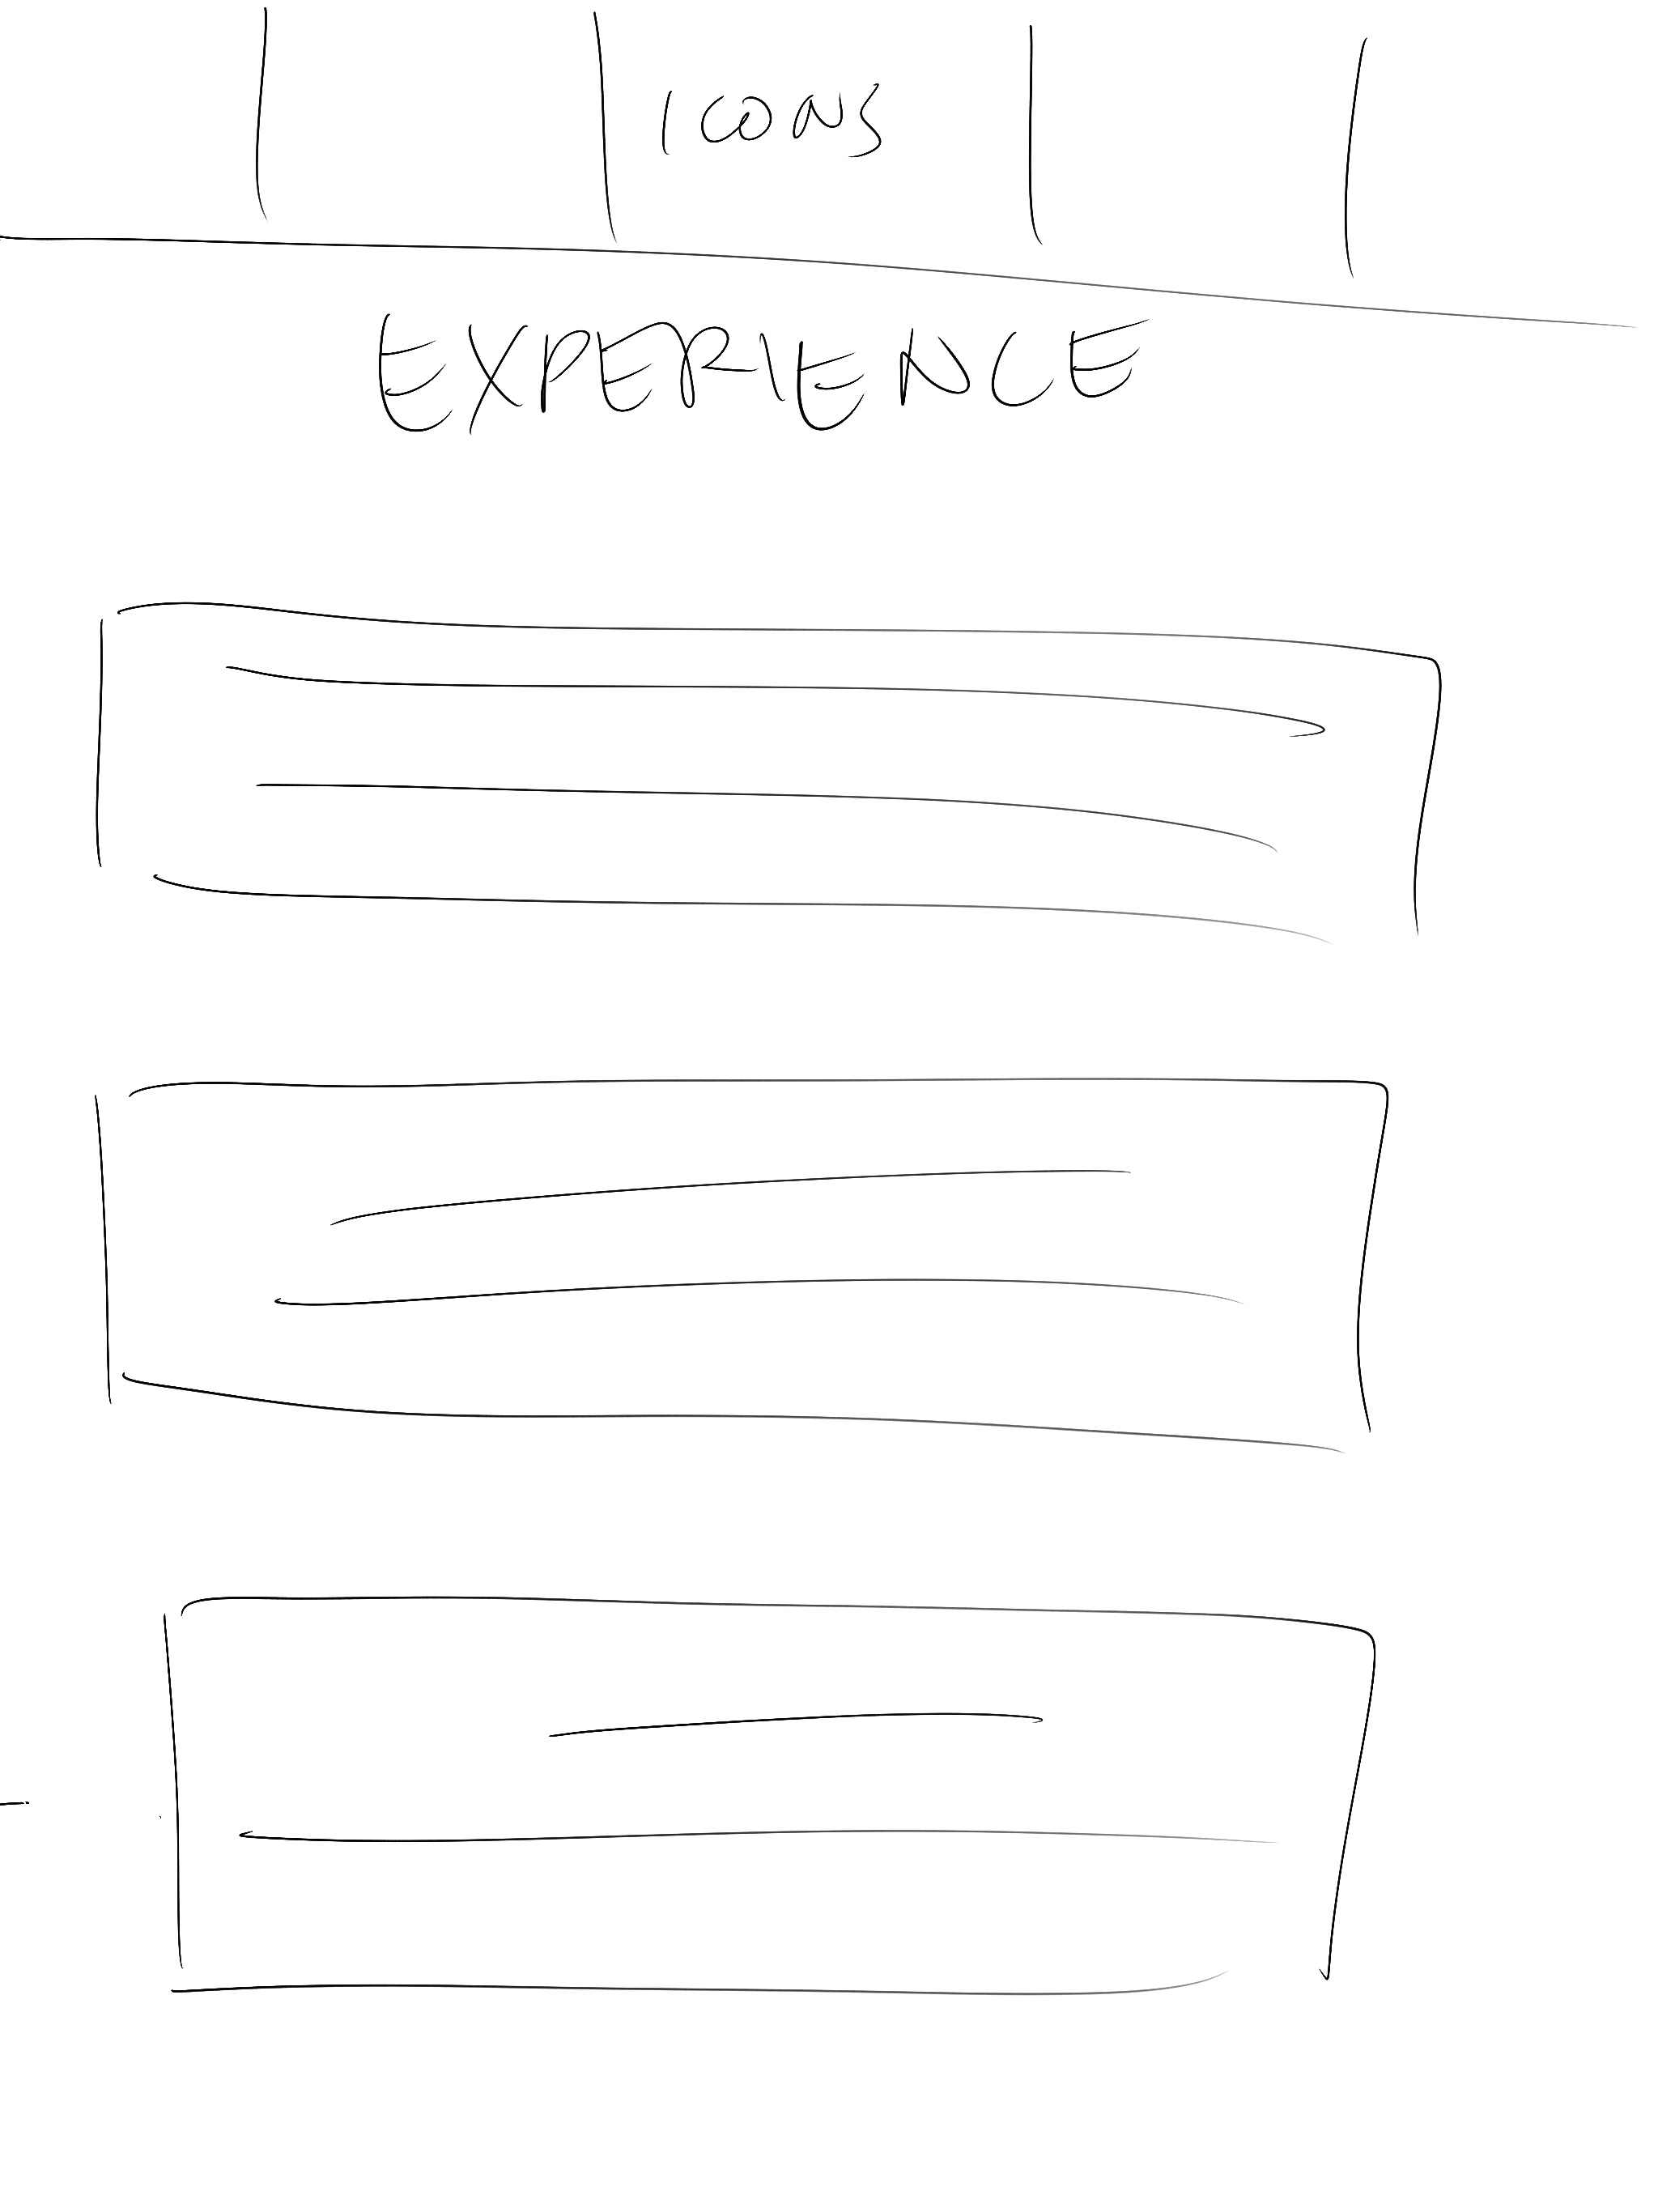
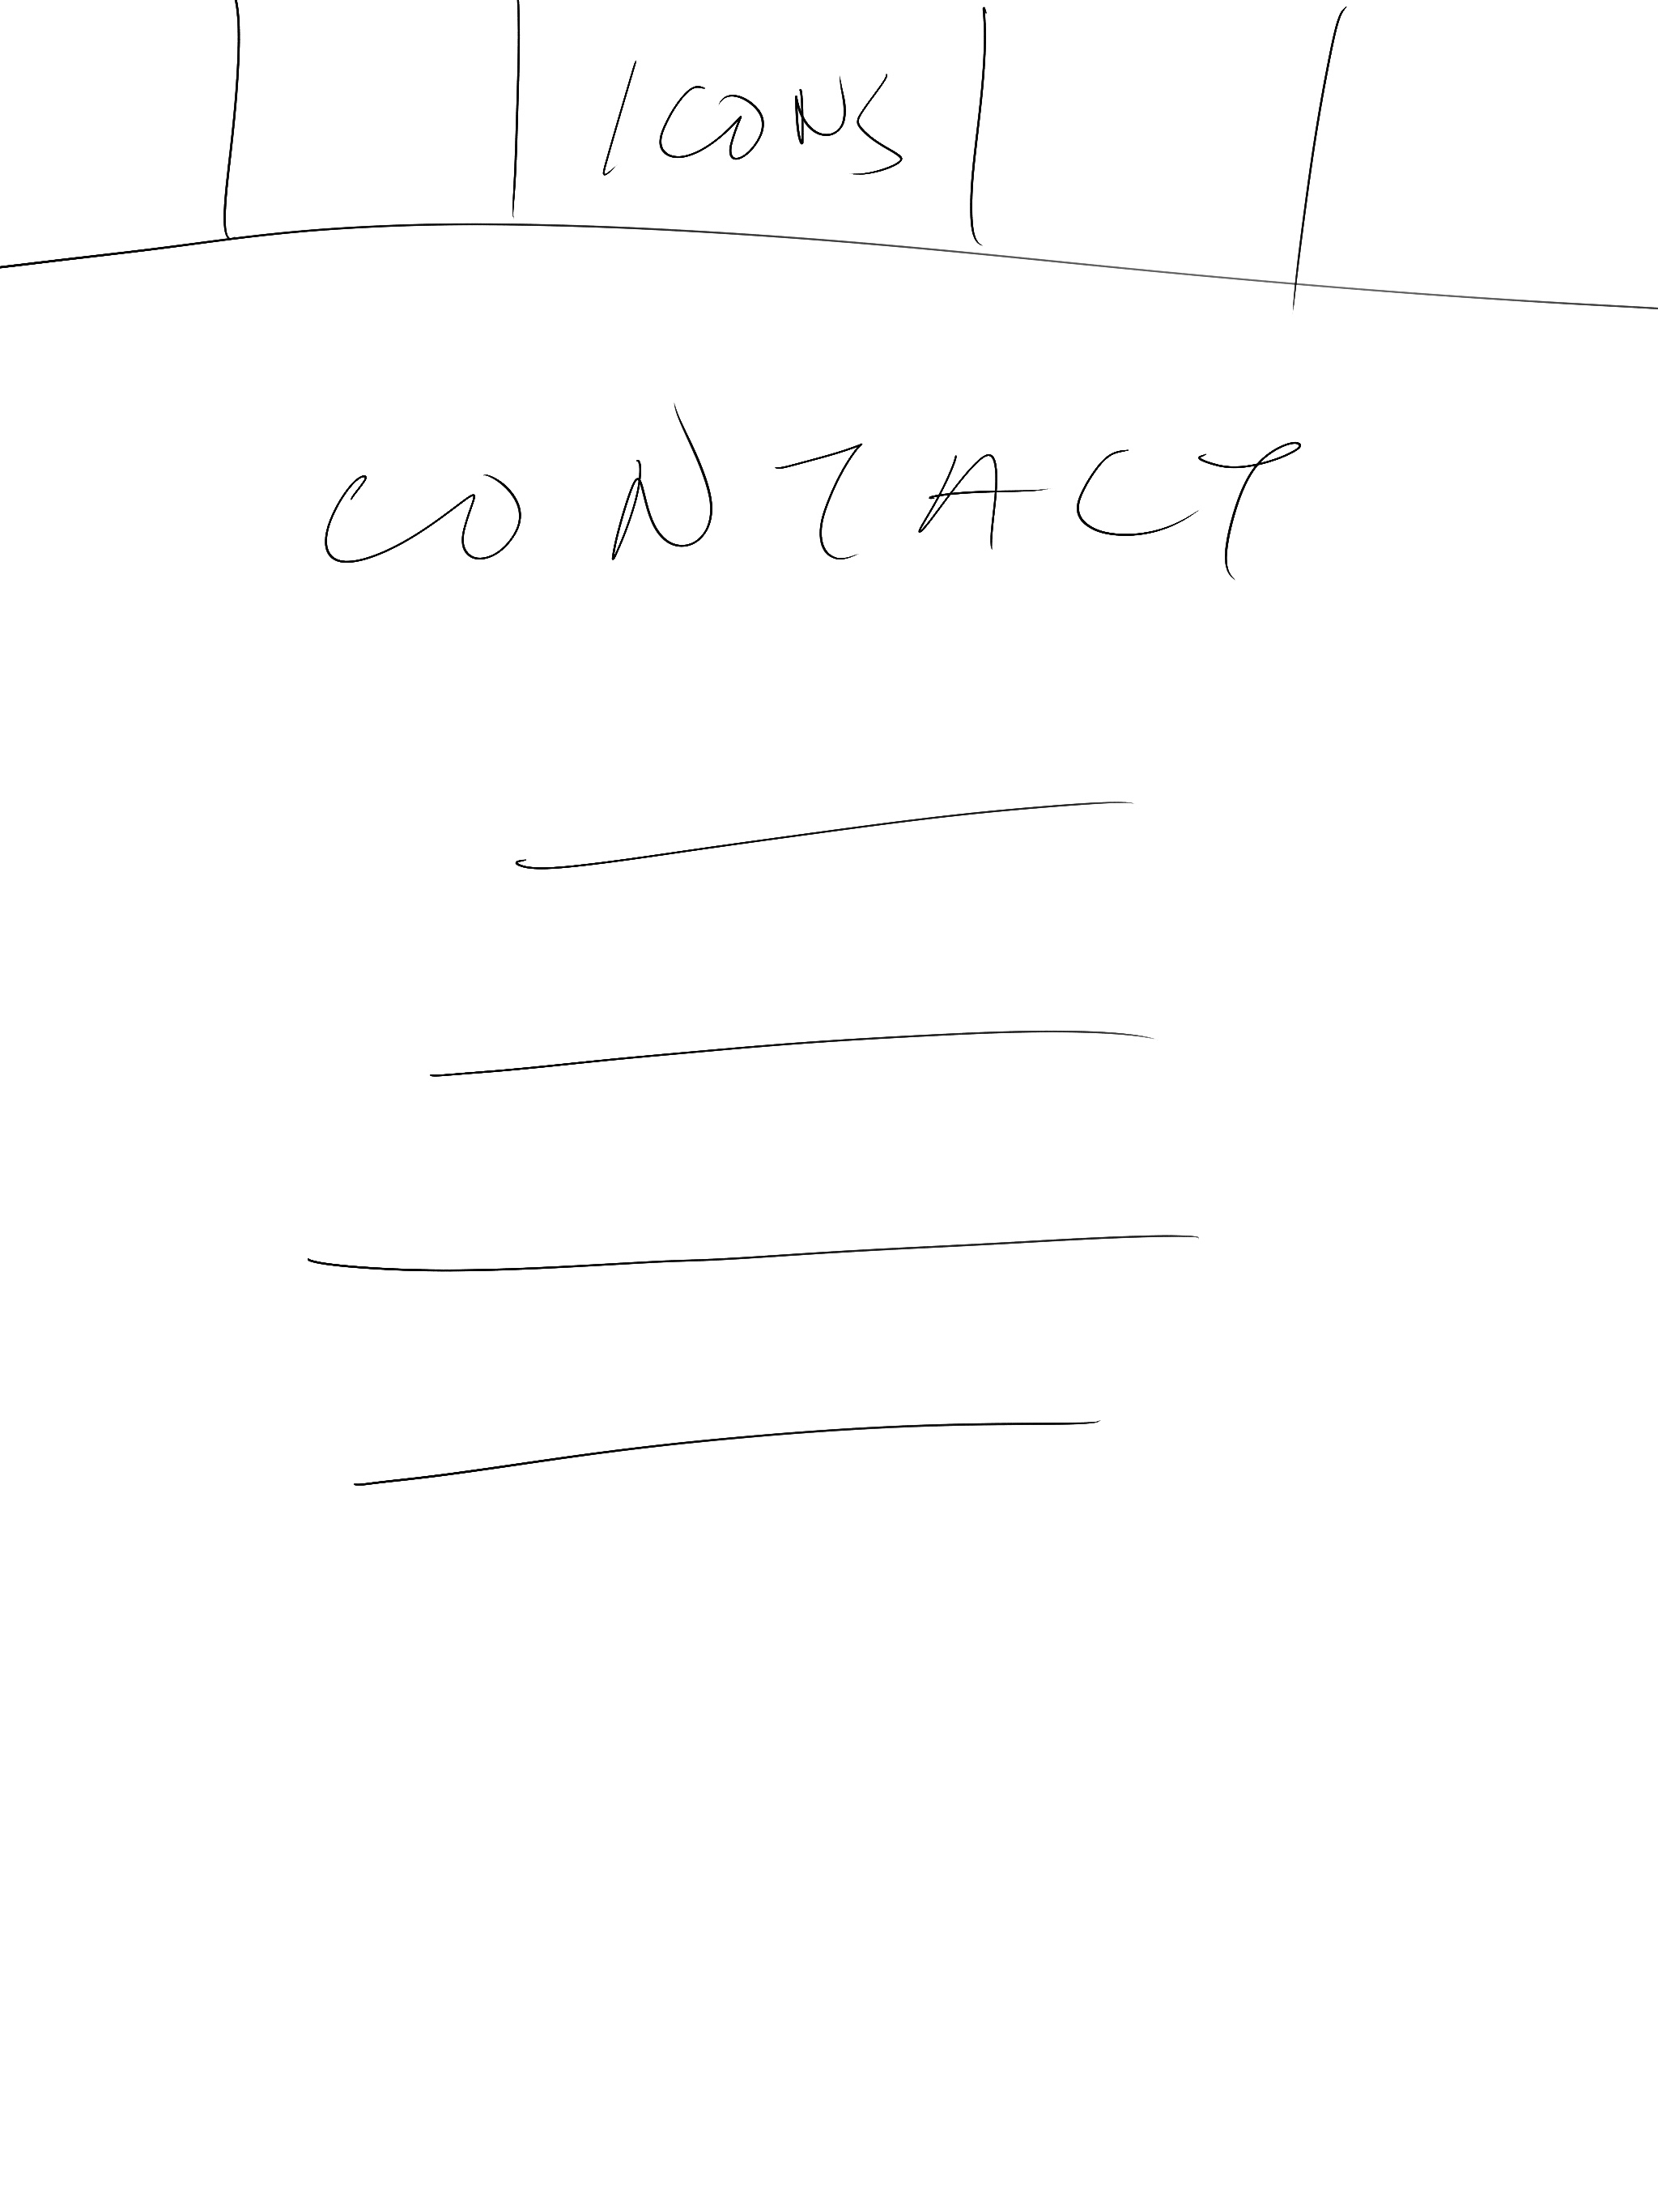
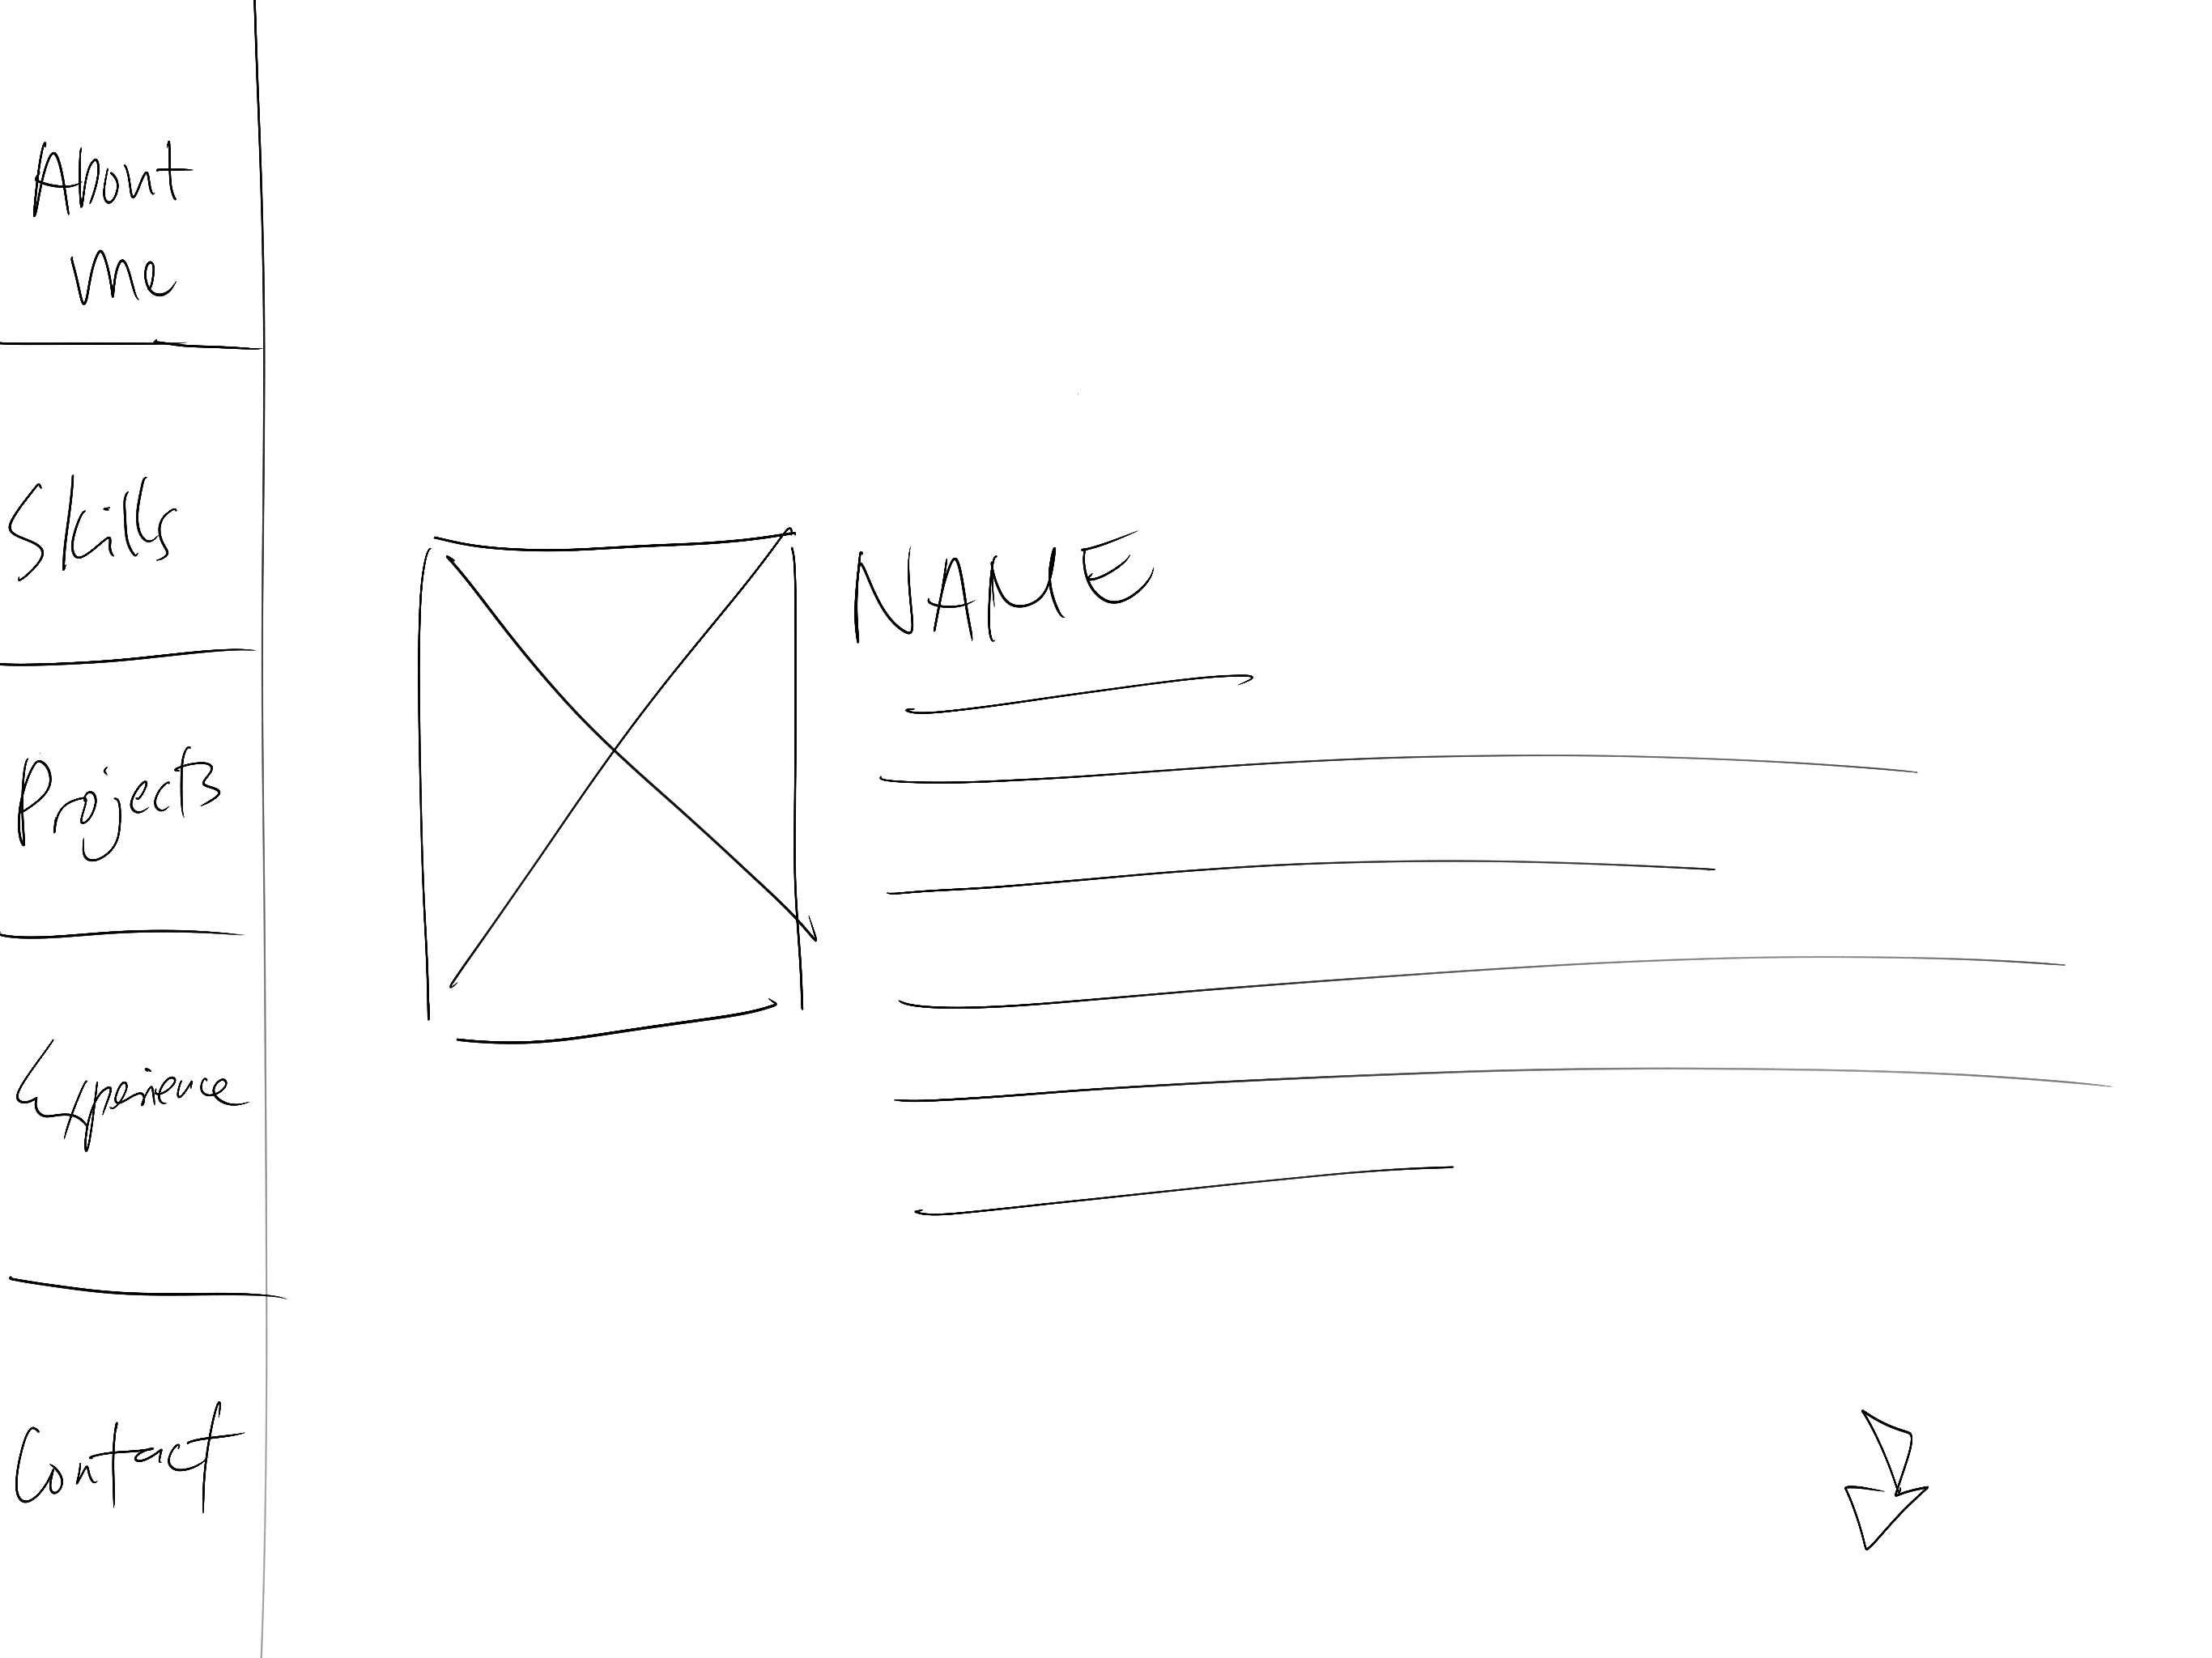
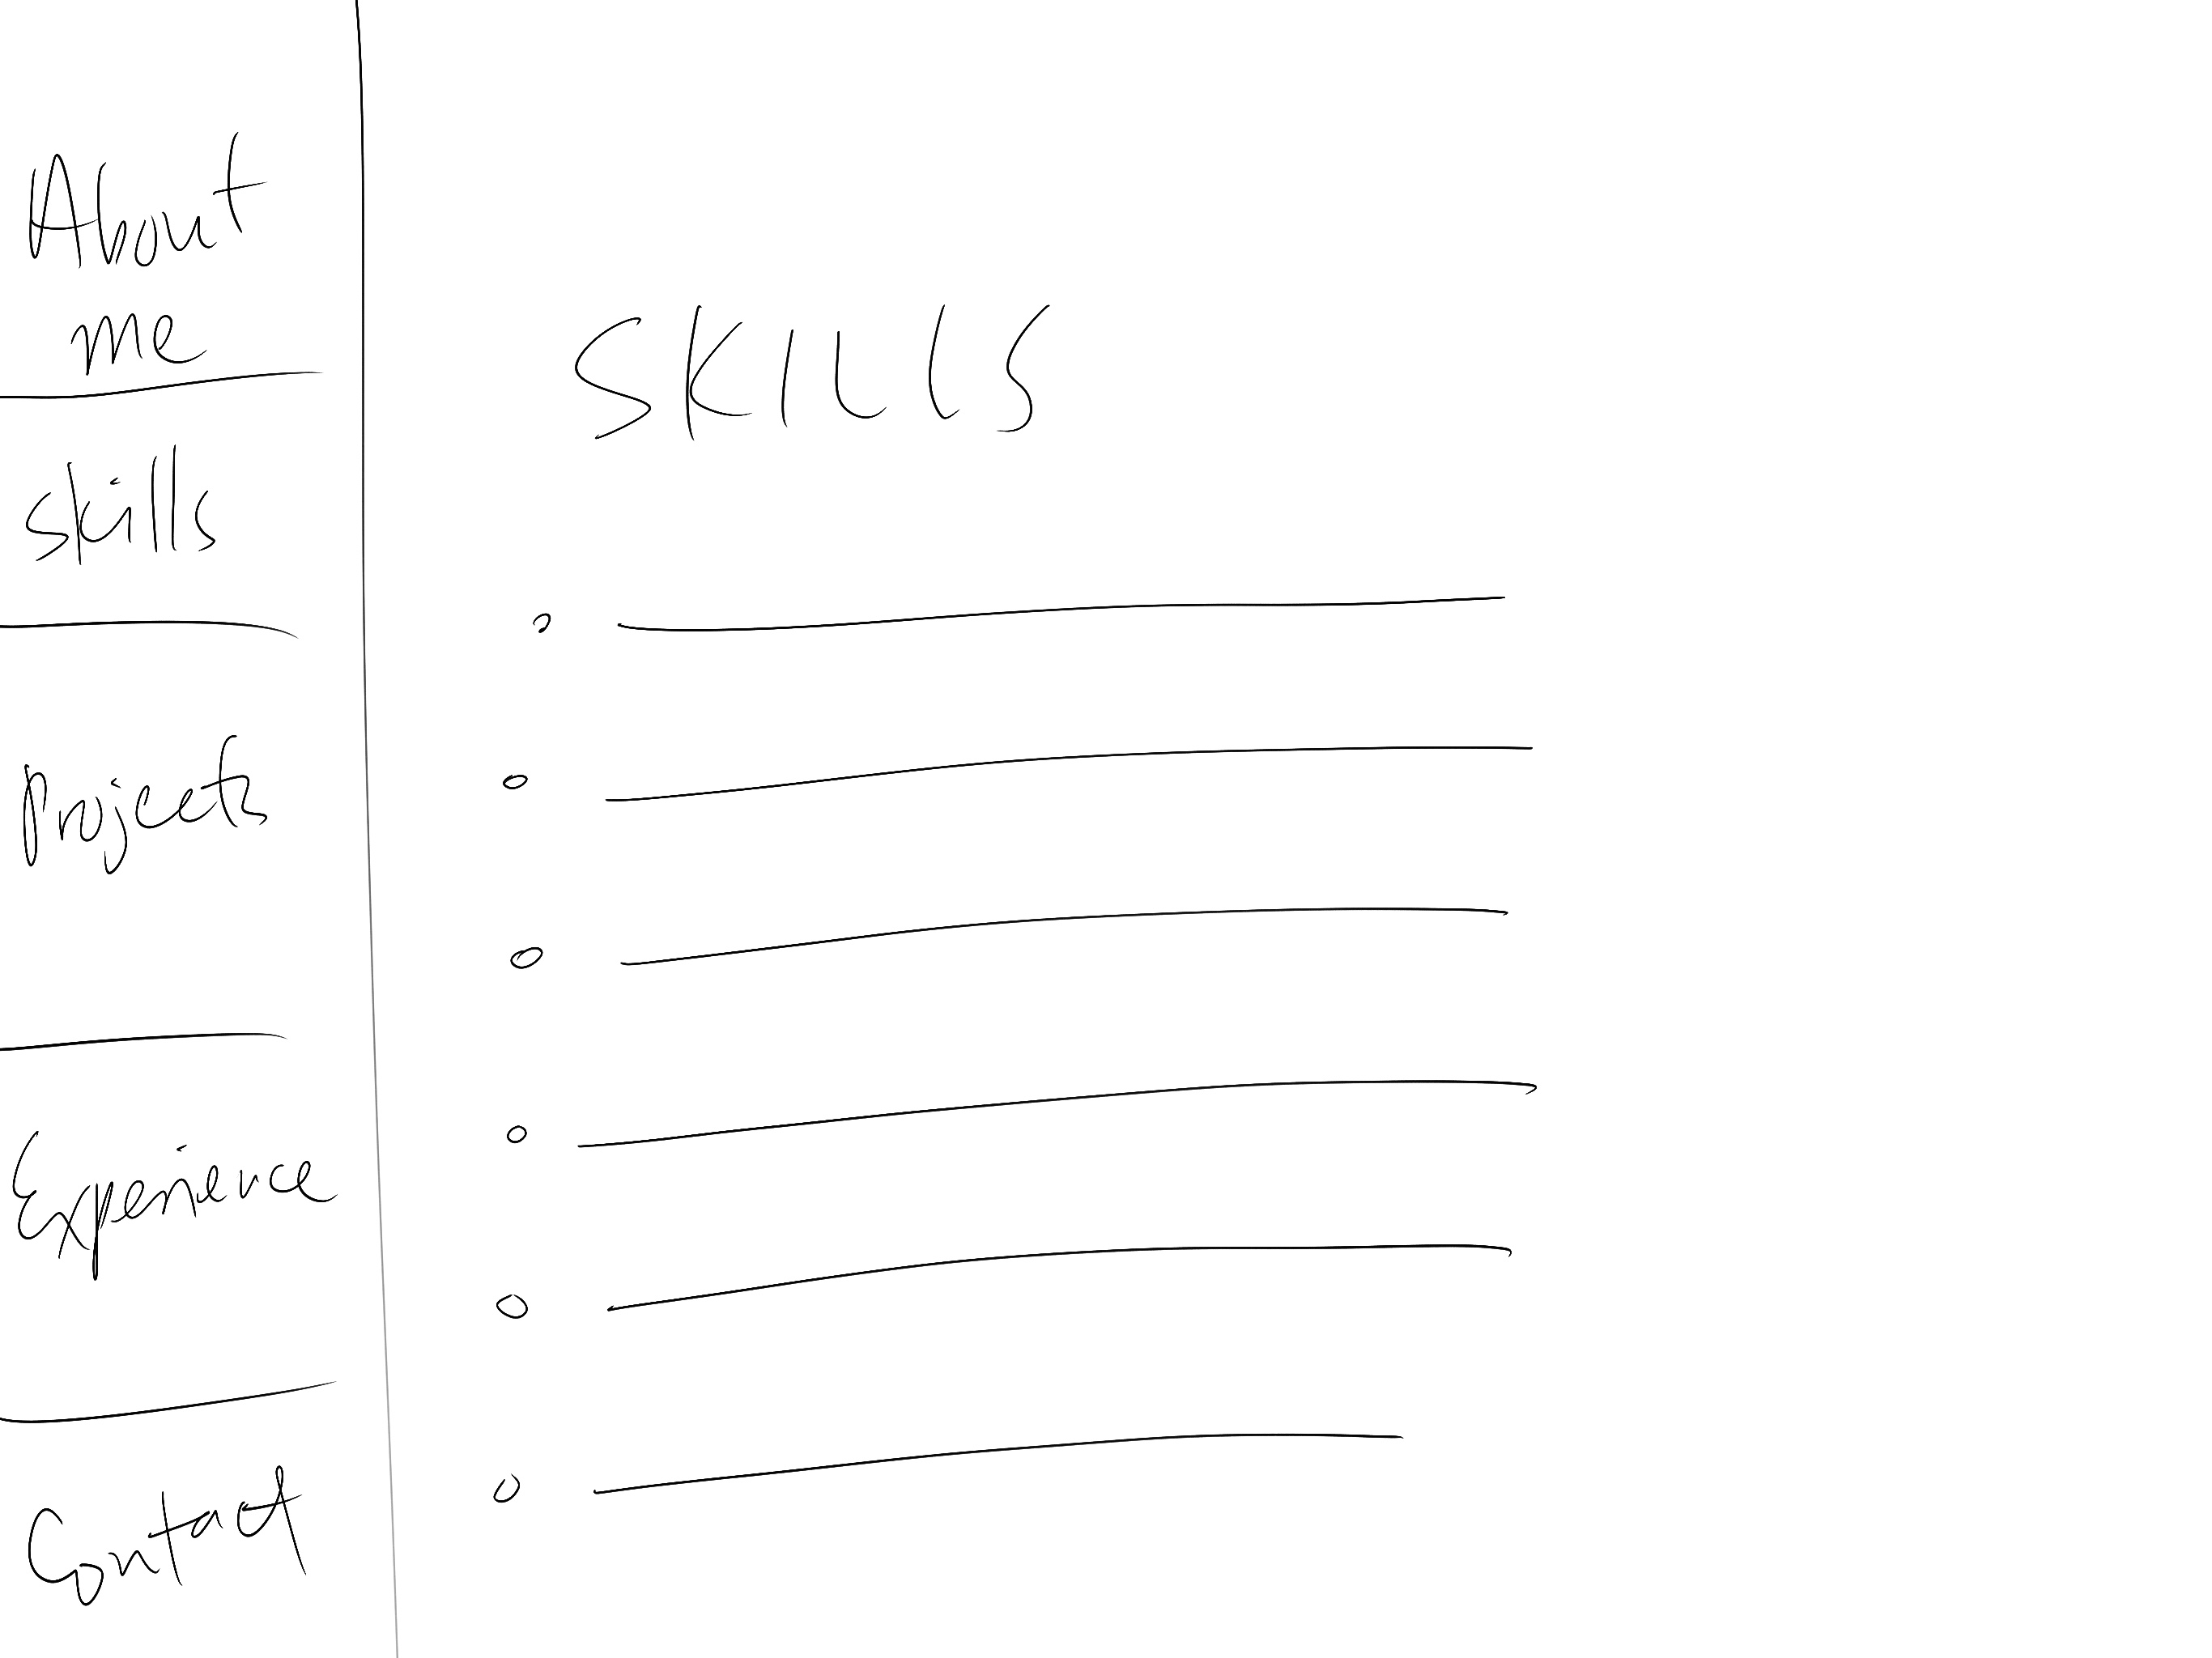
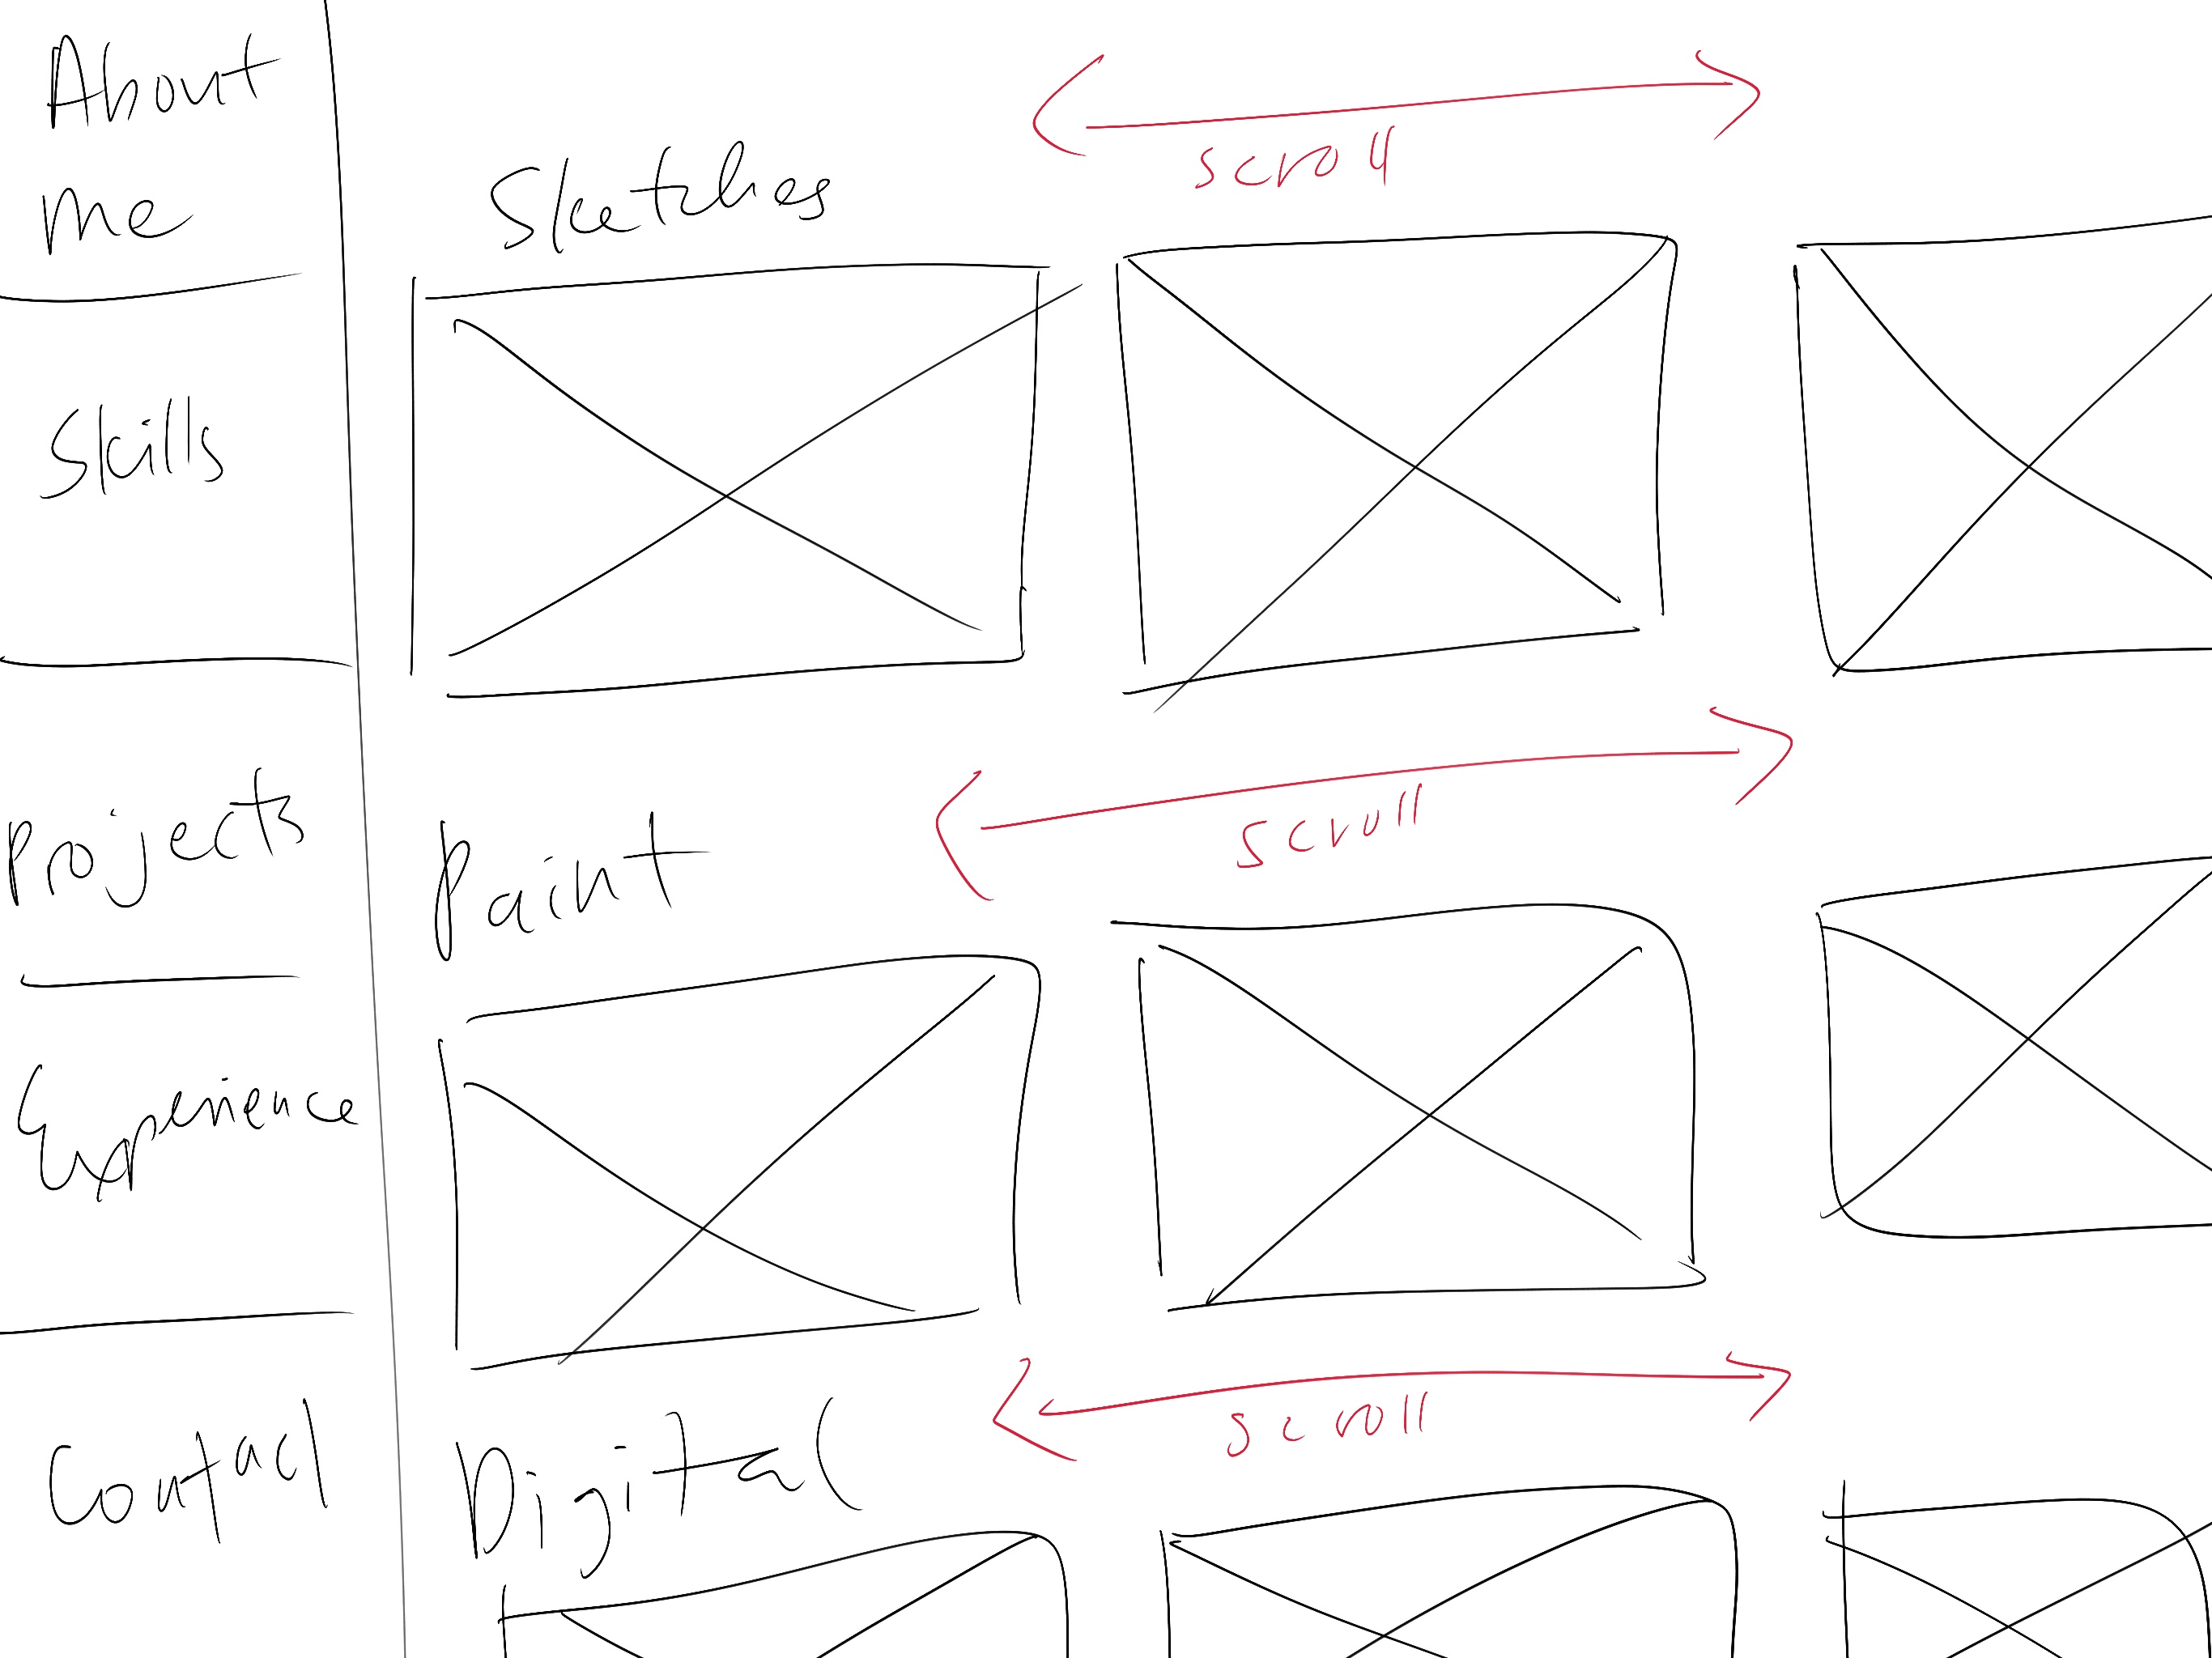
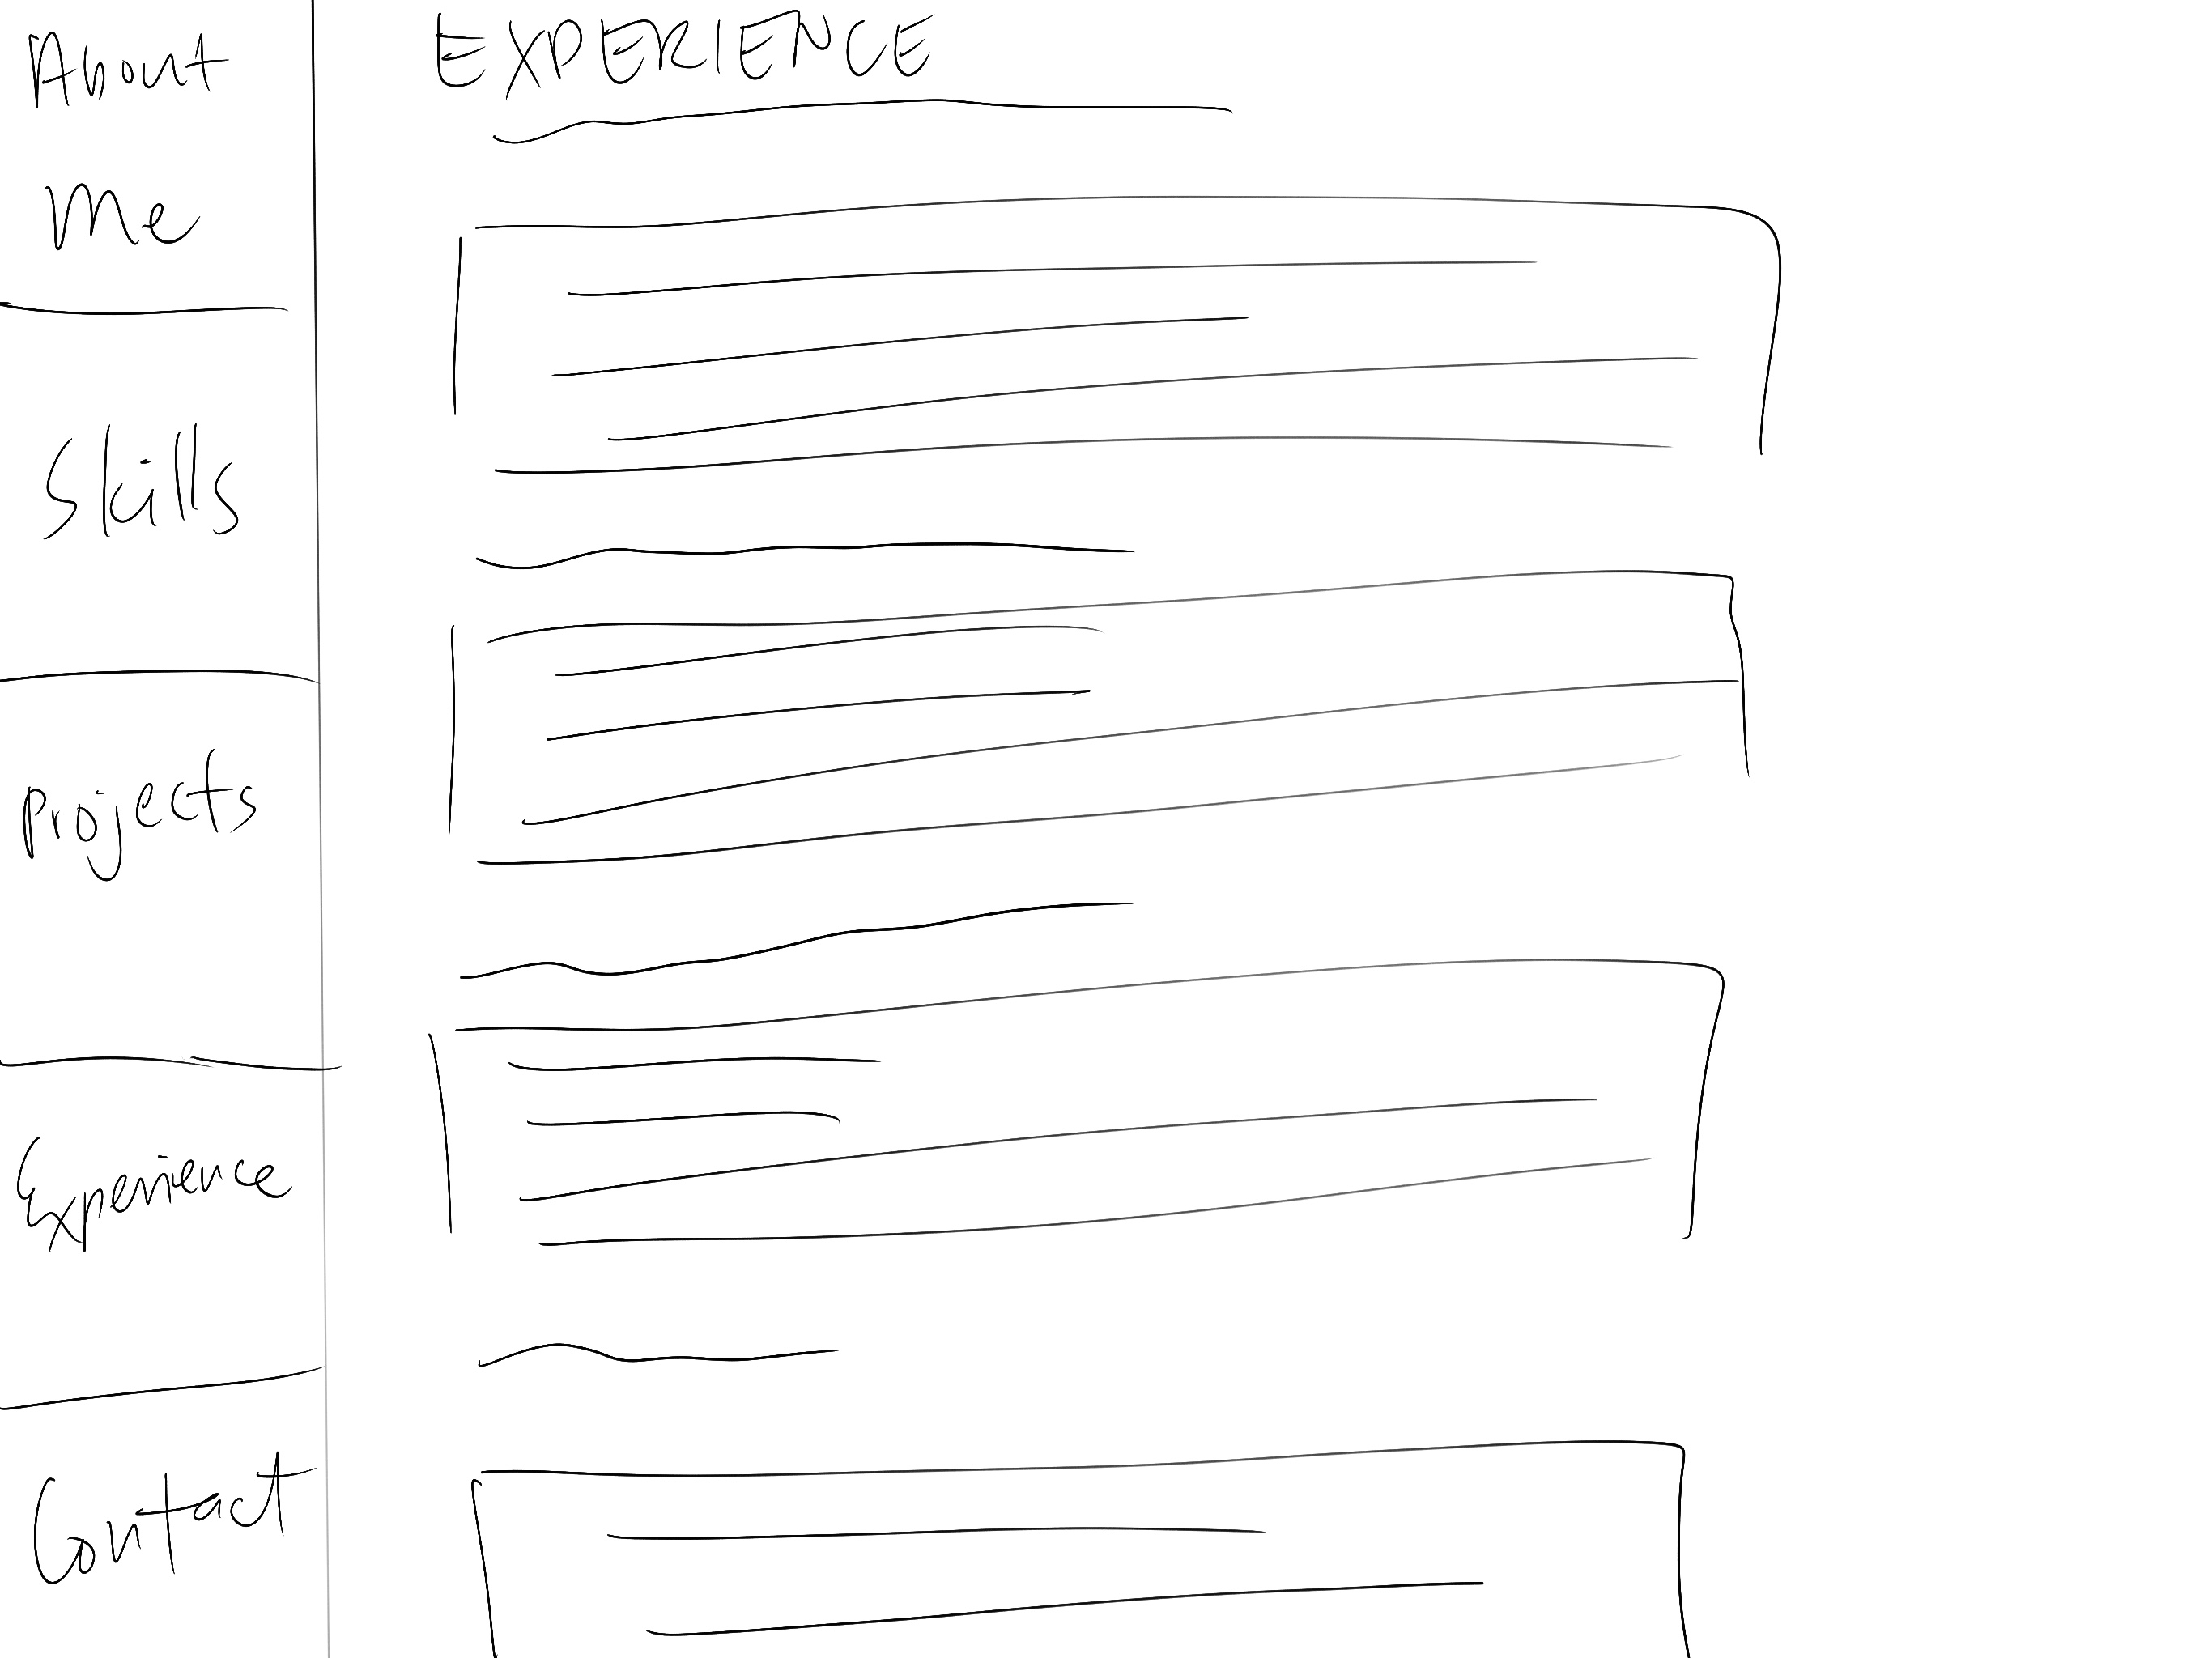
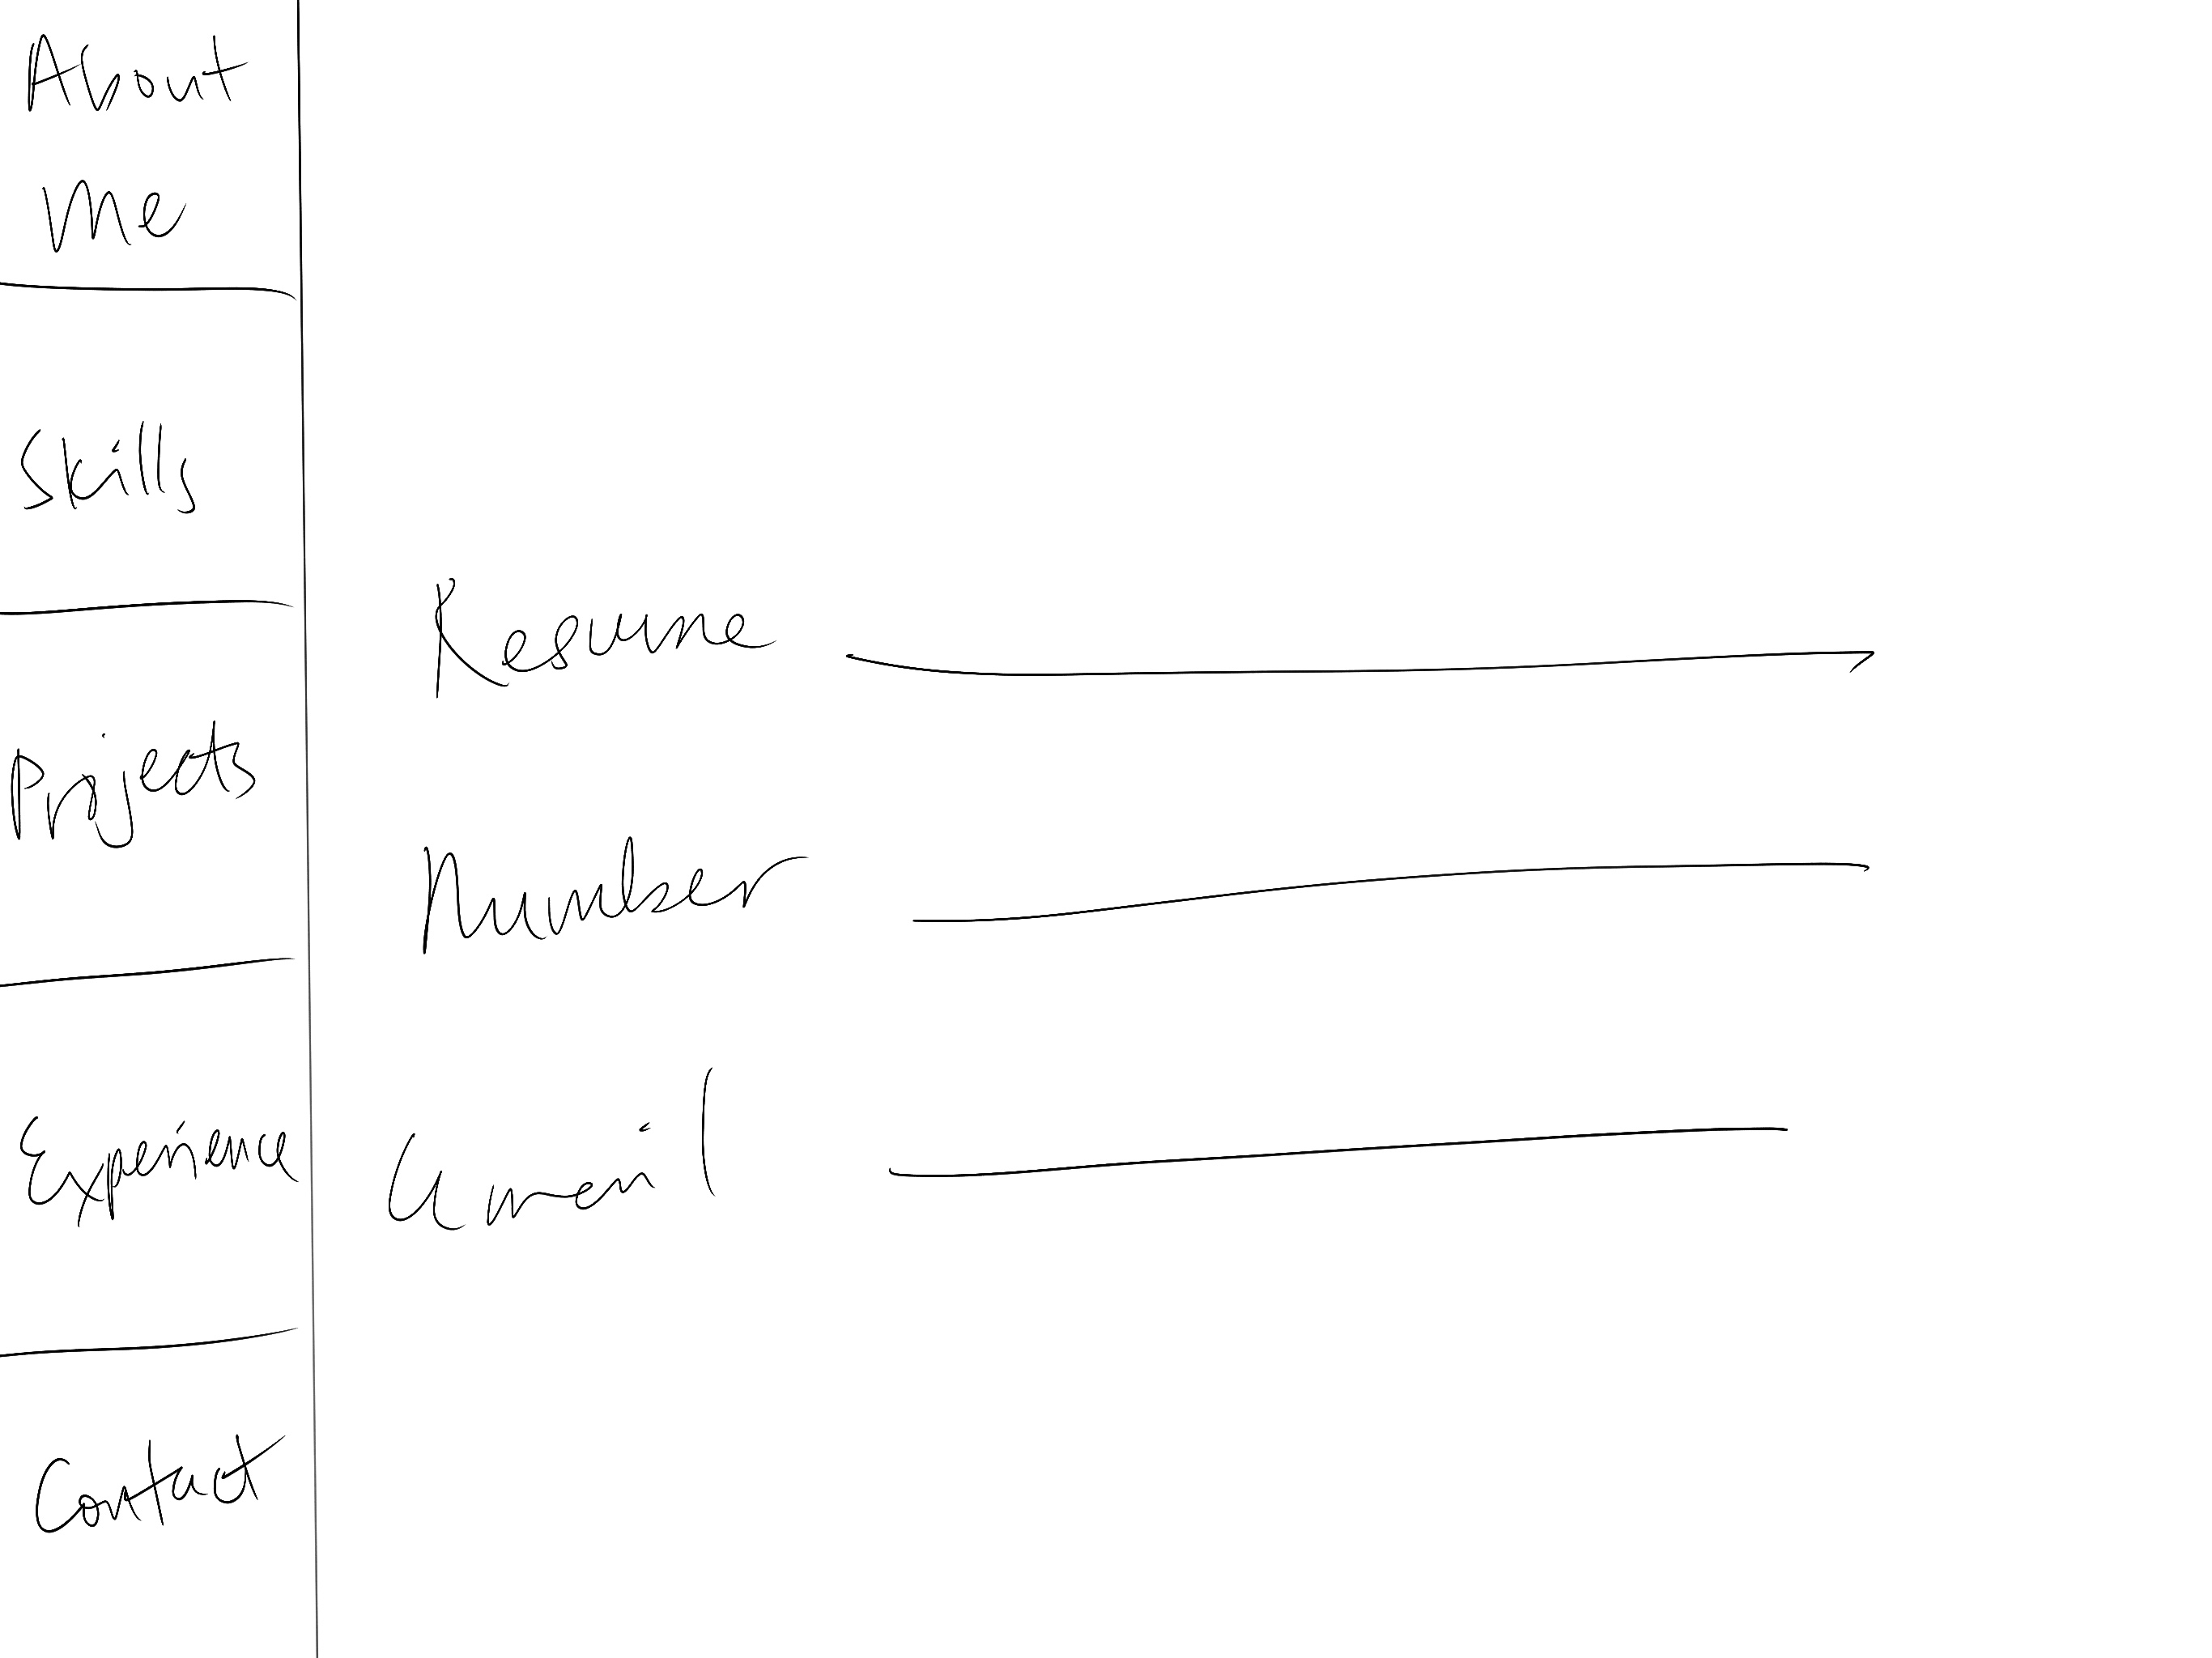
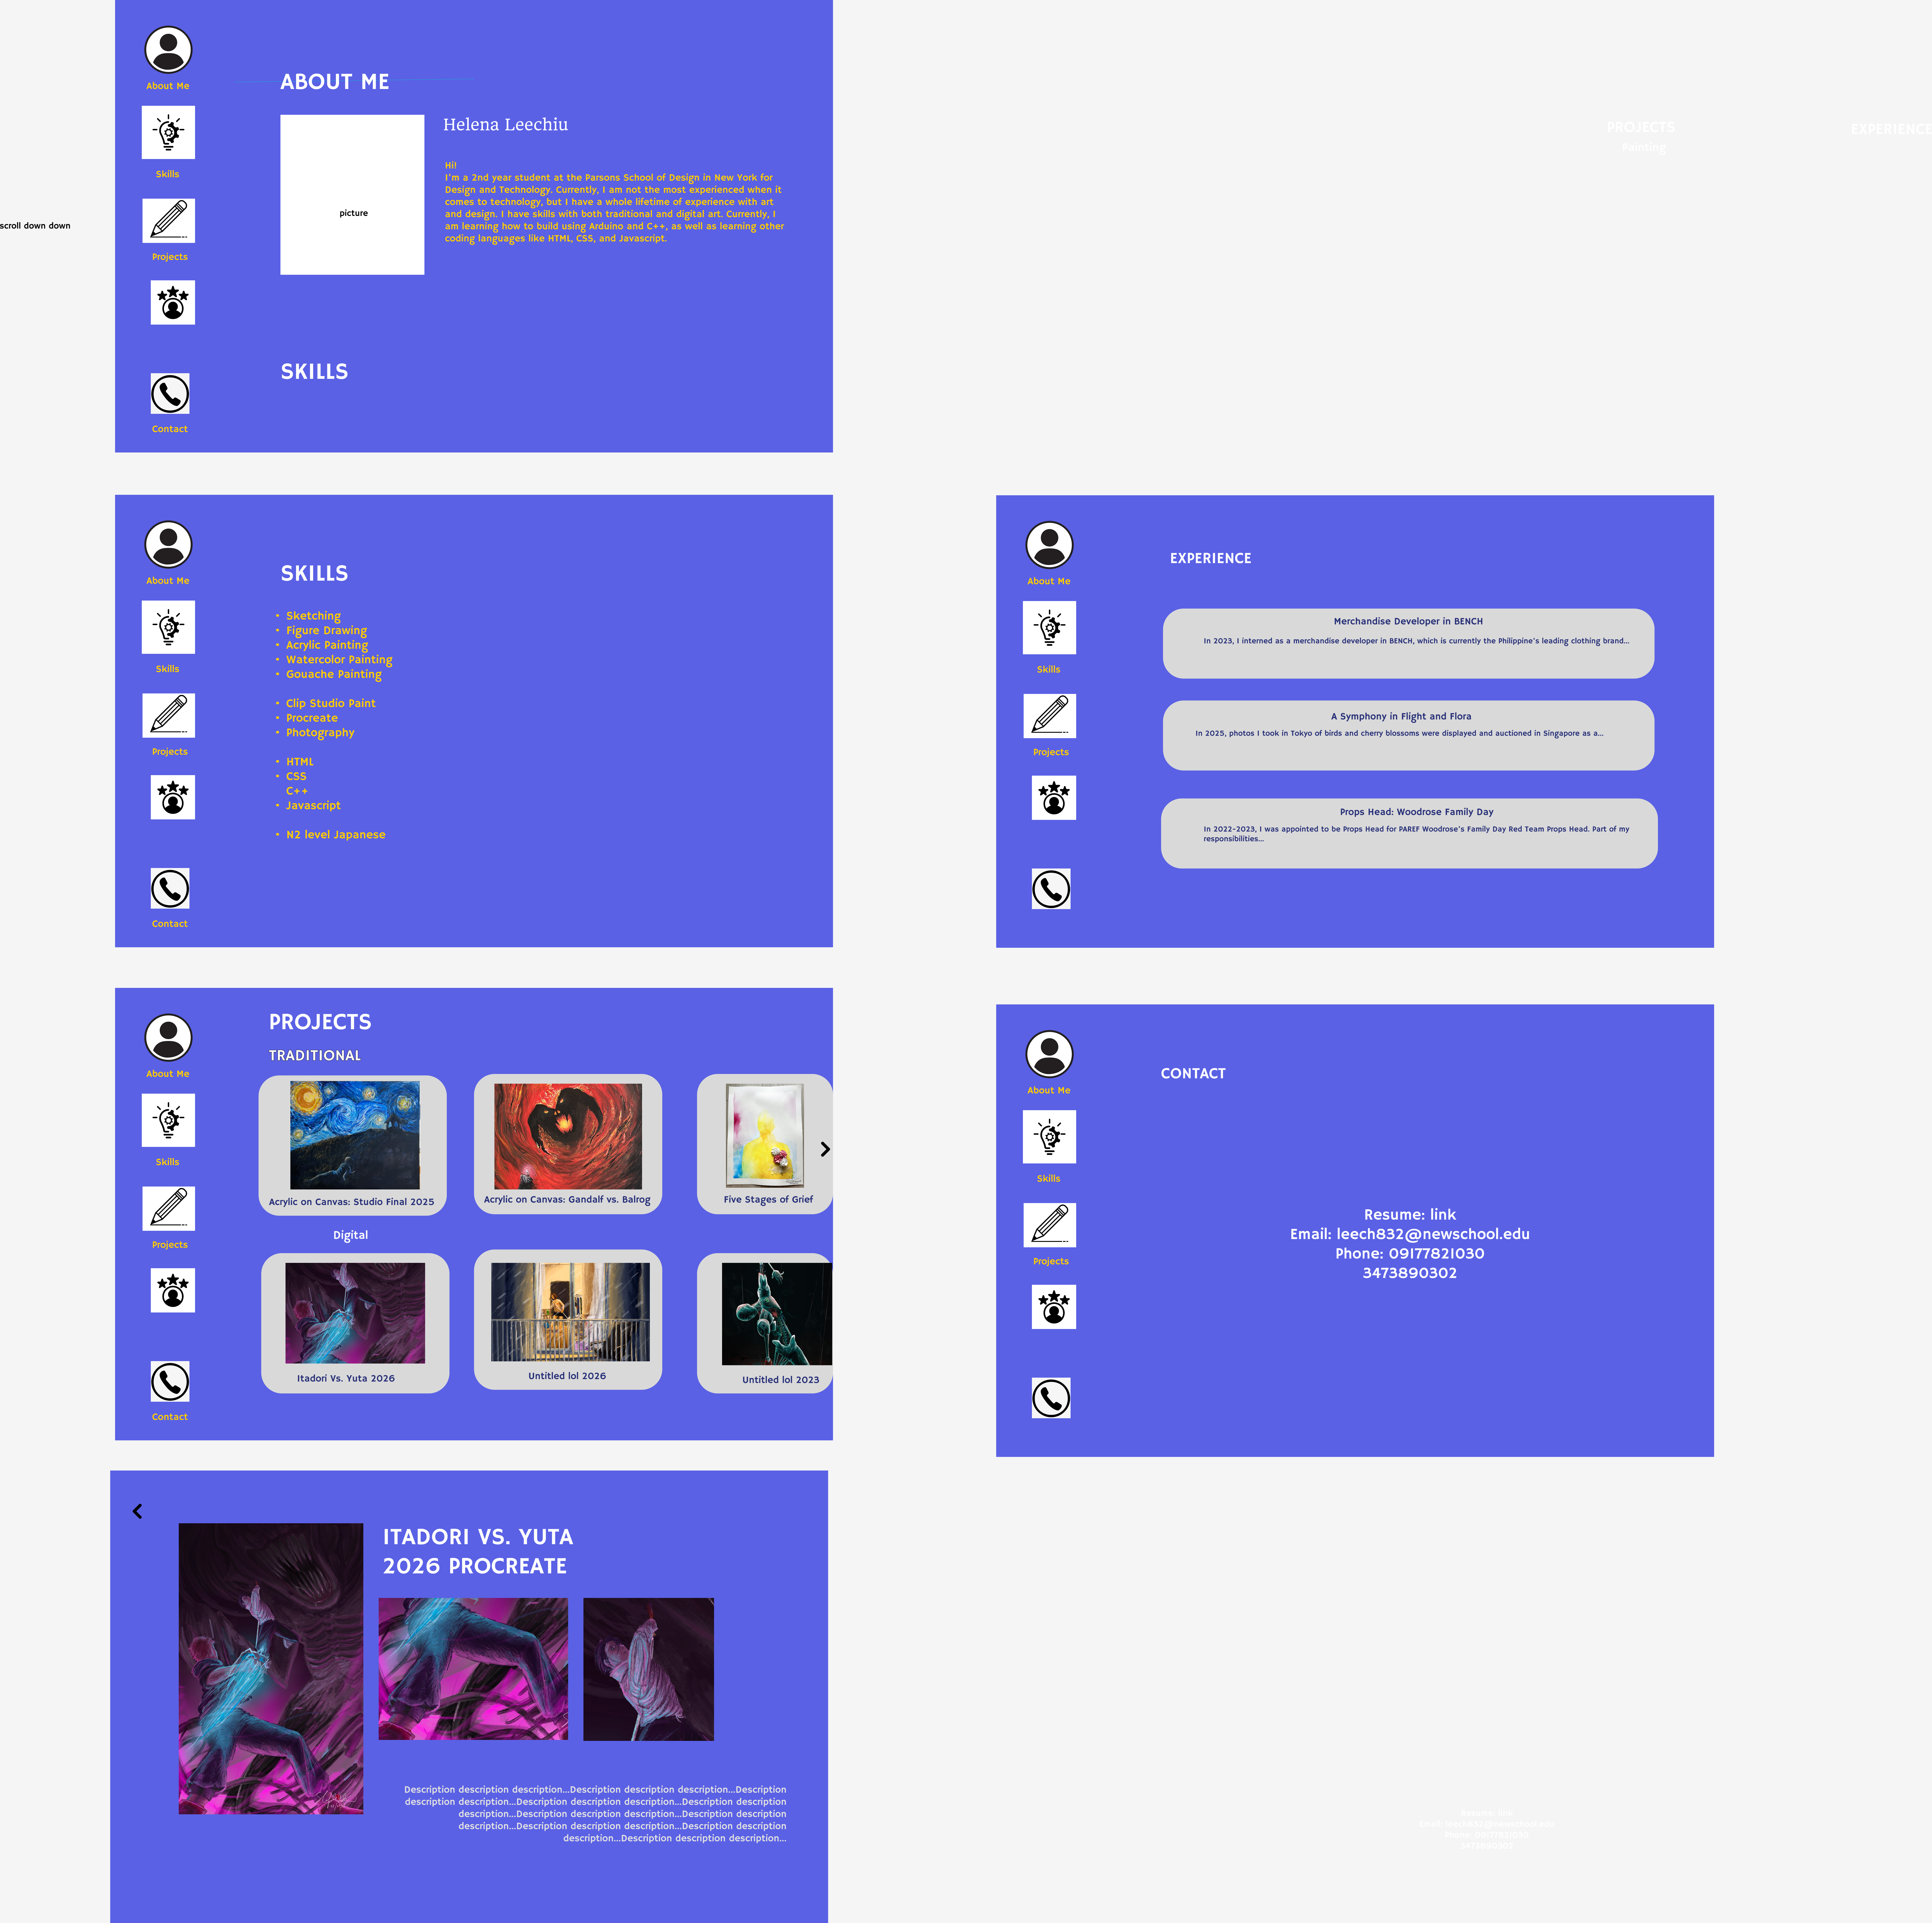
For the laptop layout, I wanted the menu to be on the side. Since I want viewers to scroll down through the whole website, I felt like the menu being on the side allows easy mouse access and would complement the flow of going down.
Step 7: Wireframes and Prototypes
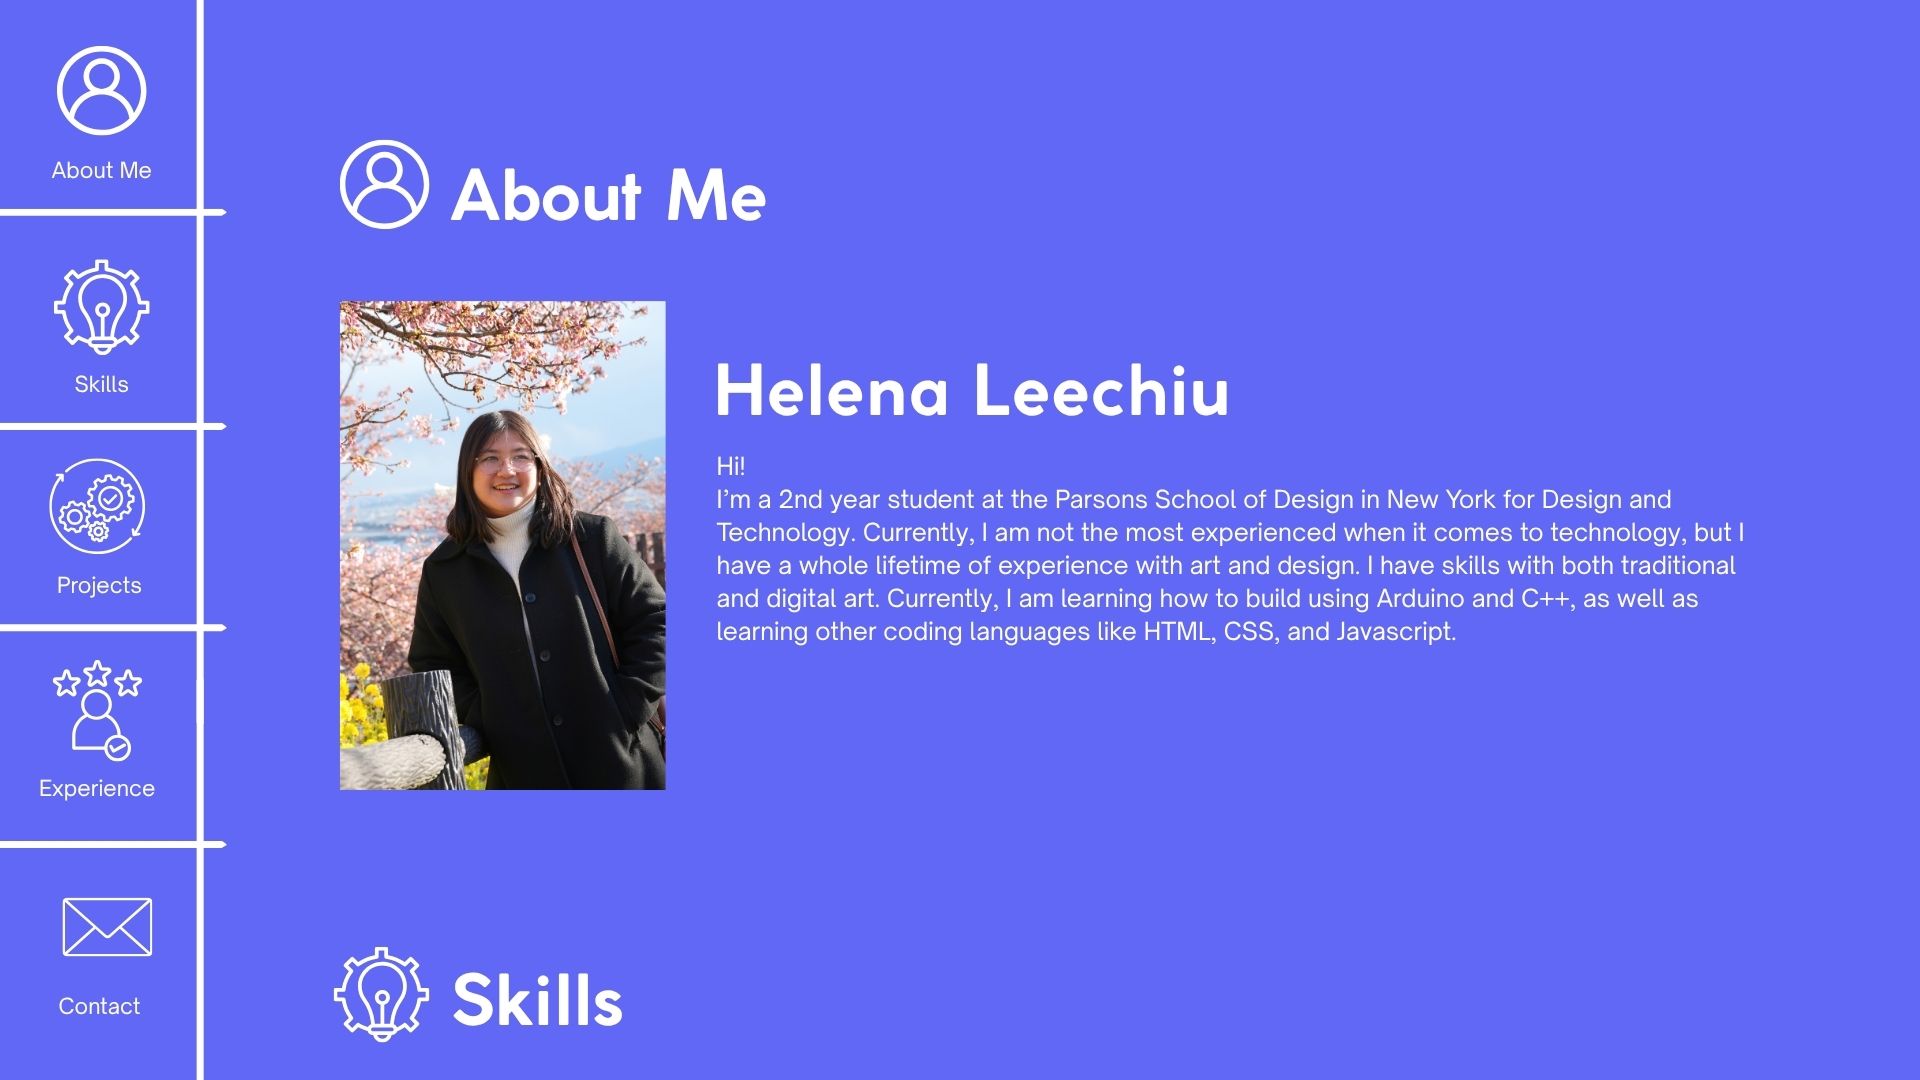
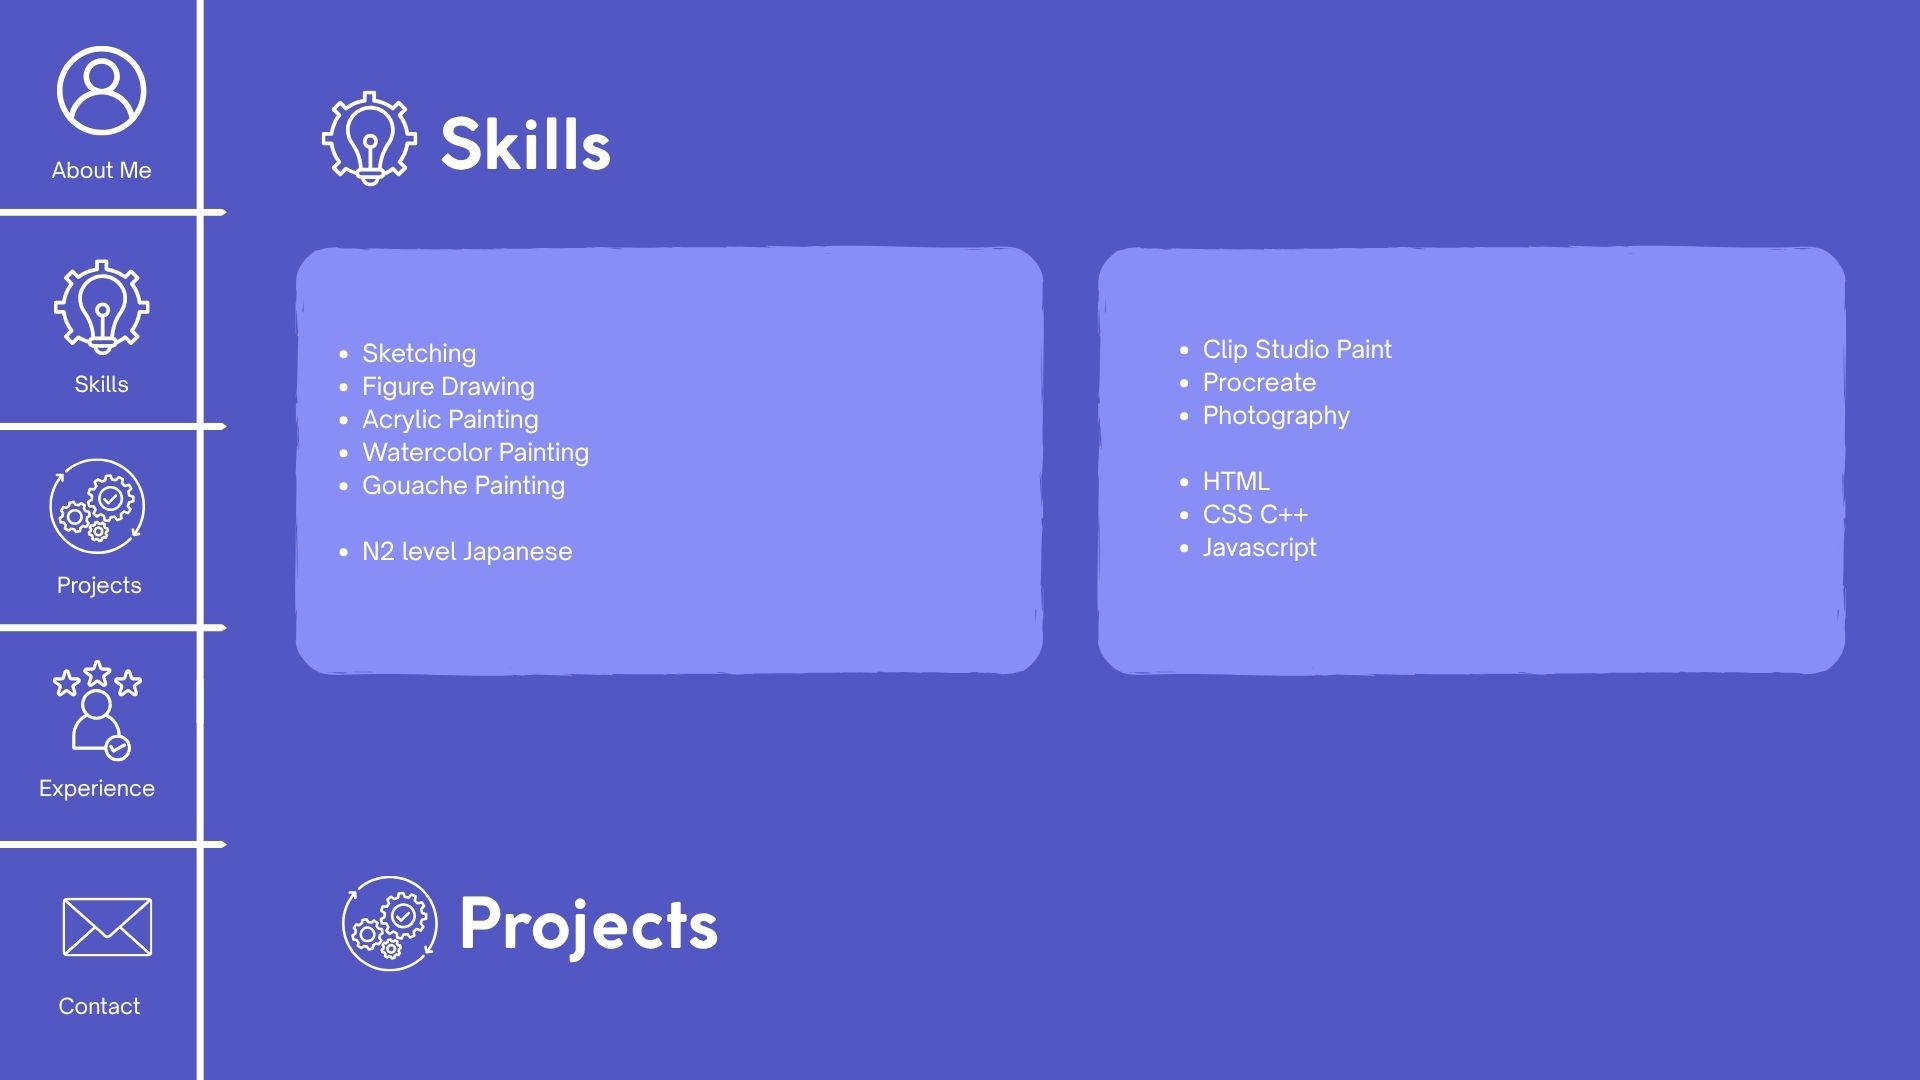
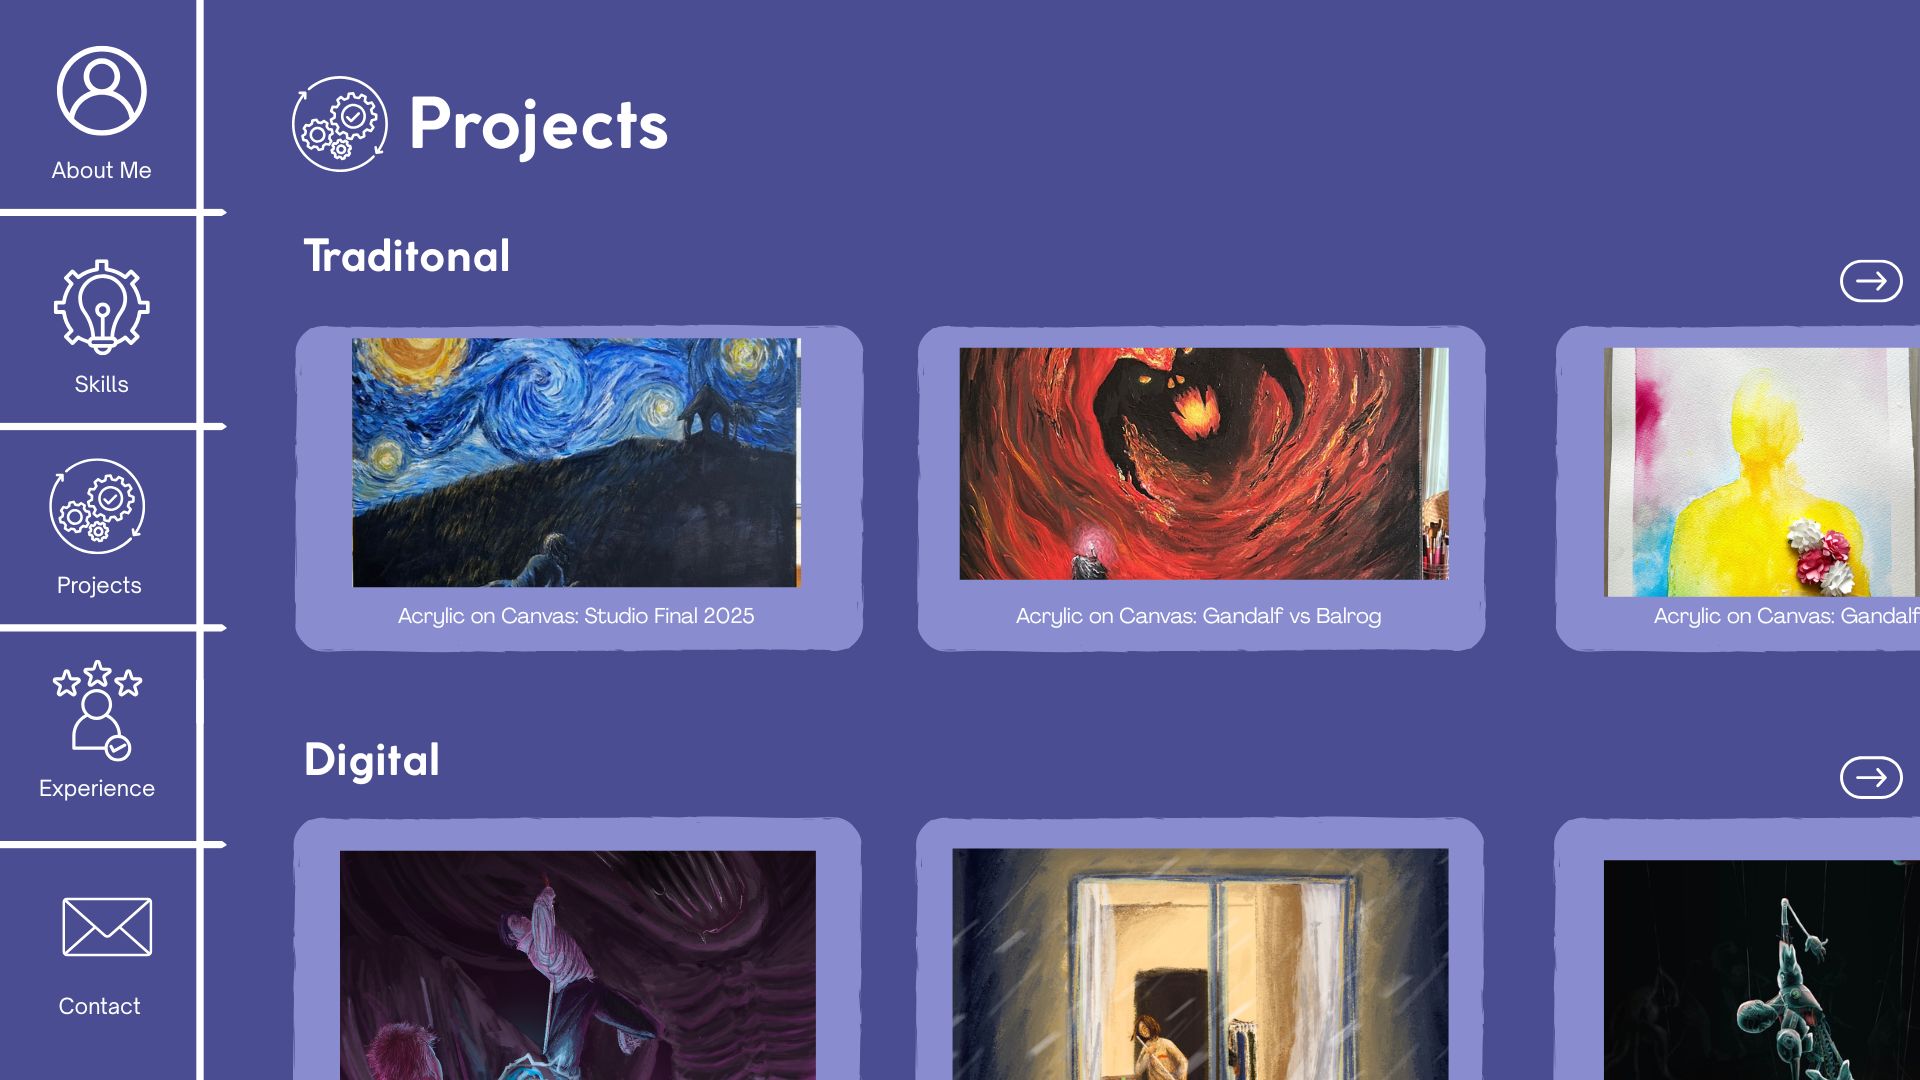
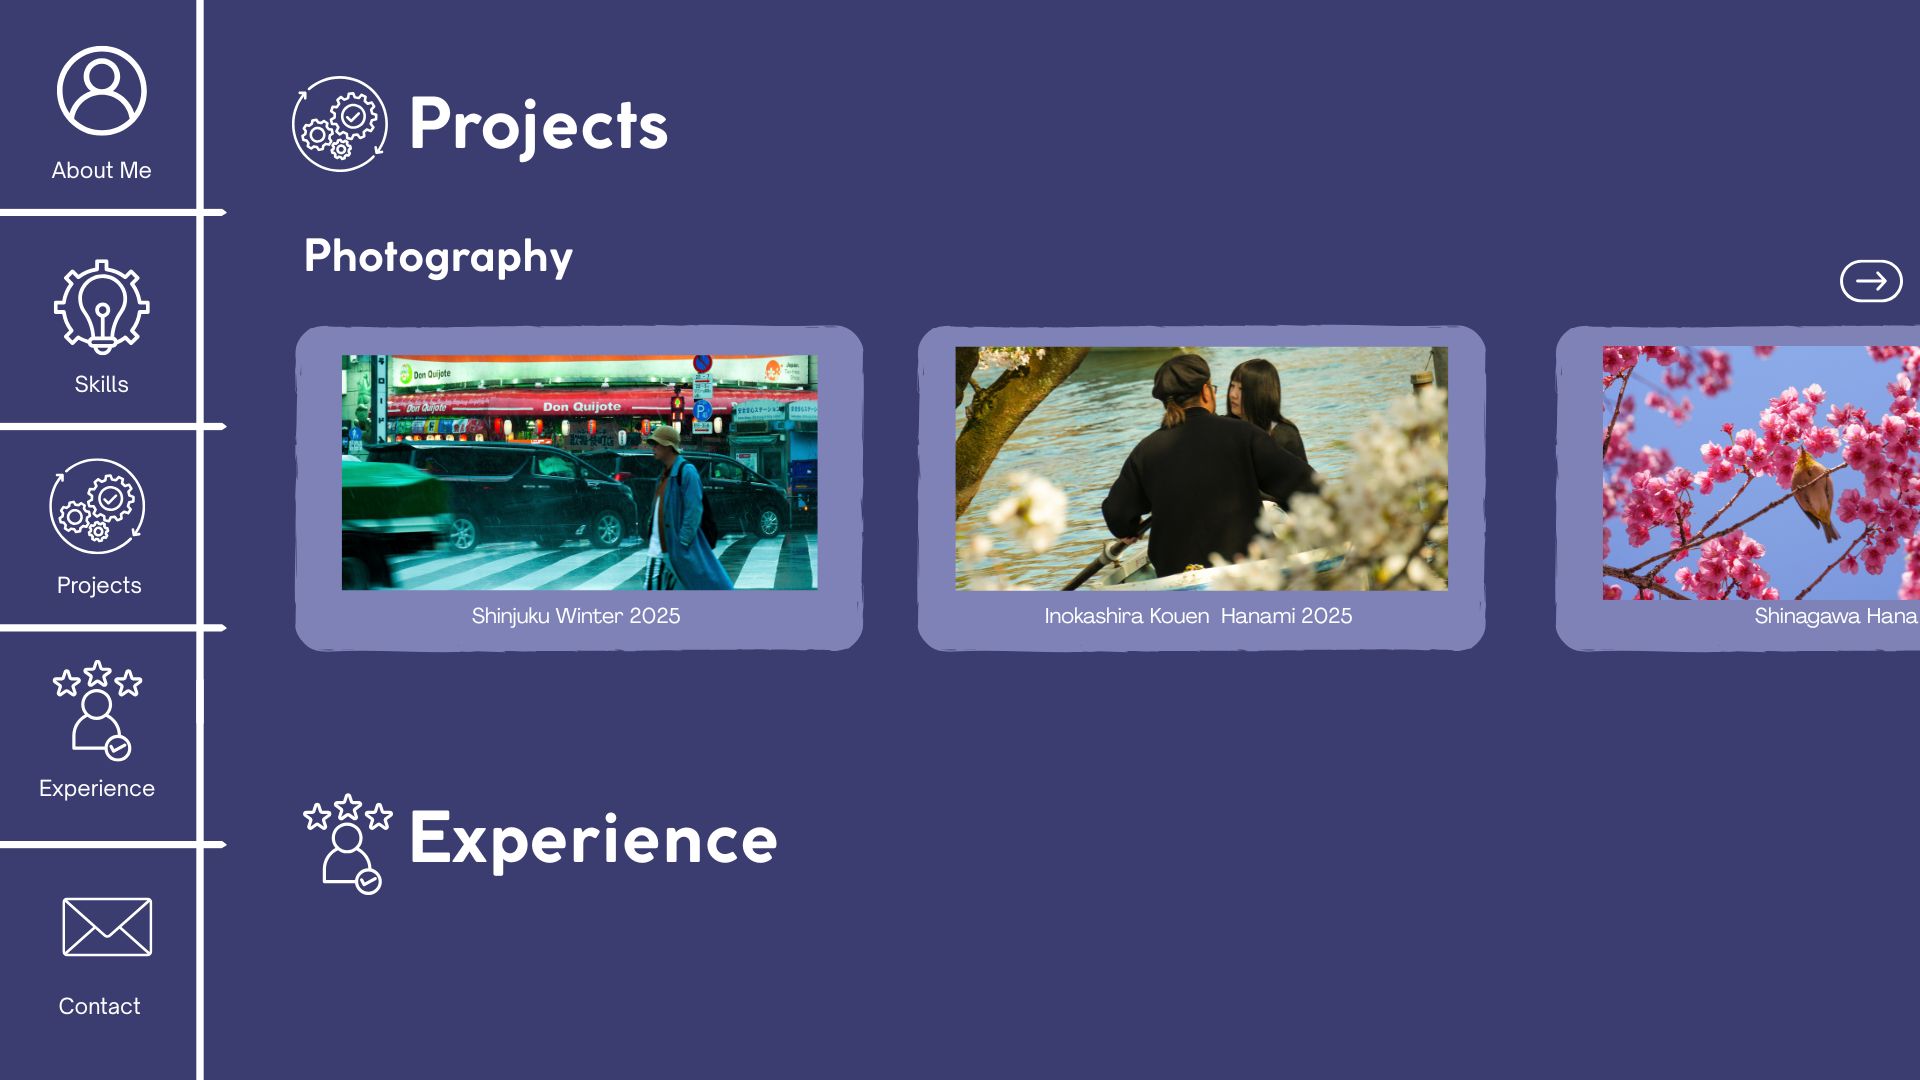
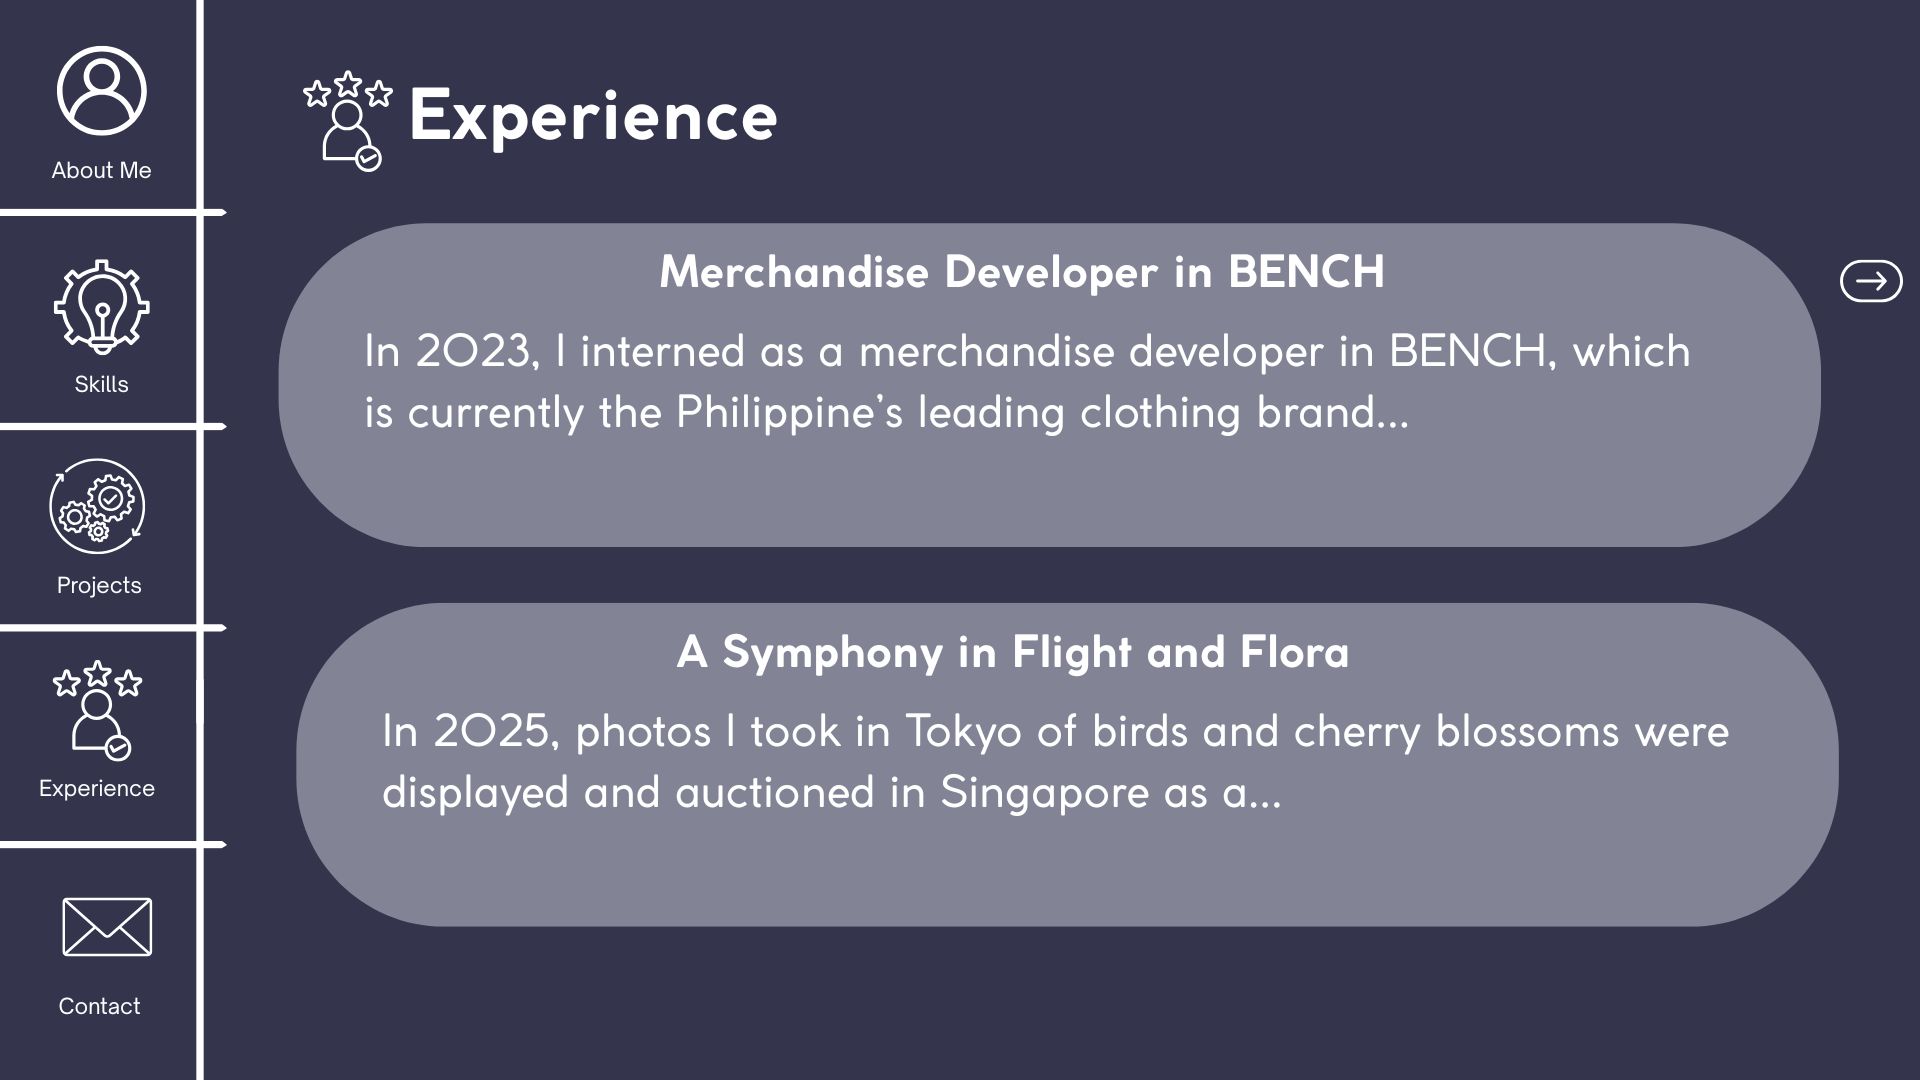
I tried picking a color that’s not too boring, yet would compliment the colors of my projects. In this sketch of my portfolio website, I included how the Projects and Experience portions would look like when pressed. So that the main pages would not be so crowded, I want to make them buttons that contain the general idea of the project/experience. When clicked, a new page opens with more details on the project/experience.
Step 8: PhotoShop Comp
Upon working on this more in detail, I wanted to make it a little more interesting by making the background change to darker shades as the viewer scrolls down.