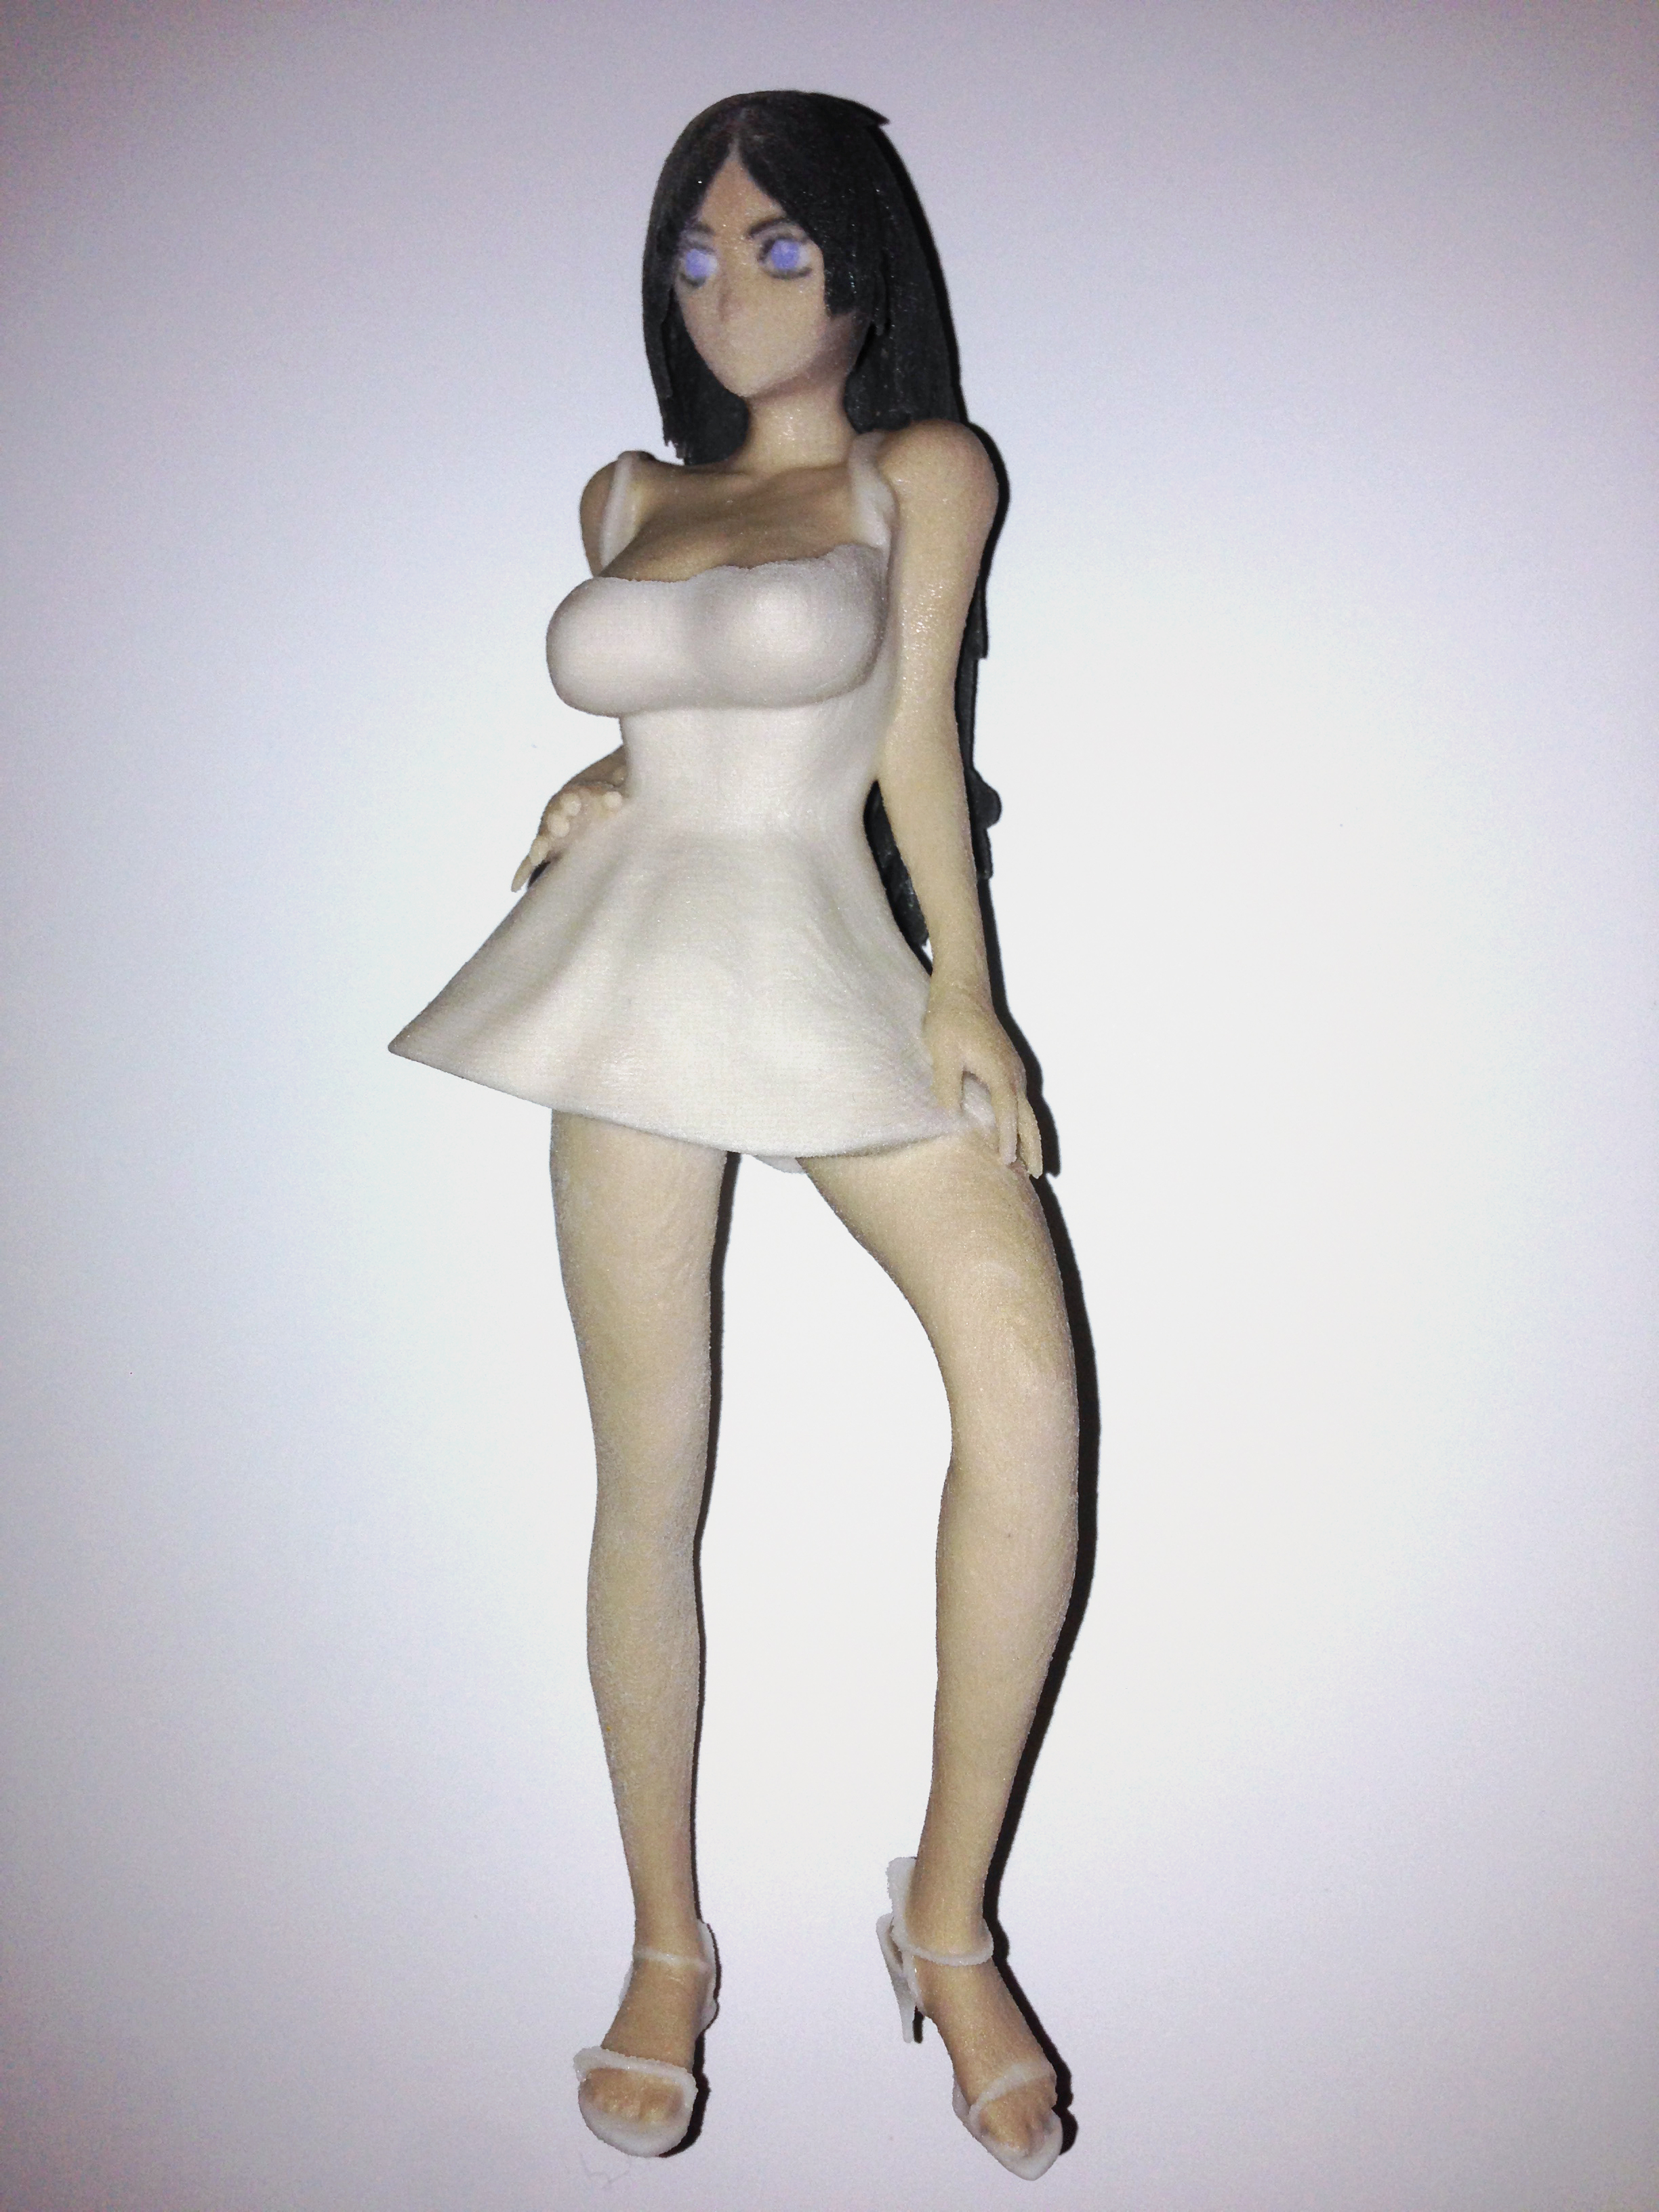
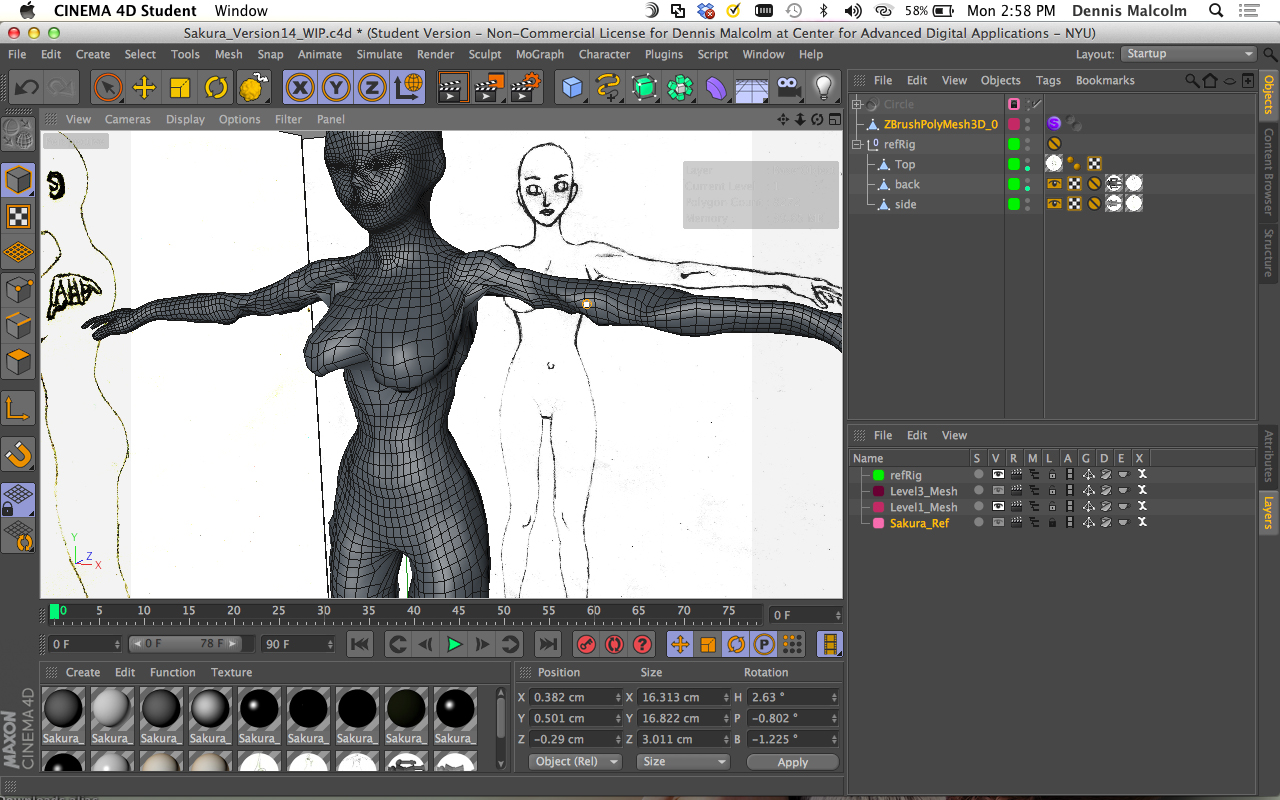
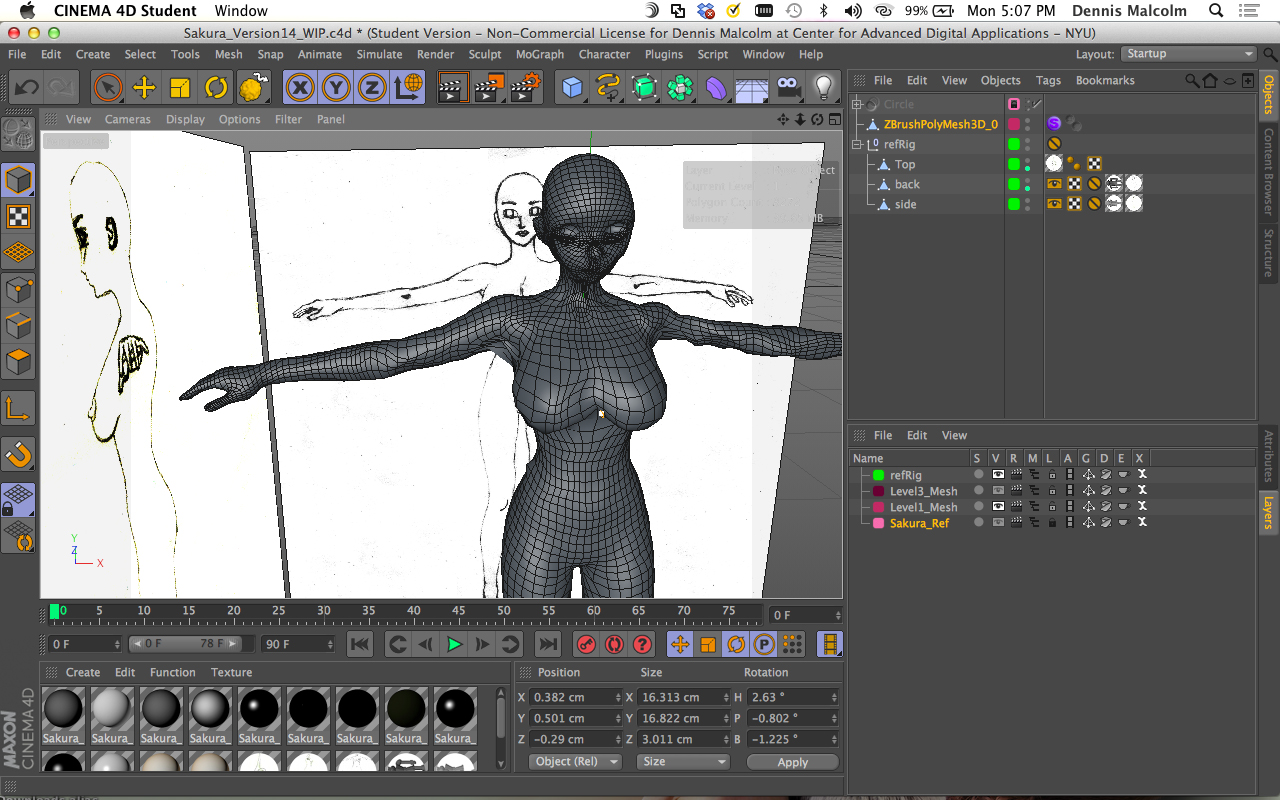
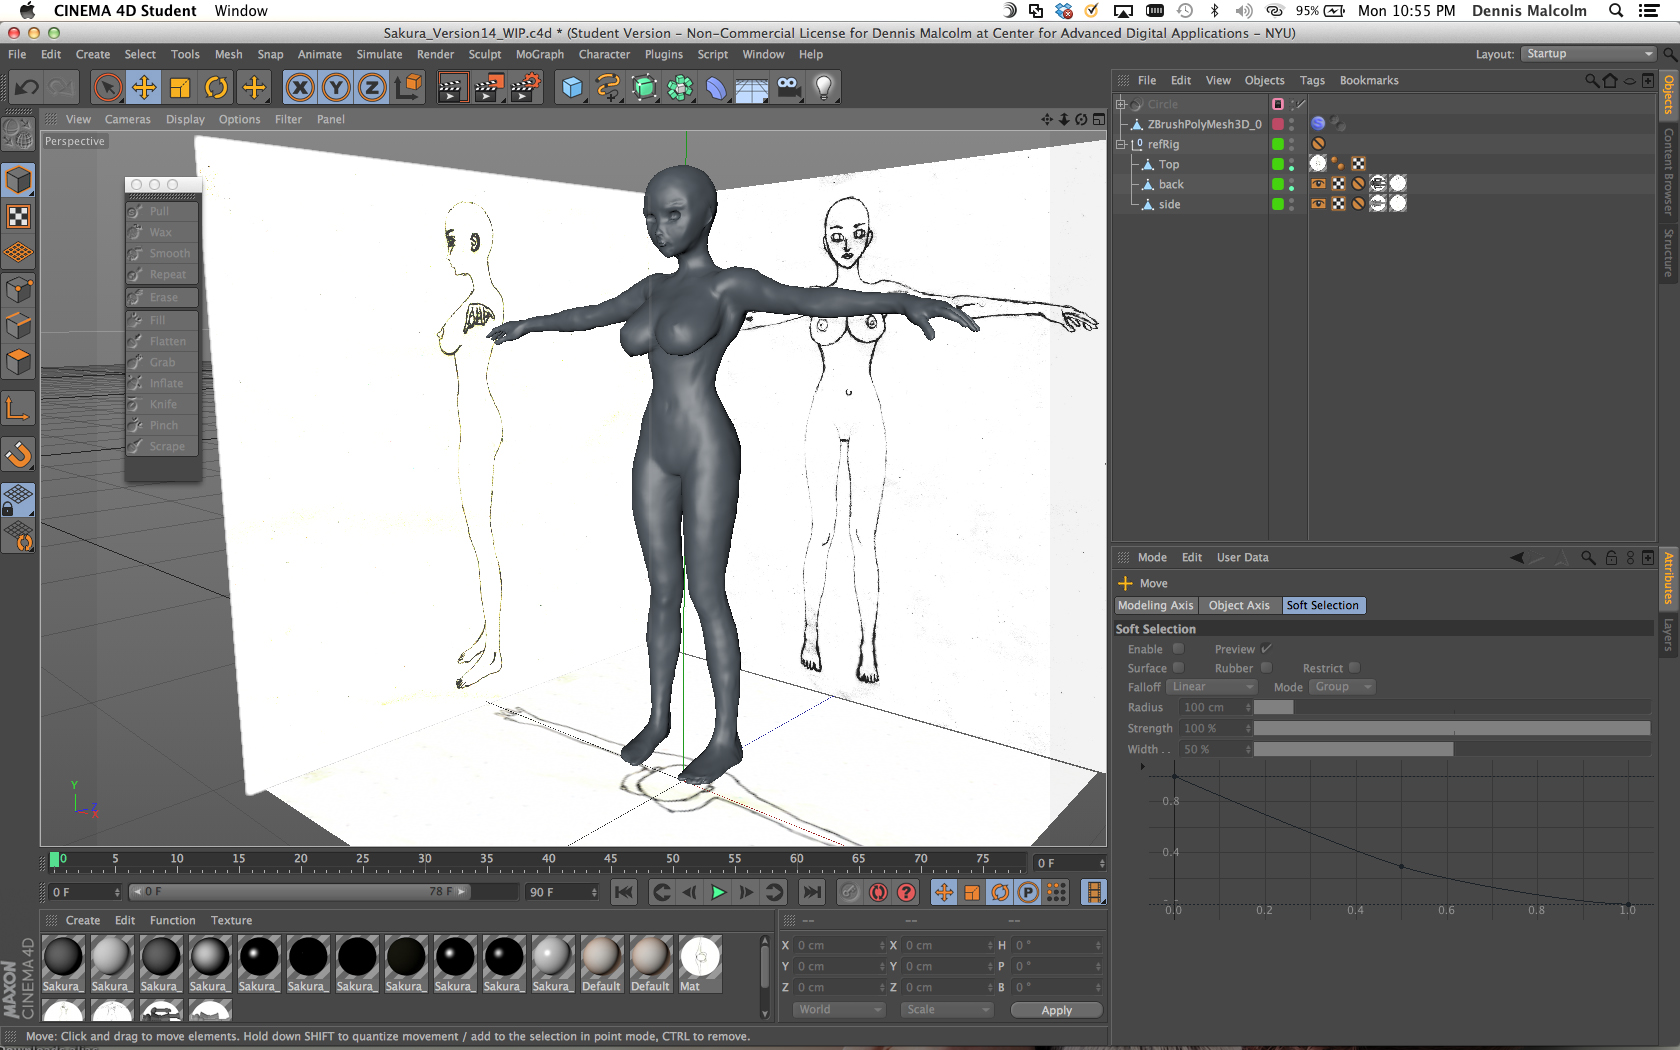
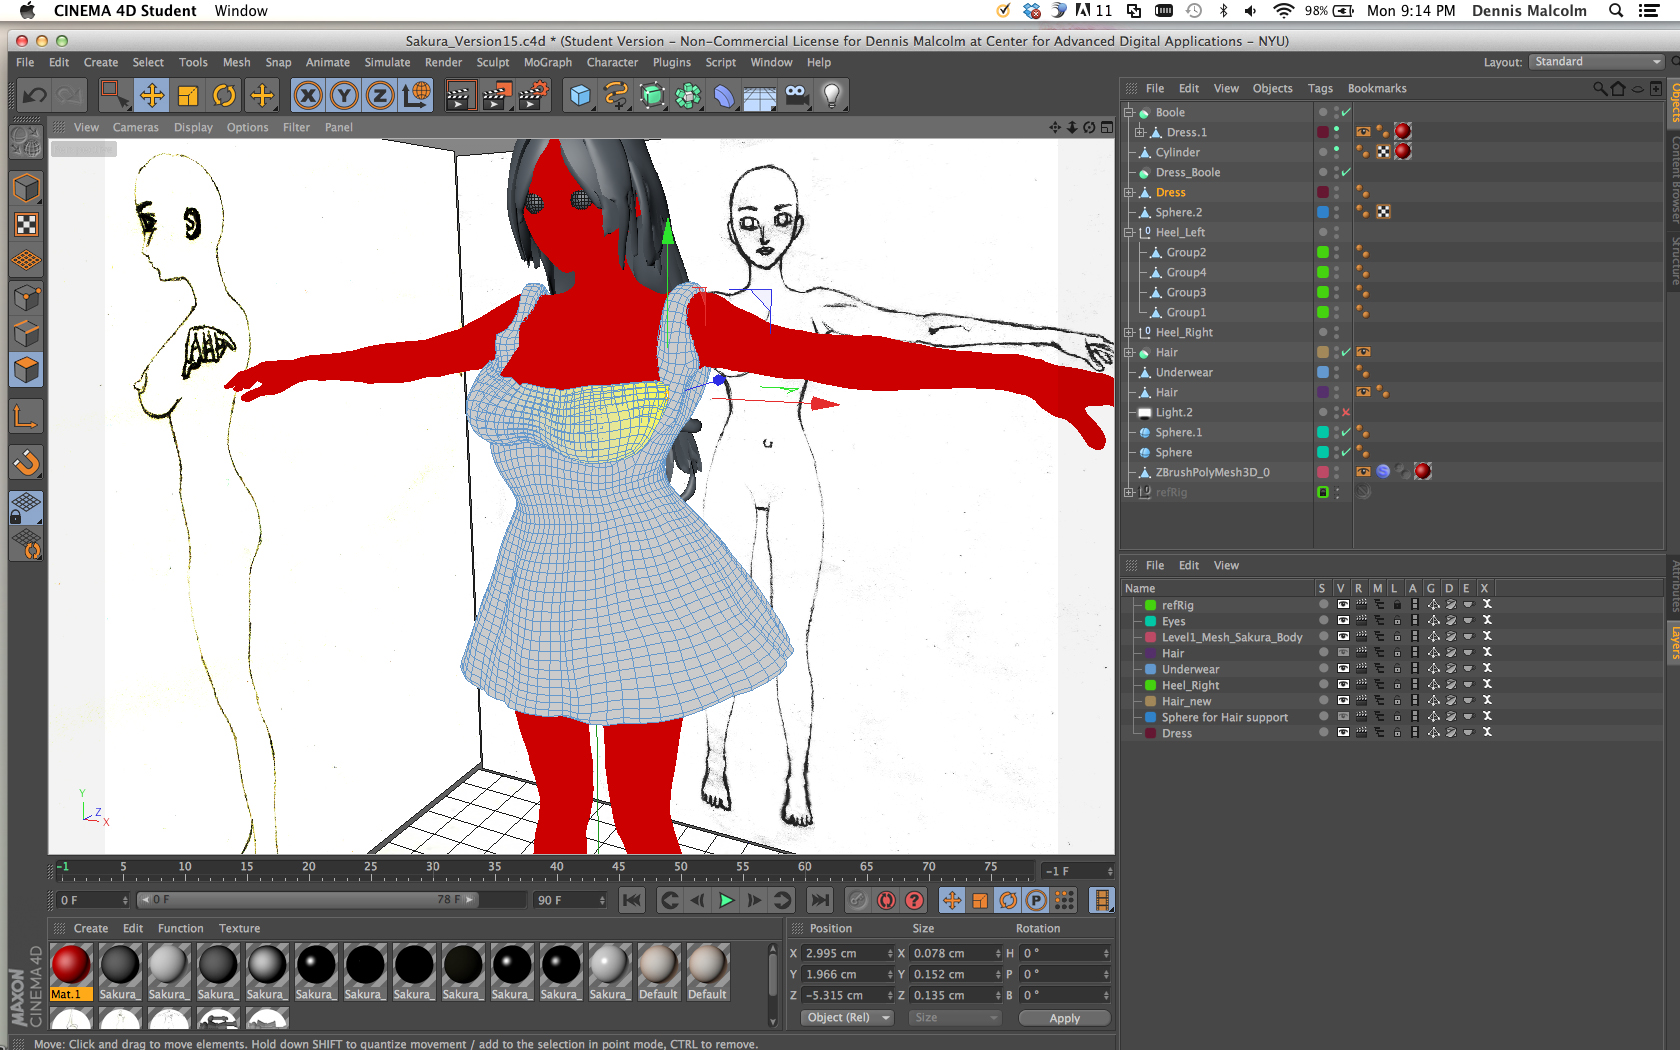
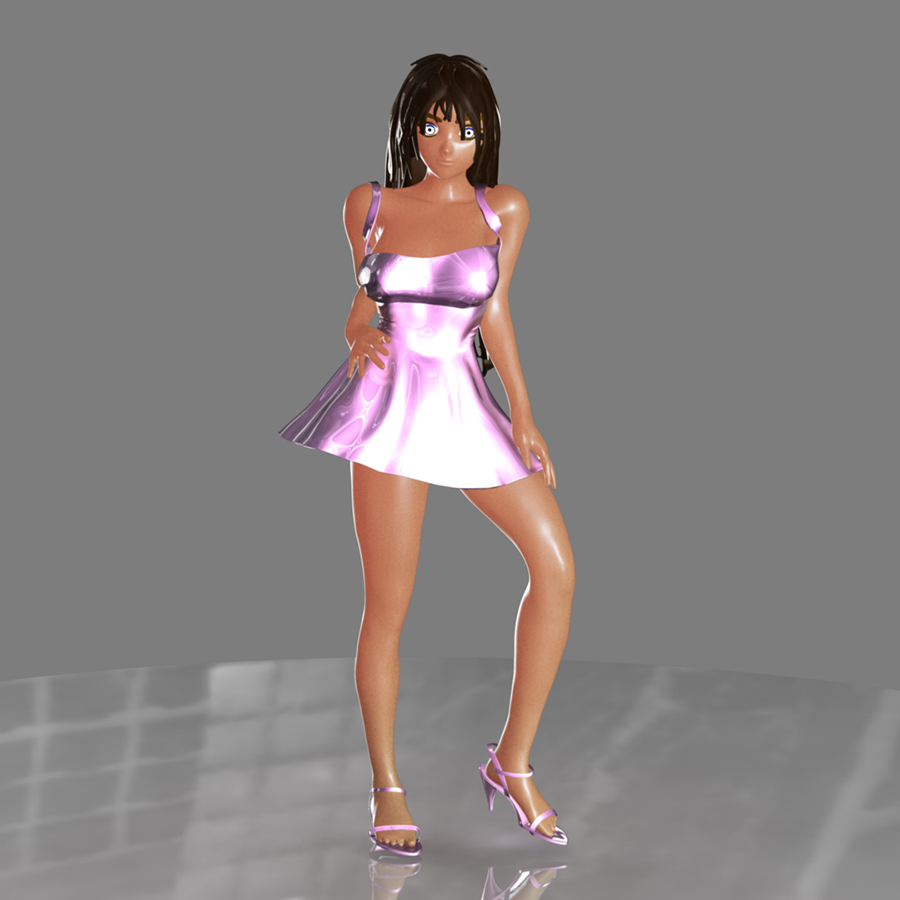
Alright folks, looks like I’m back after a bit of a hiatus here. So this week, I’m going to post some of the work I did this past semester in graduate school at NYU. I took 3D Modeling, optimization & rapid prototyping, Compositing in the Foundry Nuke & Photorealistic CG Lighting as well as VRay for advanced CG lighting. So one of the models that I worked on in this post would be the main character, Sakura, for my thesis project Kaze Jetstream. After 3D sculpting the figure in Cinema 4D & Mudbox, I created a turntable animation with her & I prepared the model I made for 3D printing on the University’s ZPrinter 650, a high-performance composite powder and binder printer. The ZPrinter 650 can output complex geometries and fine detail with a minimum feature size of 0.004” (0.1 mm). It offers 24-bit color (390,000 colors per individual part) from five print heads, including a dedicated black, in a build size of 10”x15”x8”. This printer is well-suited for quick prototyping of model files and testing model build integrity.
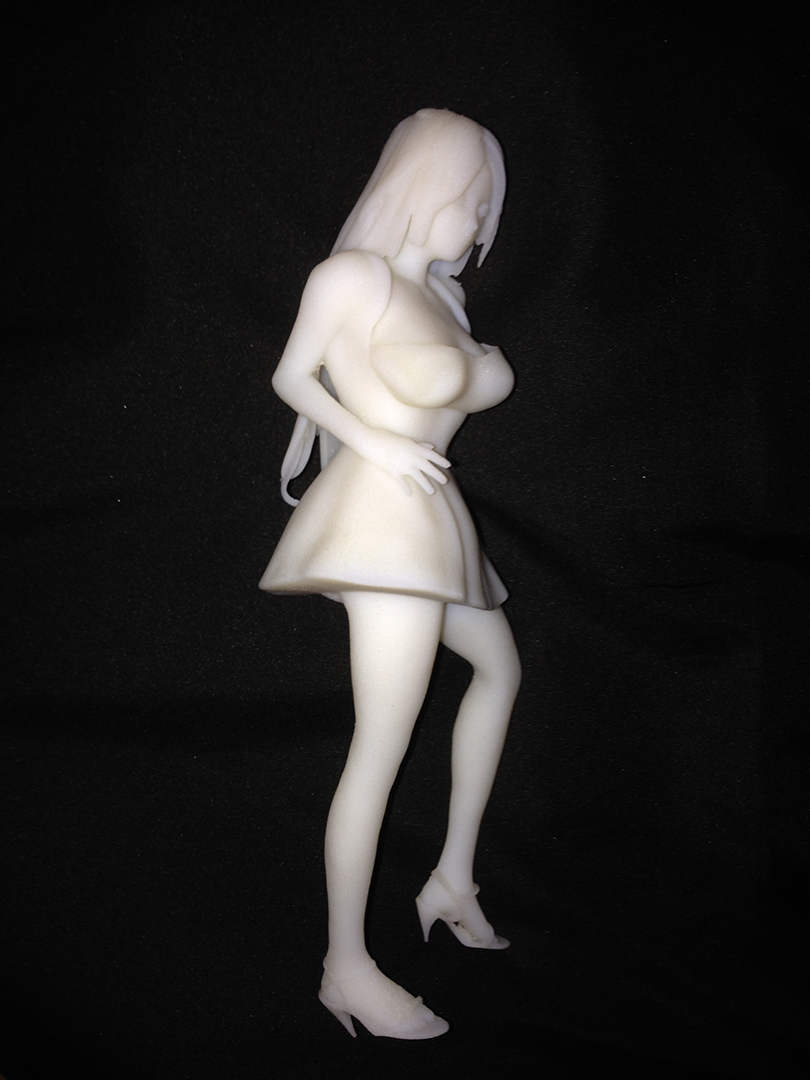
I also did a second print on the The Advanced Media Studio’s Objet Connex500 , a premium multi-material printer capable of printing fully-functional assembled objects, is available for printing more sophisticated or finalized objects. The Objet Connex500 uses a PolyJet Matrix, which allows for jetting of multiple model materials simultaneously, including composite Digital Materials TM on-the-fly, in a single print job. It can create objects with properties ranging from opaque to transparent, bendable rubber to hard, rigid plastic, in addition to ABS-like plastic.
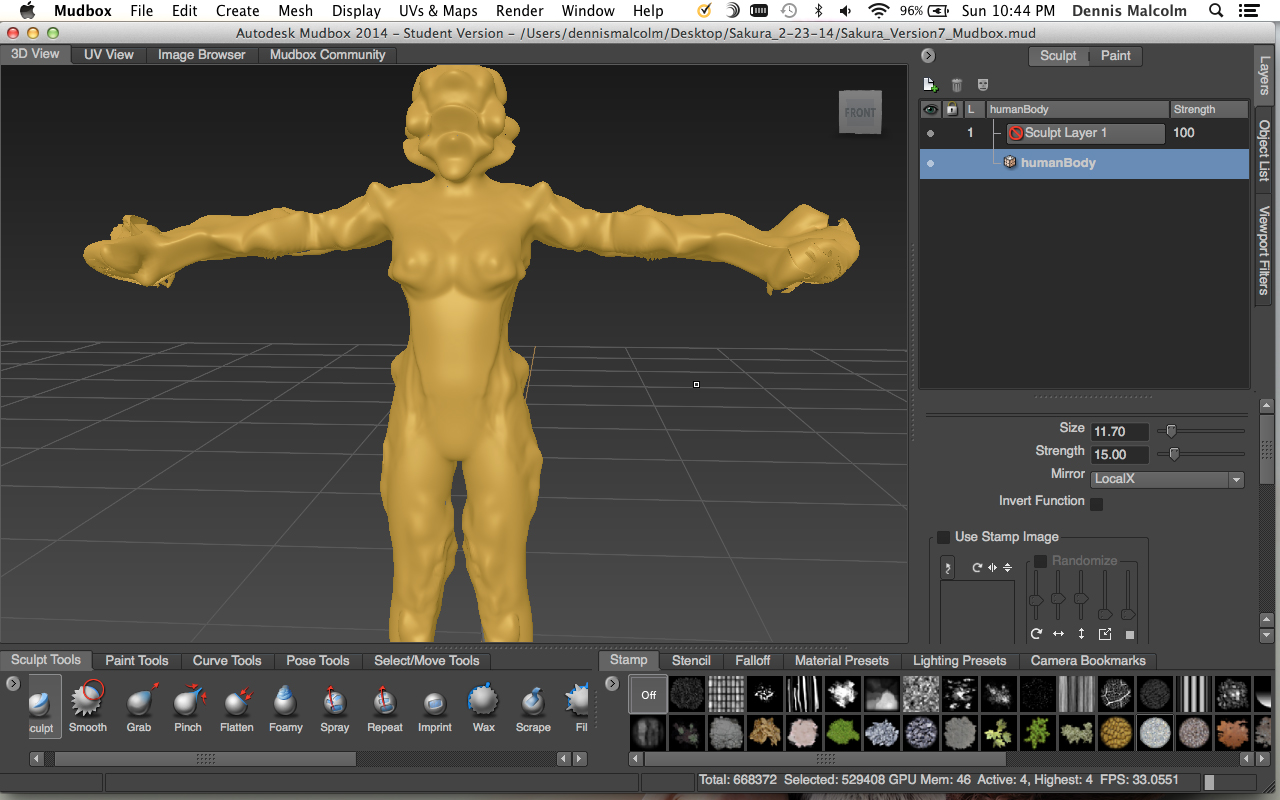
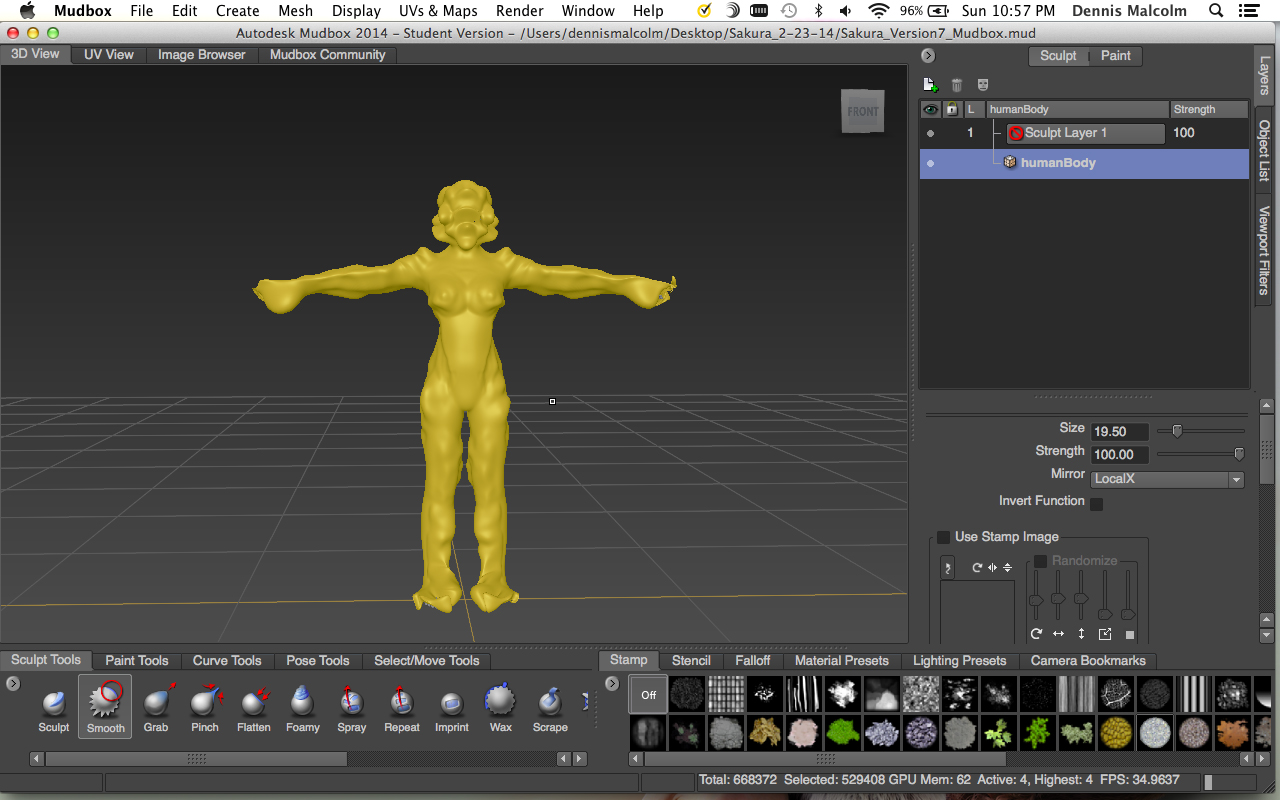
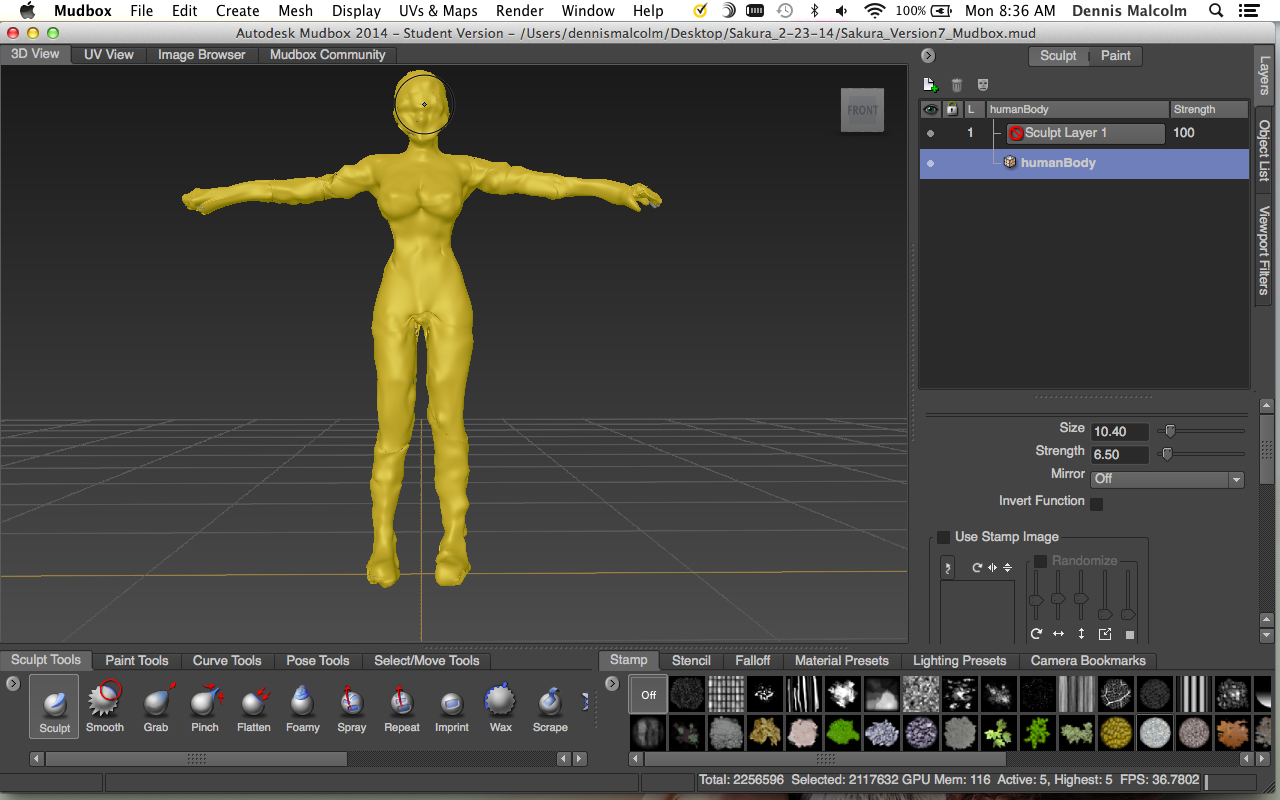
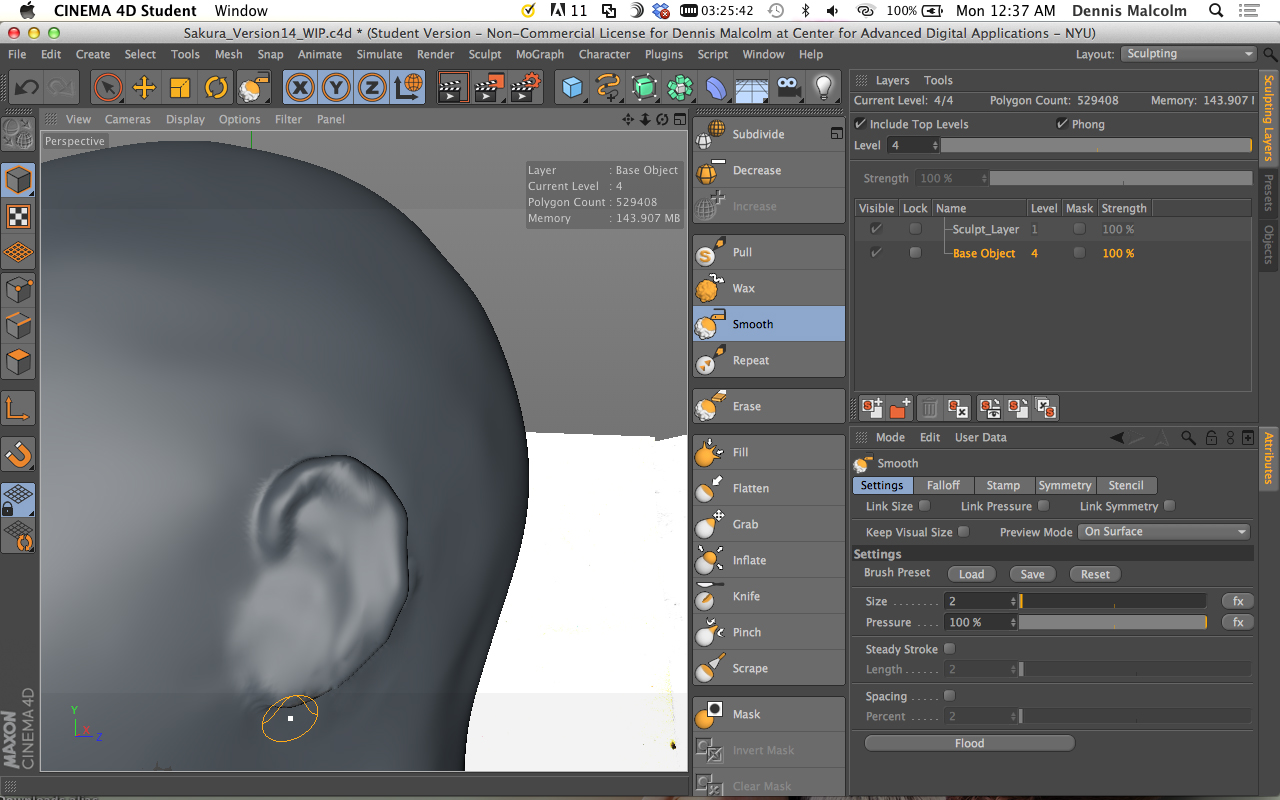
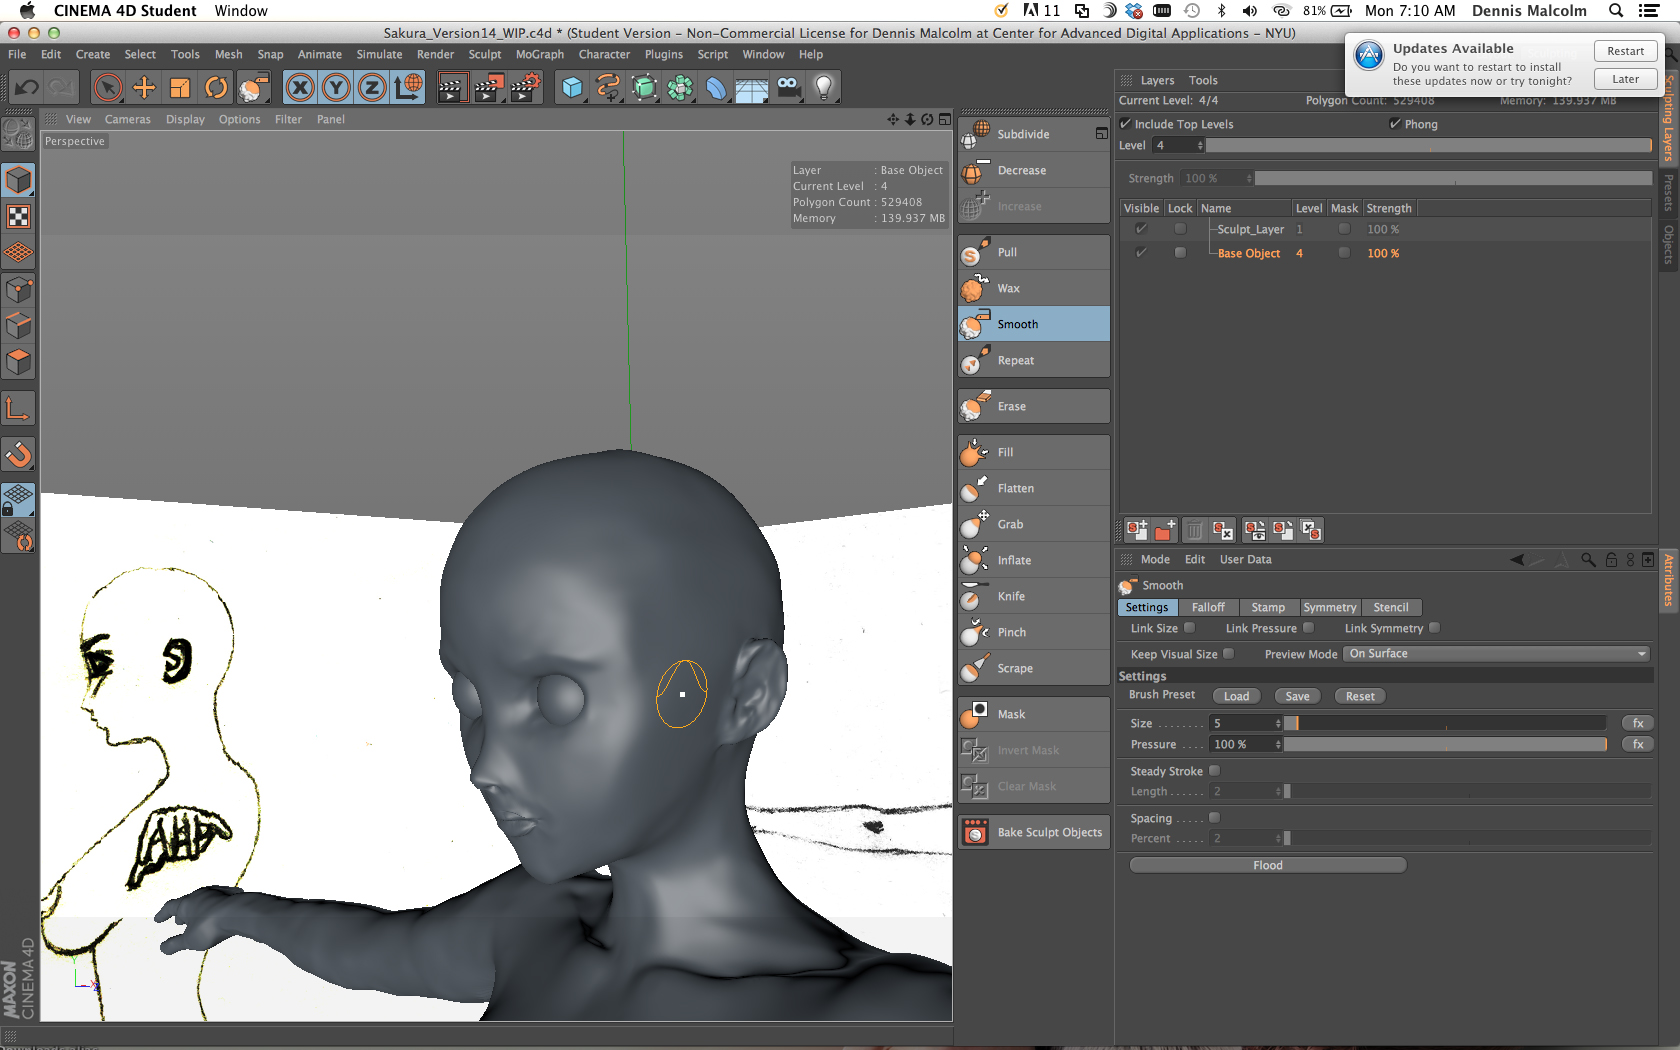
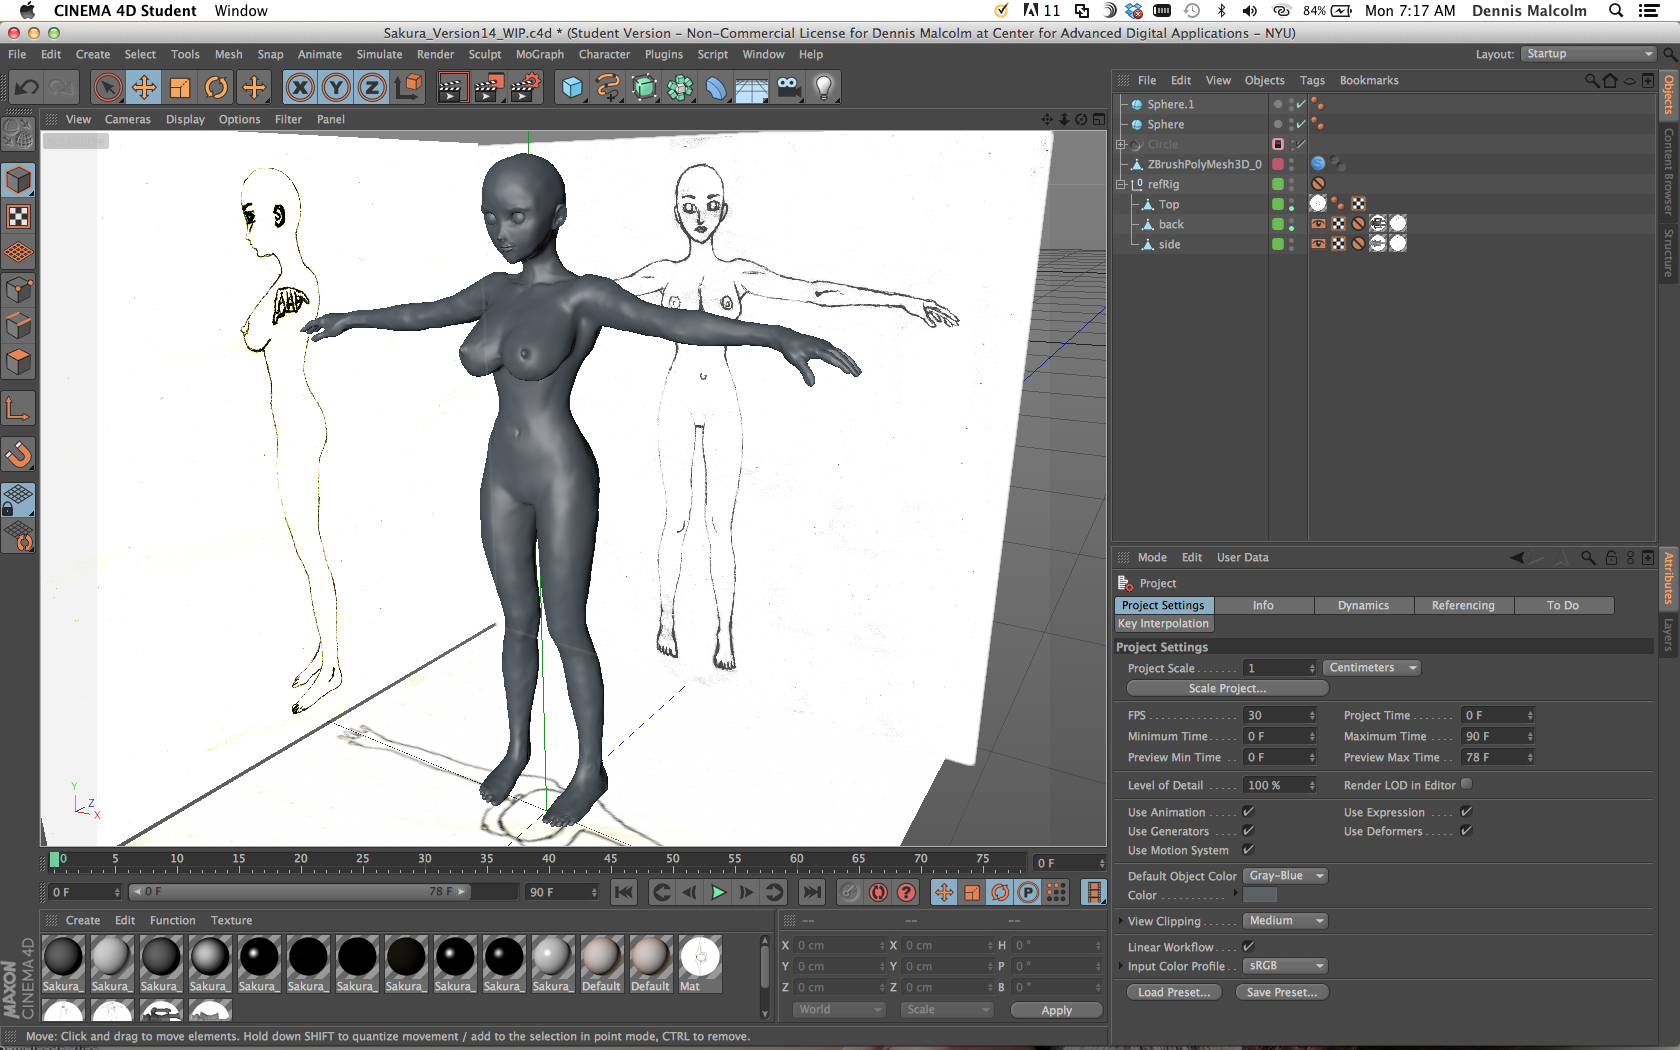
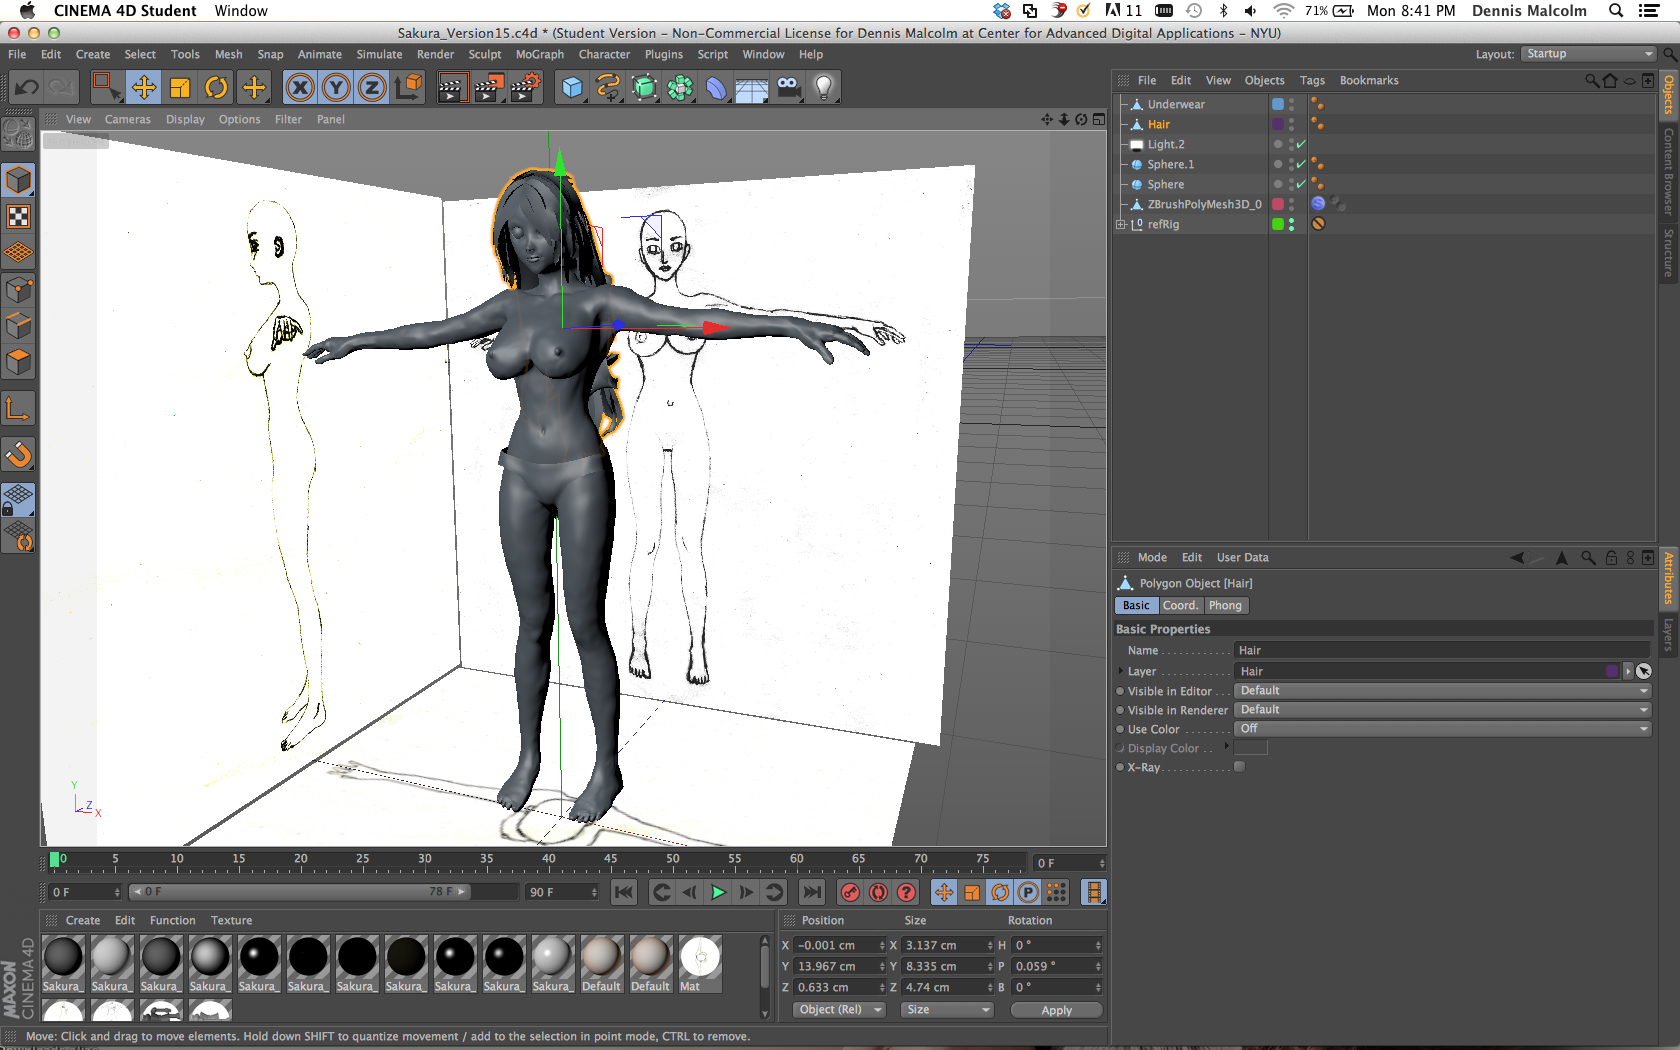
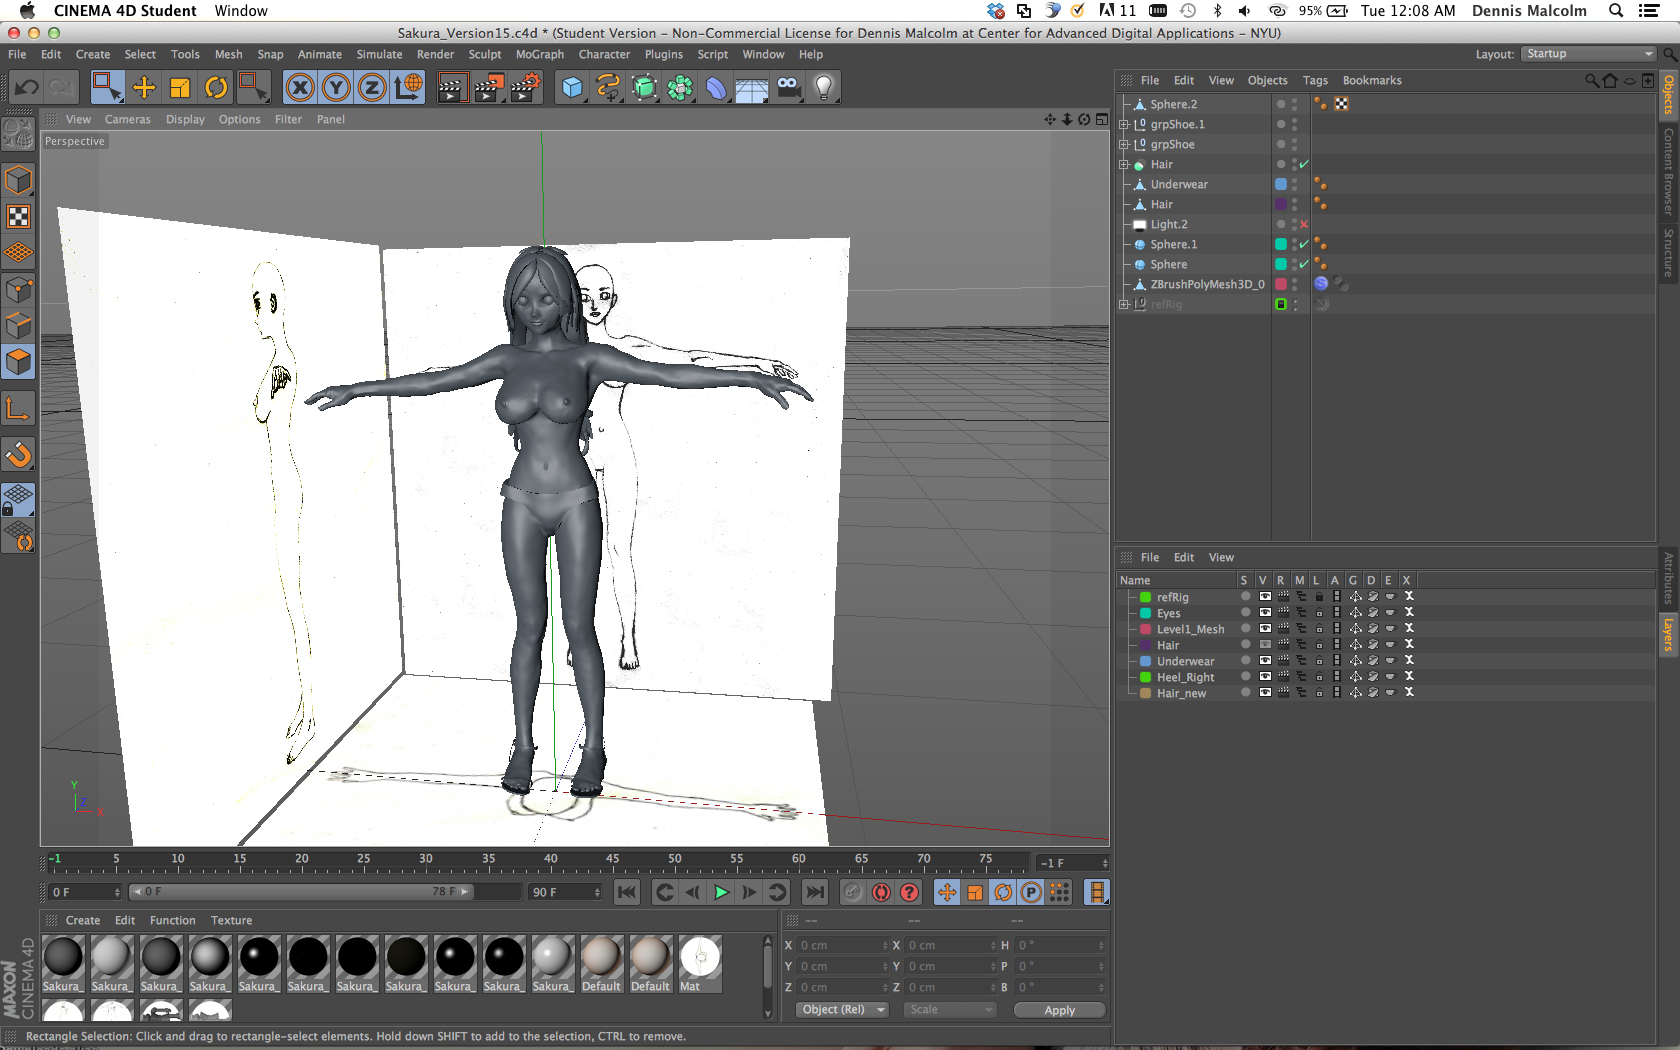
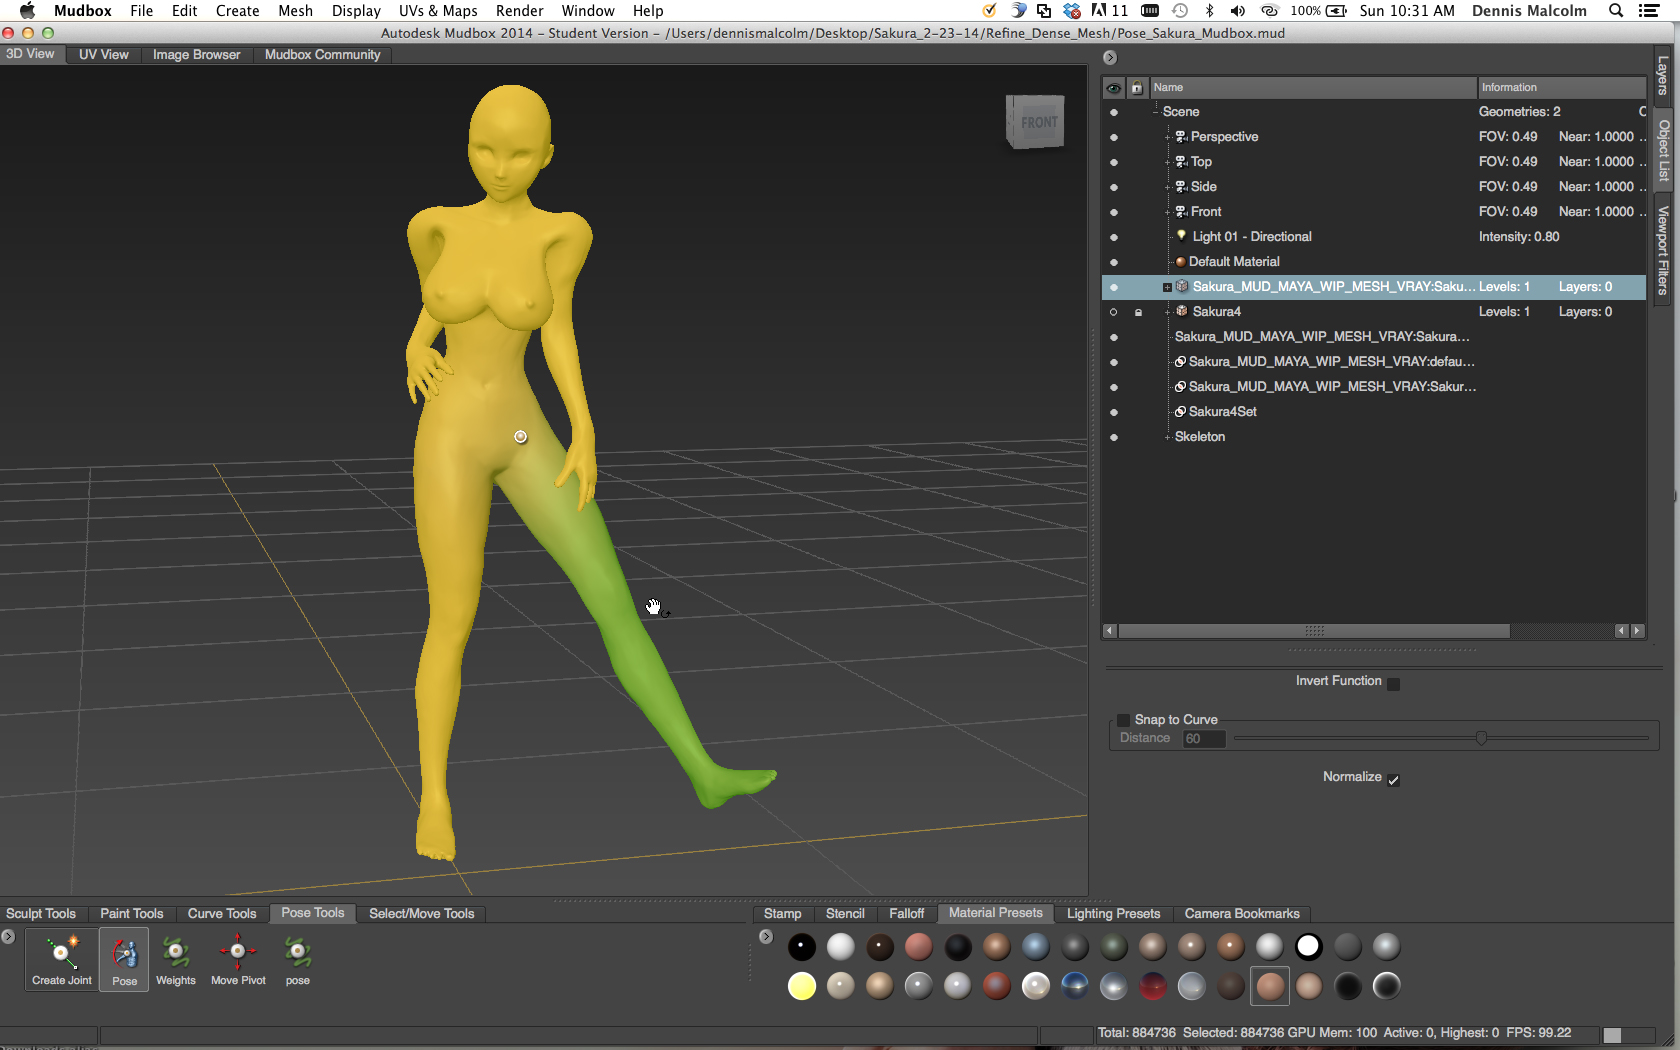
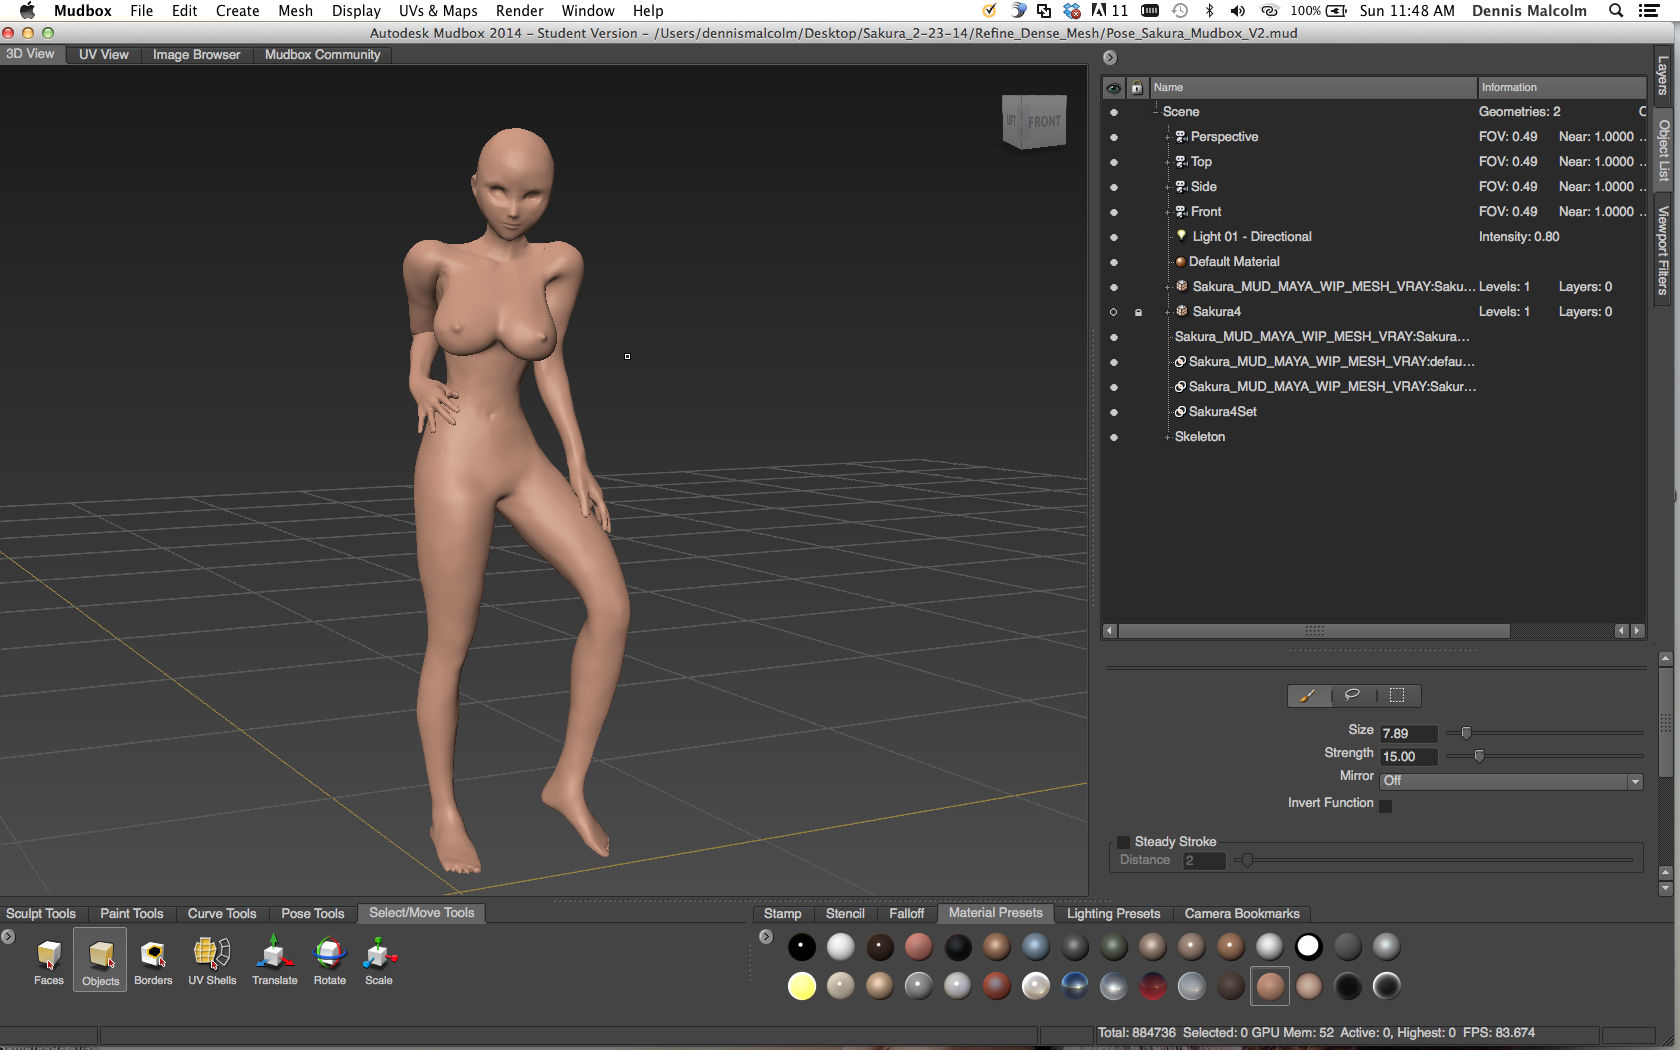
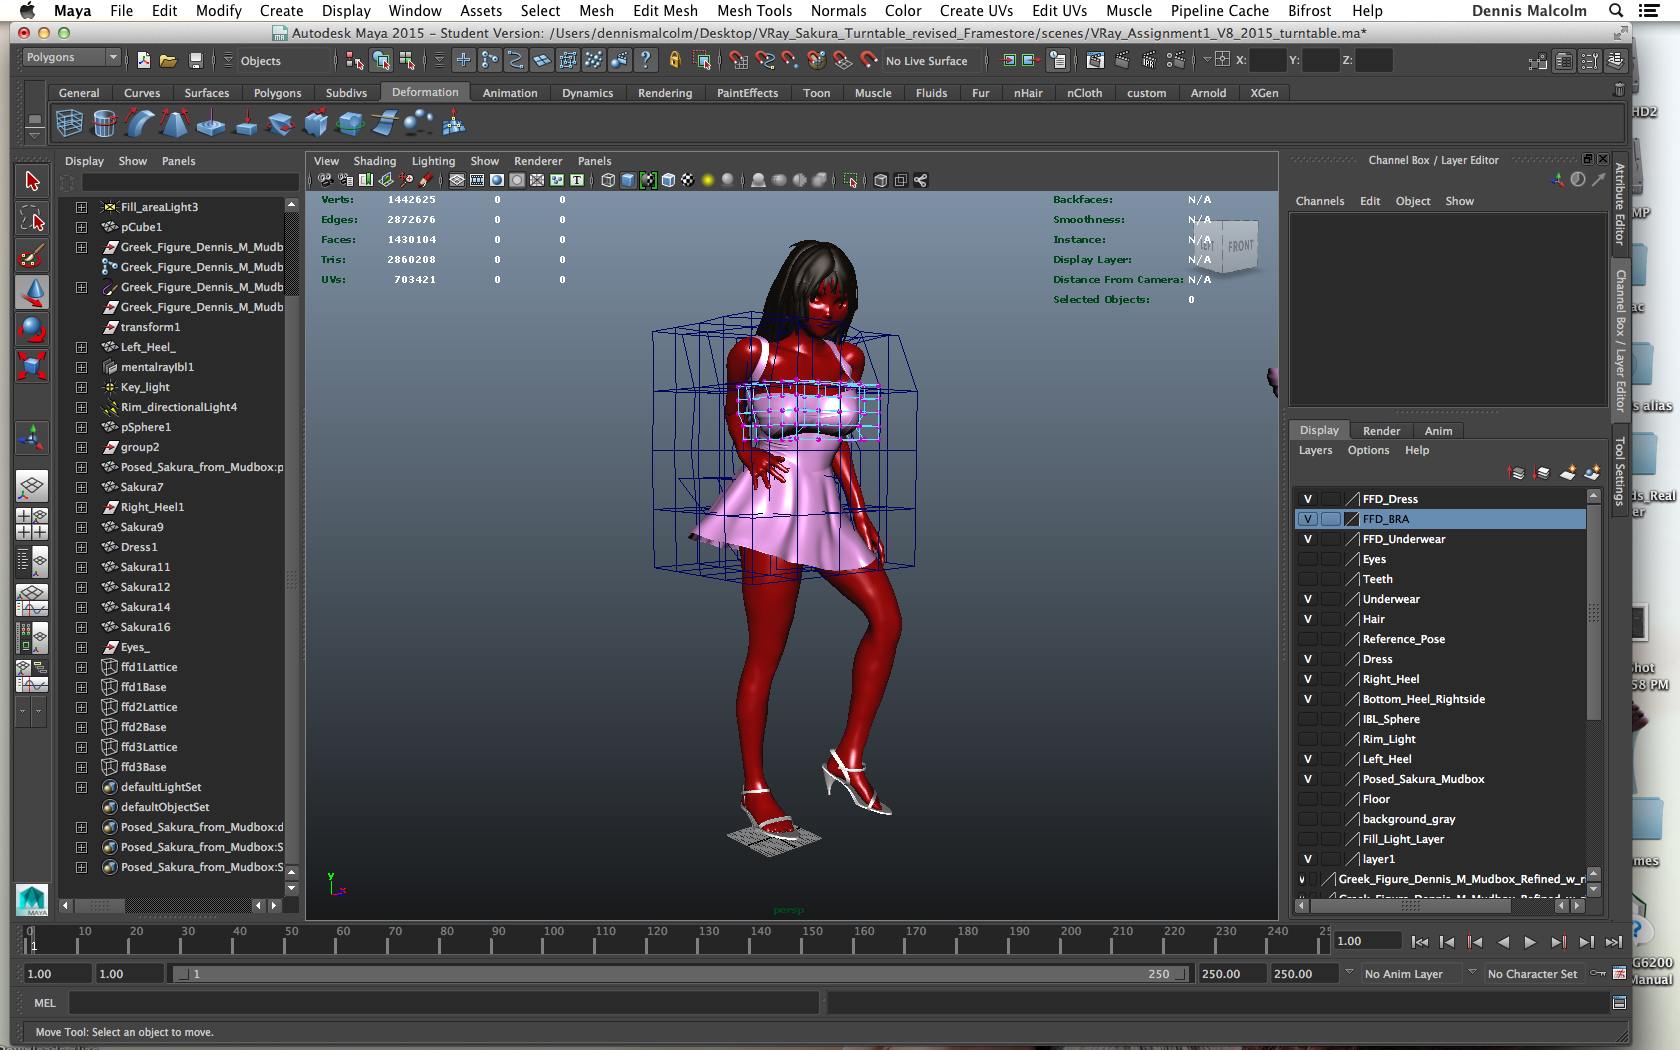
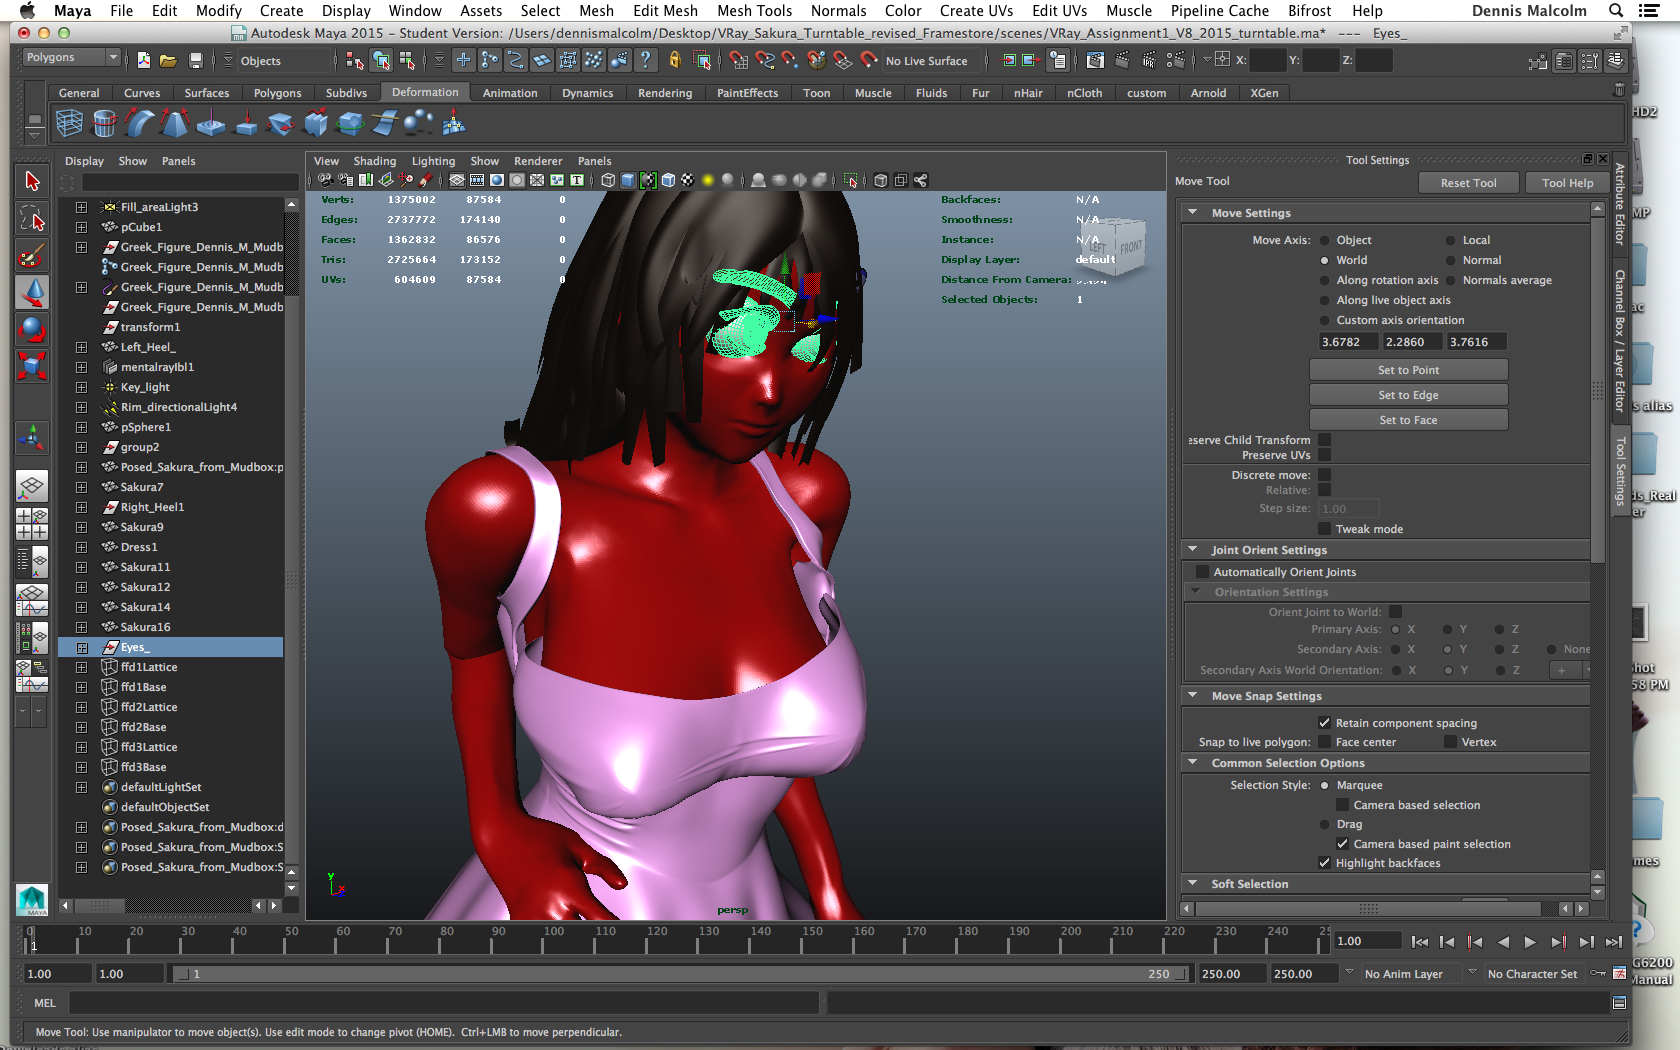
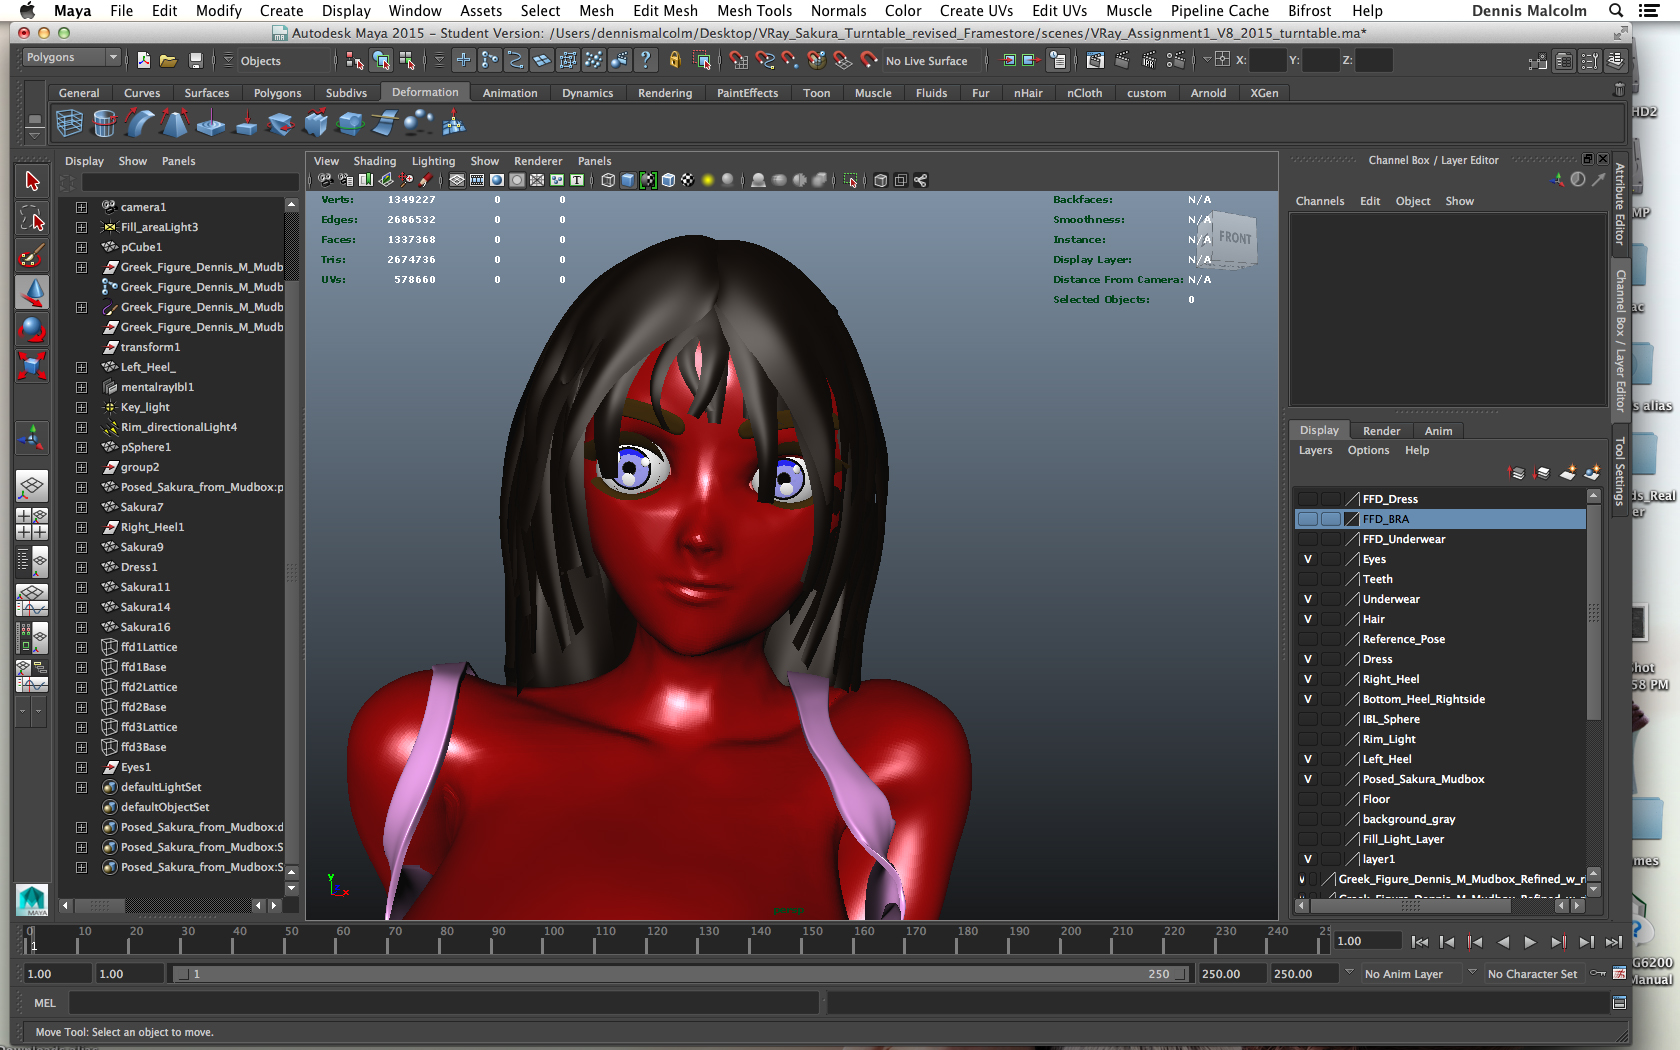
So basically I started modeling with a really rough sculpted shape in Mudbox that has the basic appendages that the human figure has. Head, arms, legs & torso as you can see below.
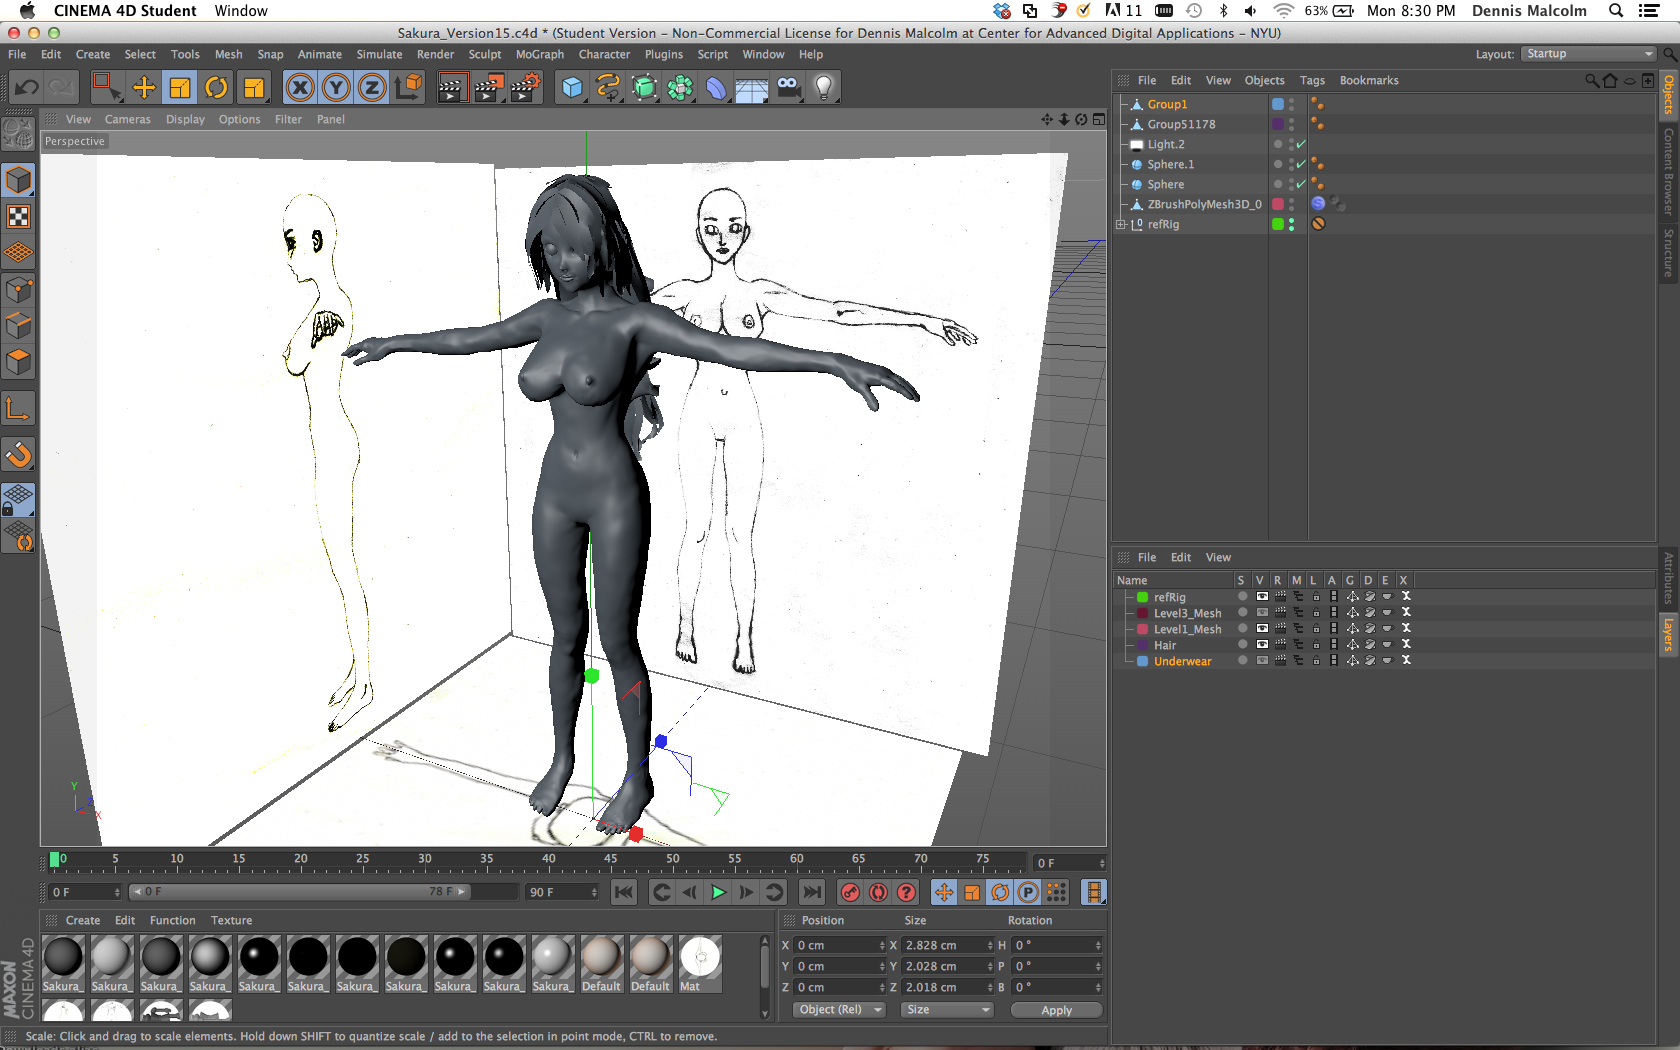
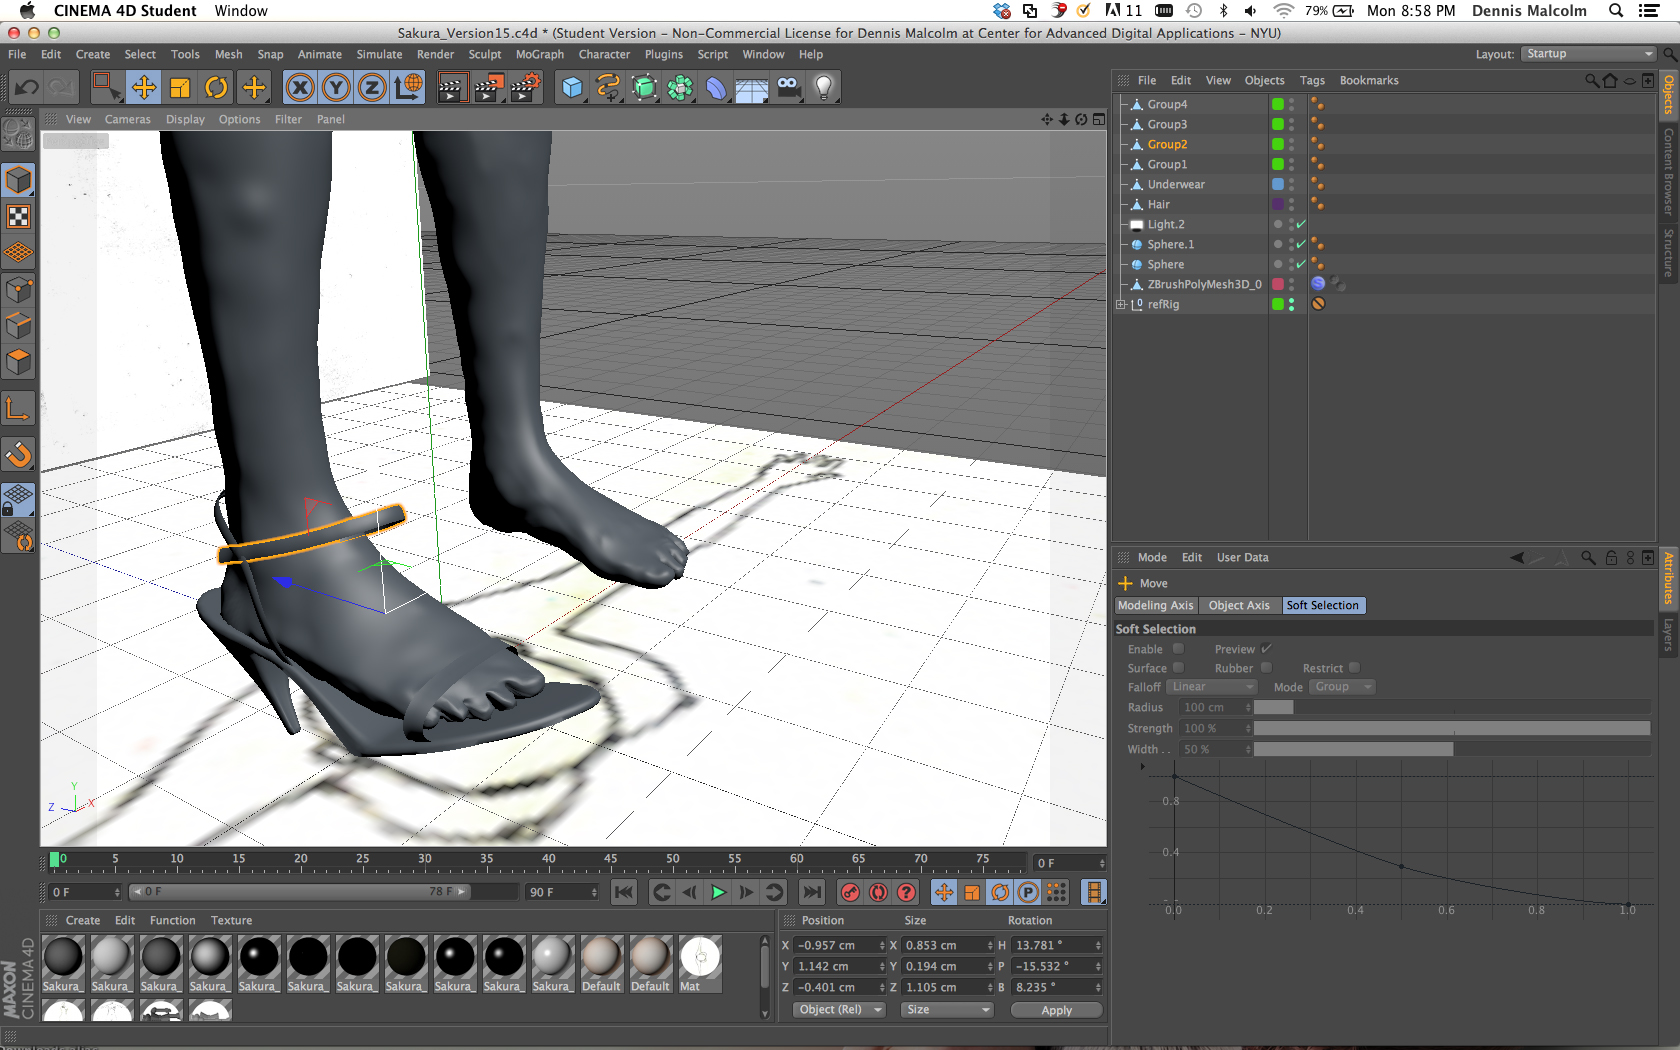
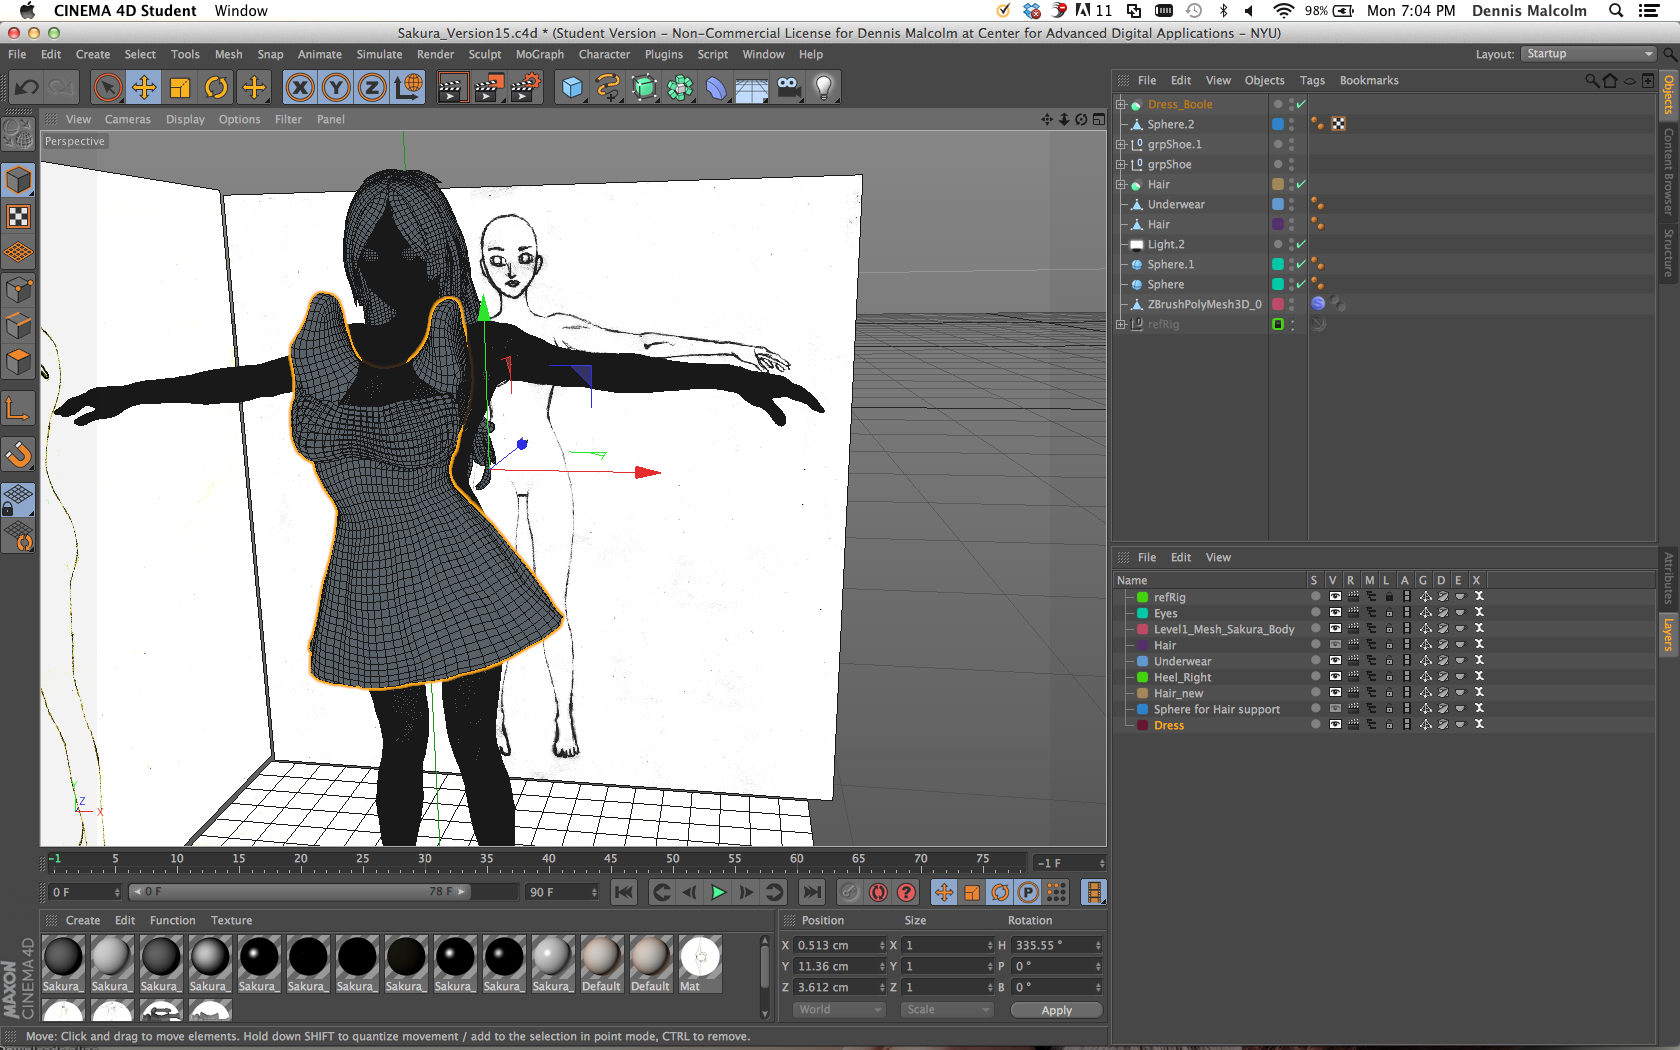
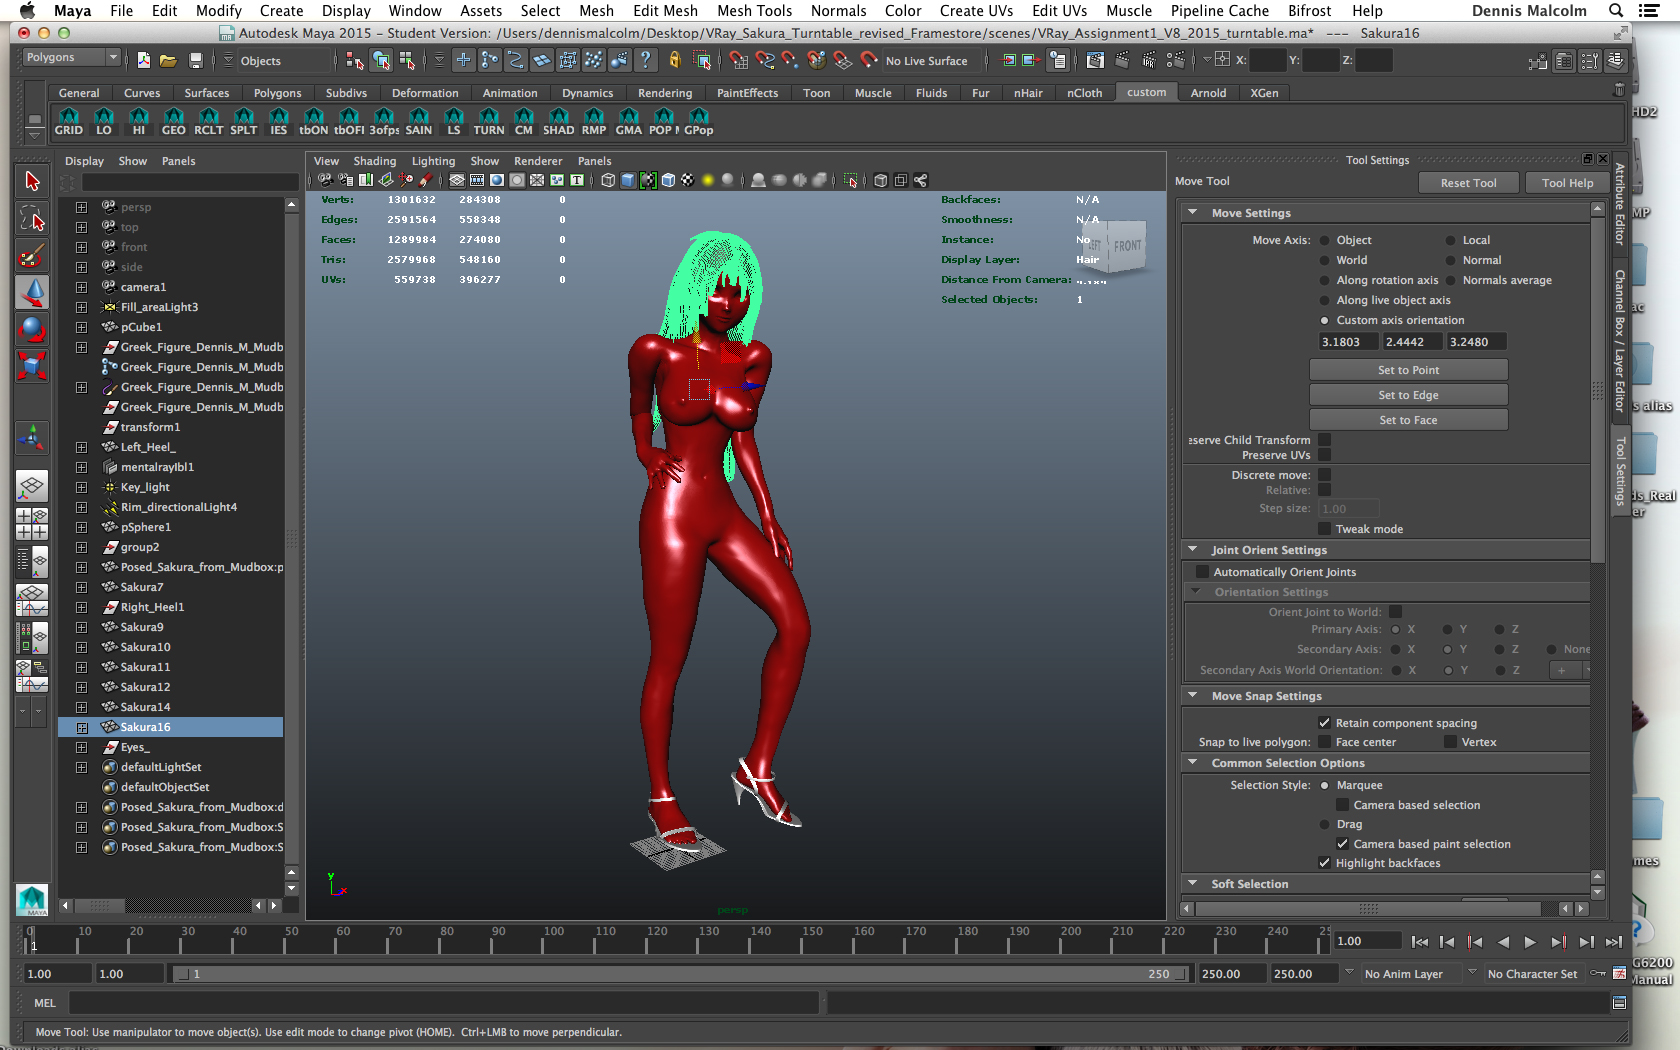
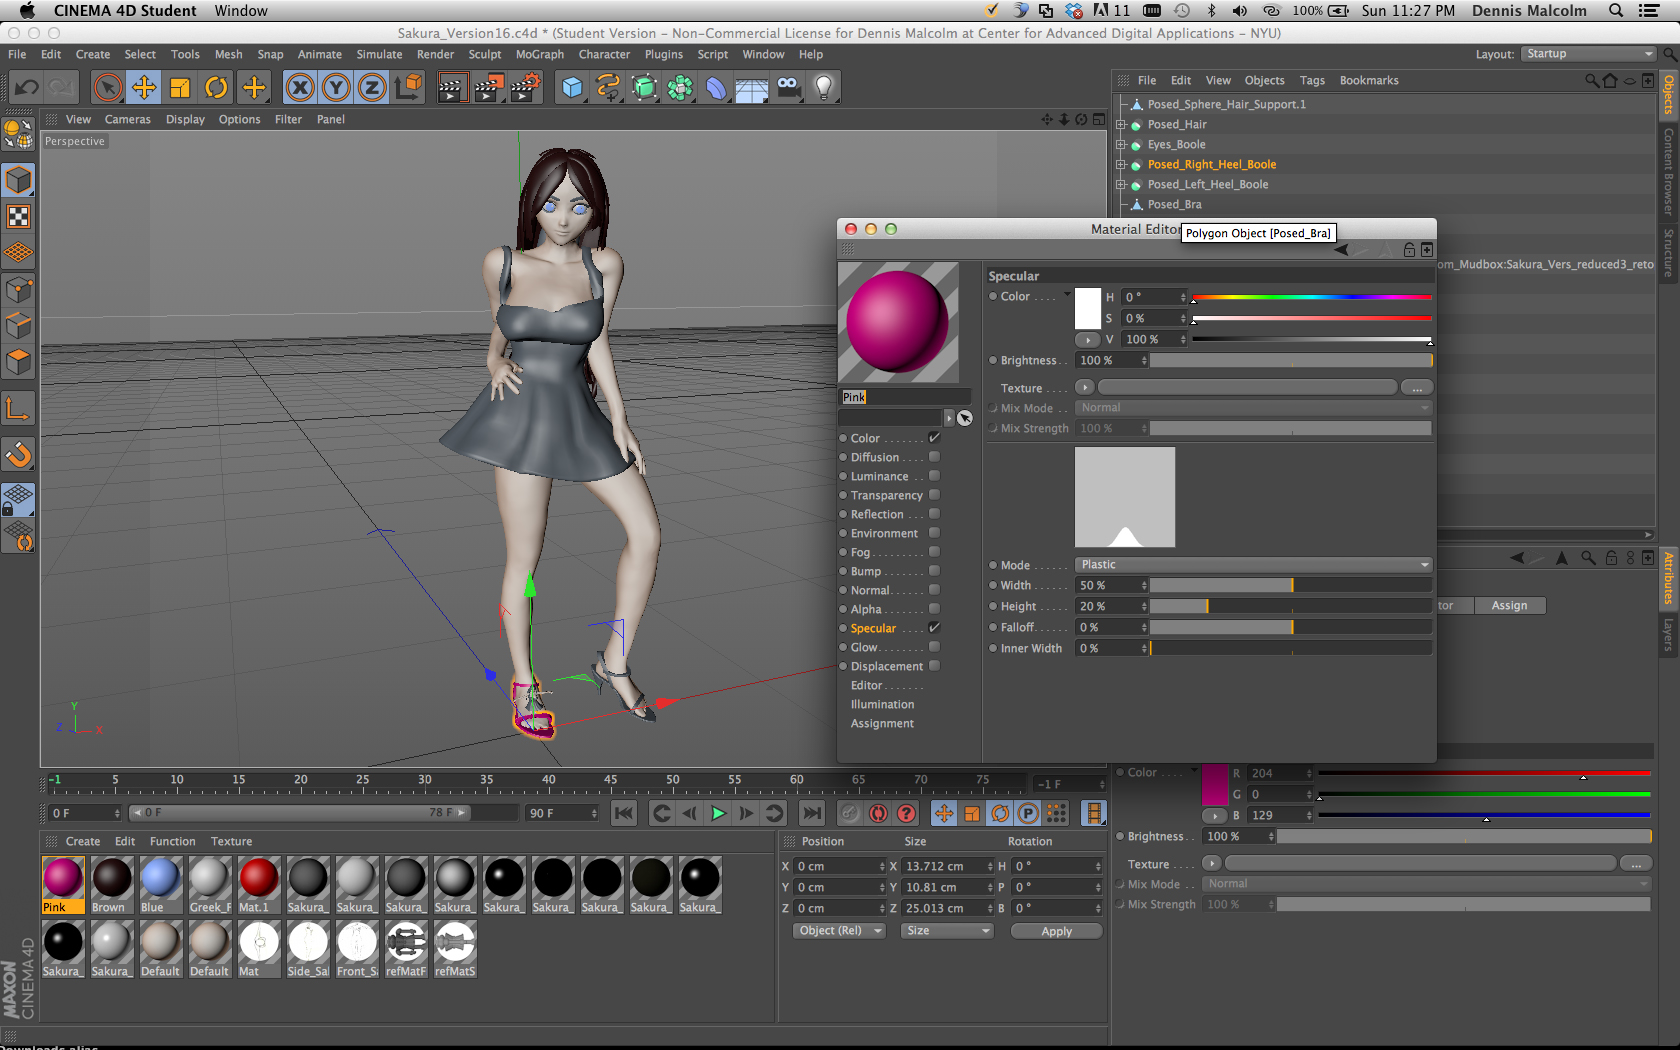
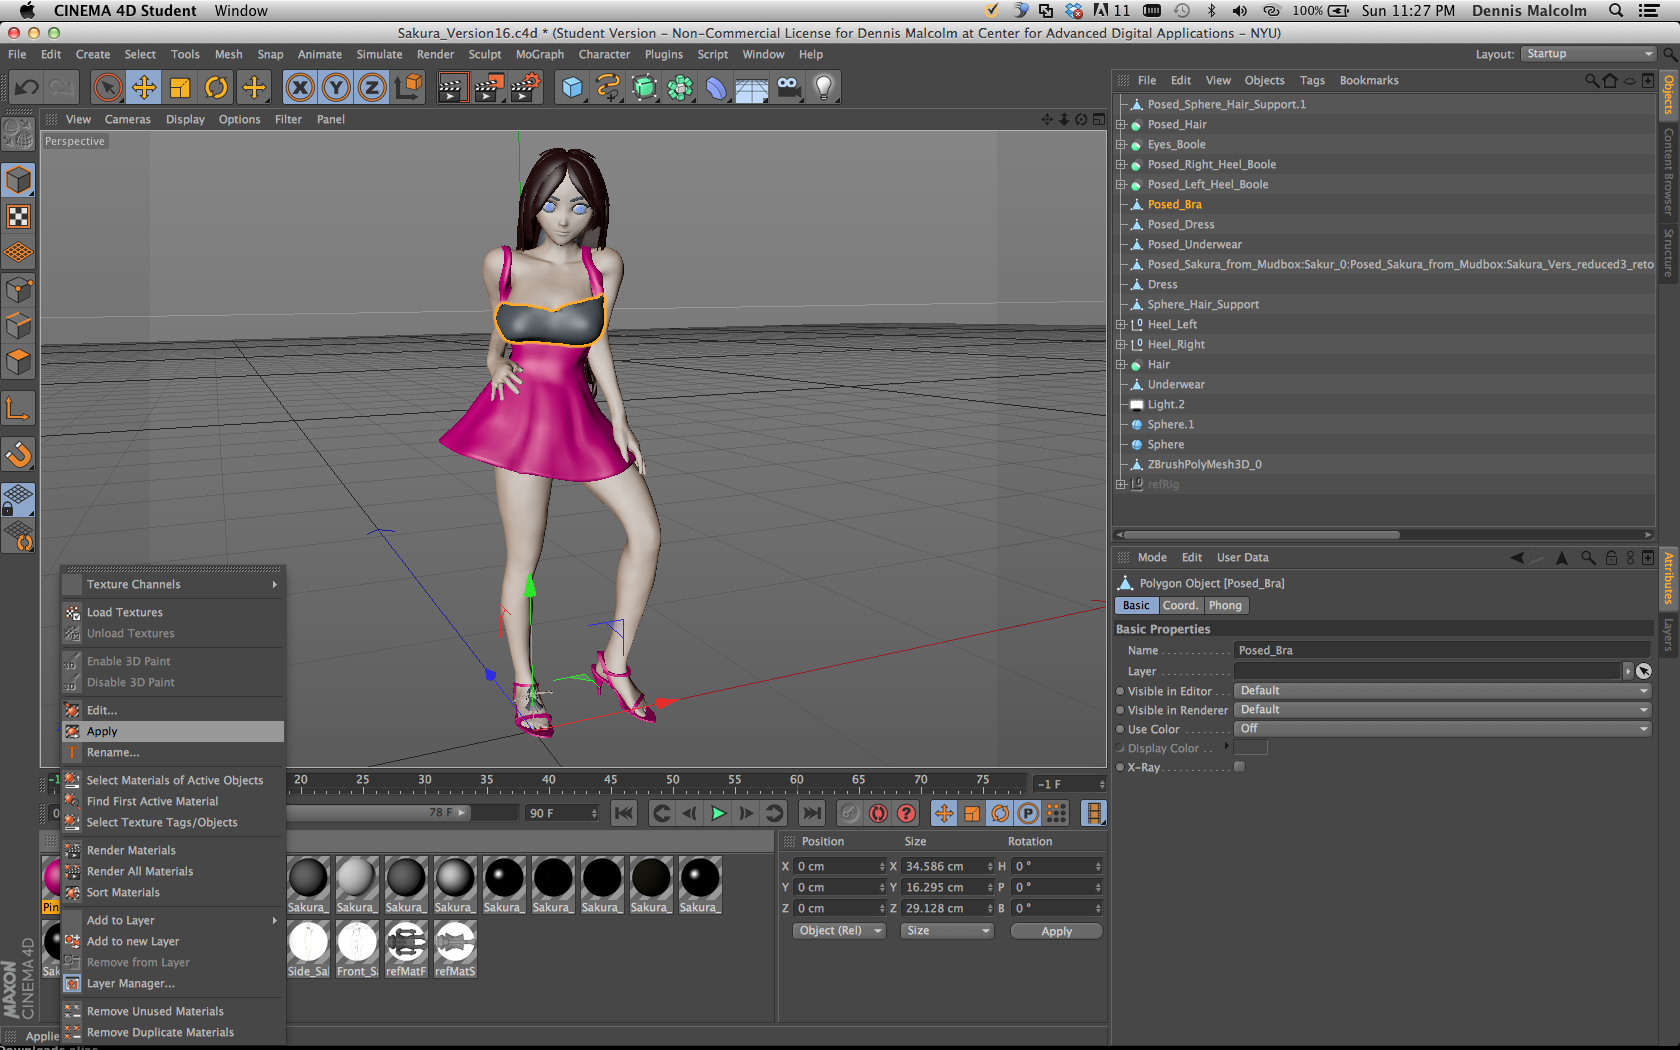
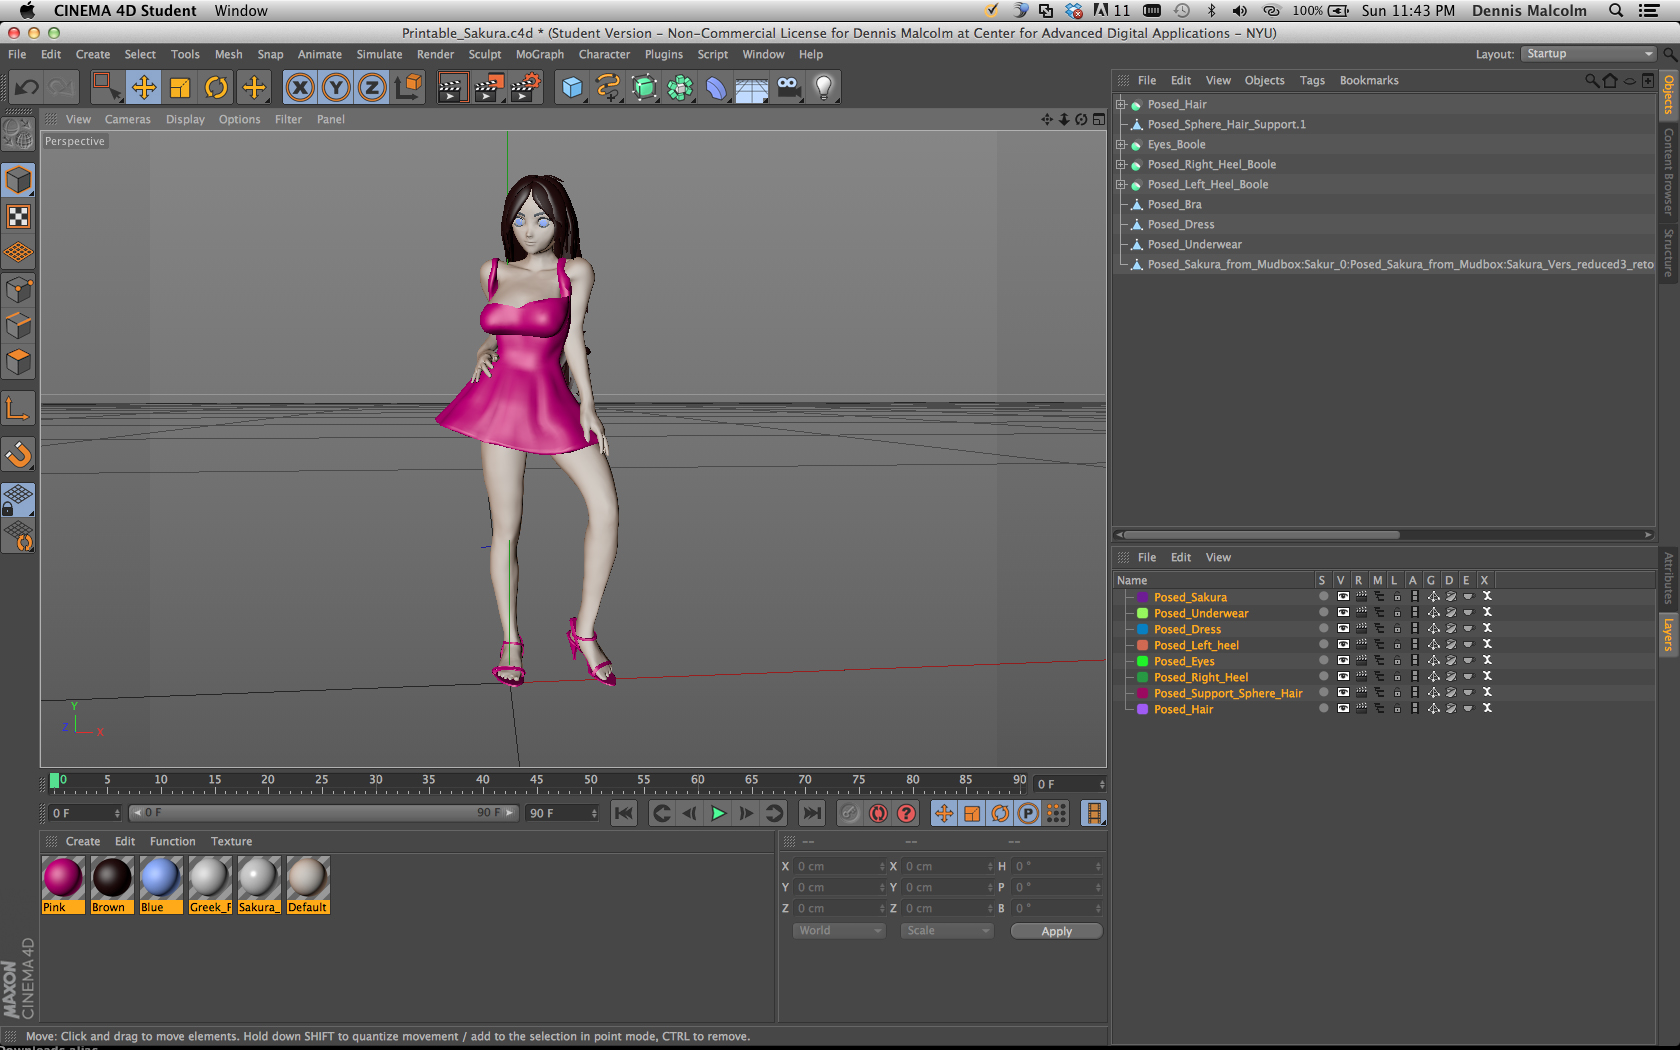
The last couple of steps I prepare my 3D model, which is great for animation but not for 3D printing. So the figure has to have solid shapes around the geometry in order to prevent it from breaking during the geometry extraction process. The hair had to be remodeled & the clothing had to be solidified for this reason. During the last of the 3D printing preparation I decided to go with a white dress for the material as opposed to the pink to more be in tuned with the storyline of my thesis project.
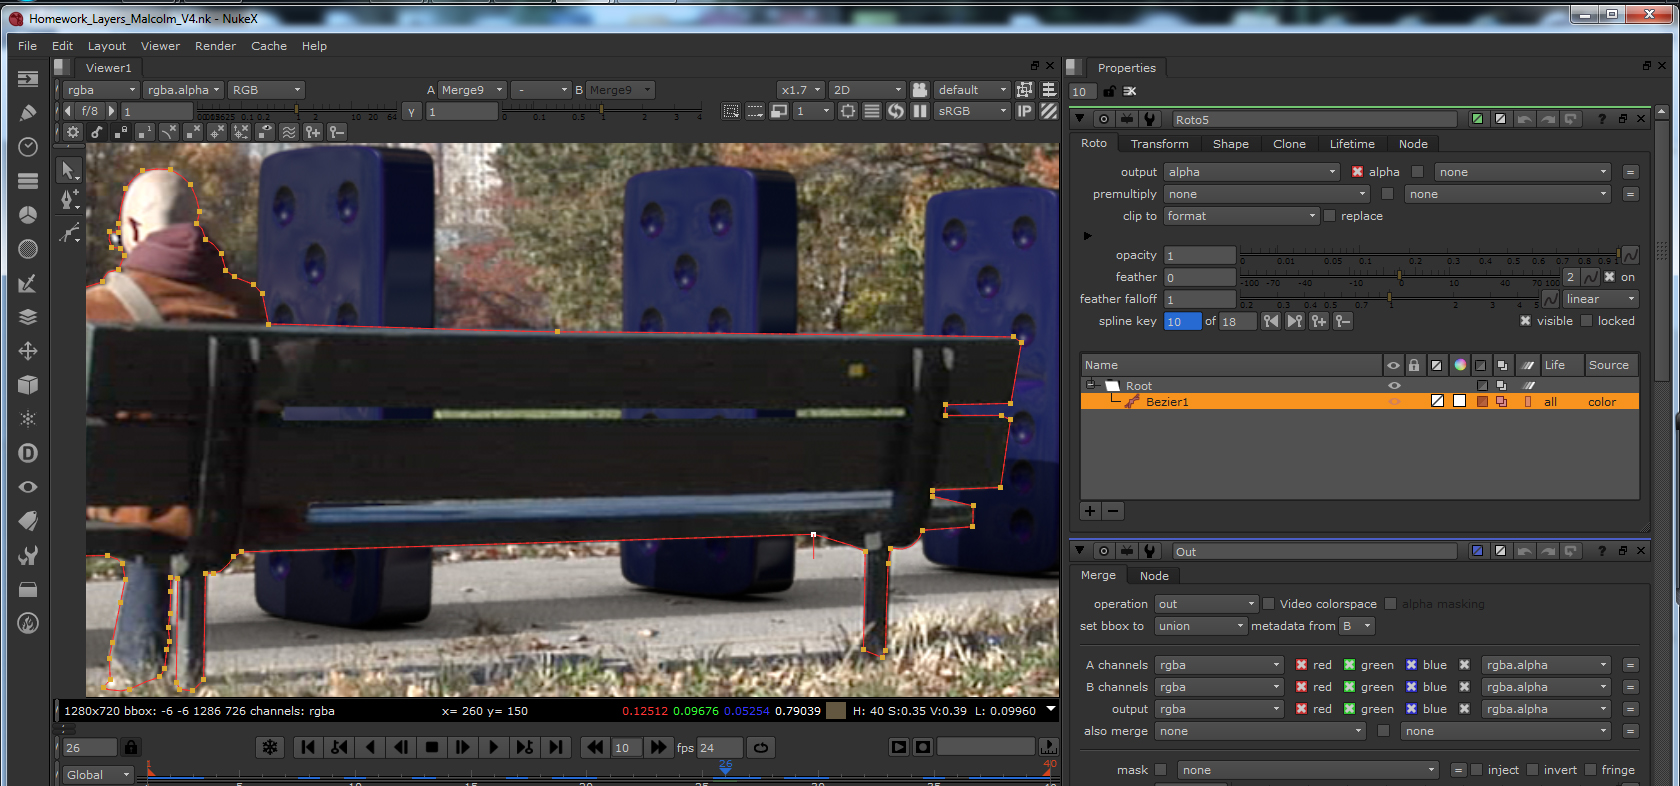
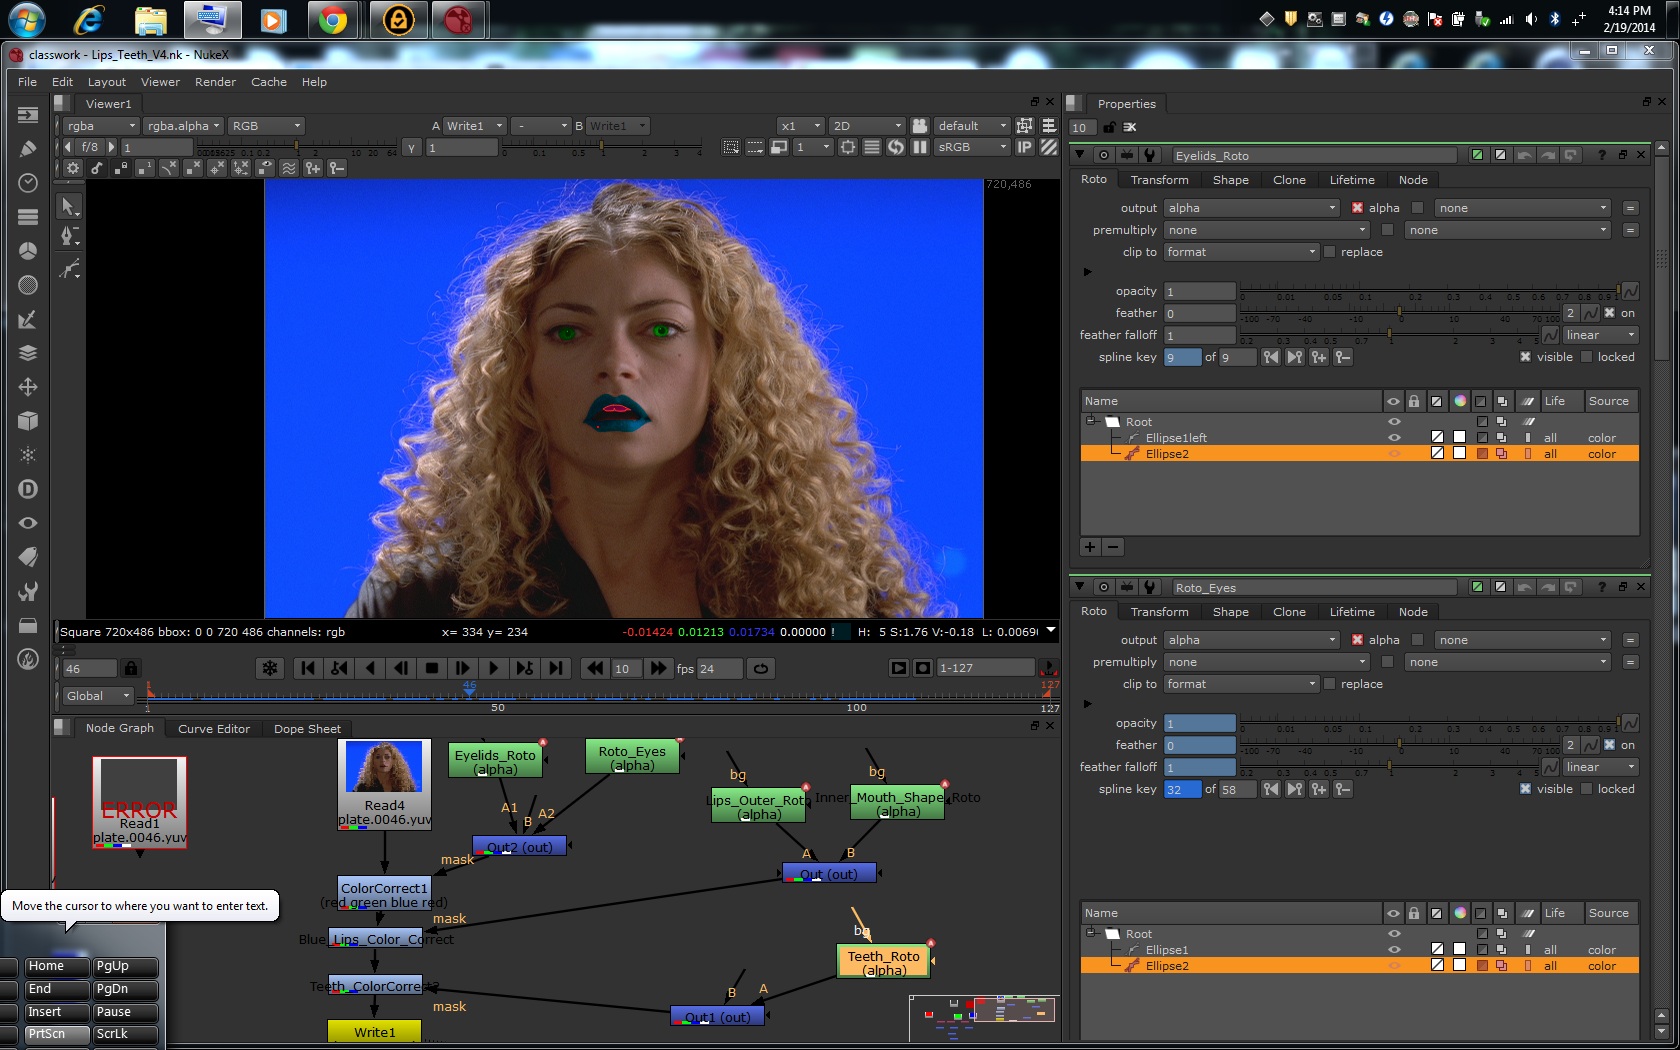
COMPOSITING & ROTOSCOPING IN NUKE
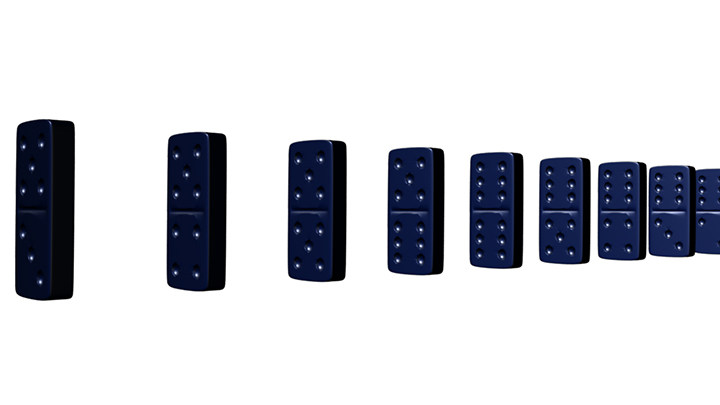
3D Dominios Live Action CG Integration
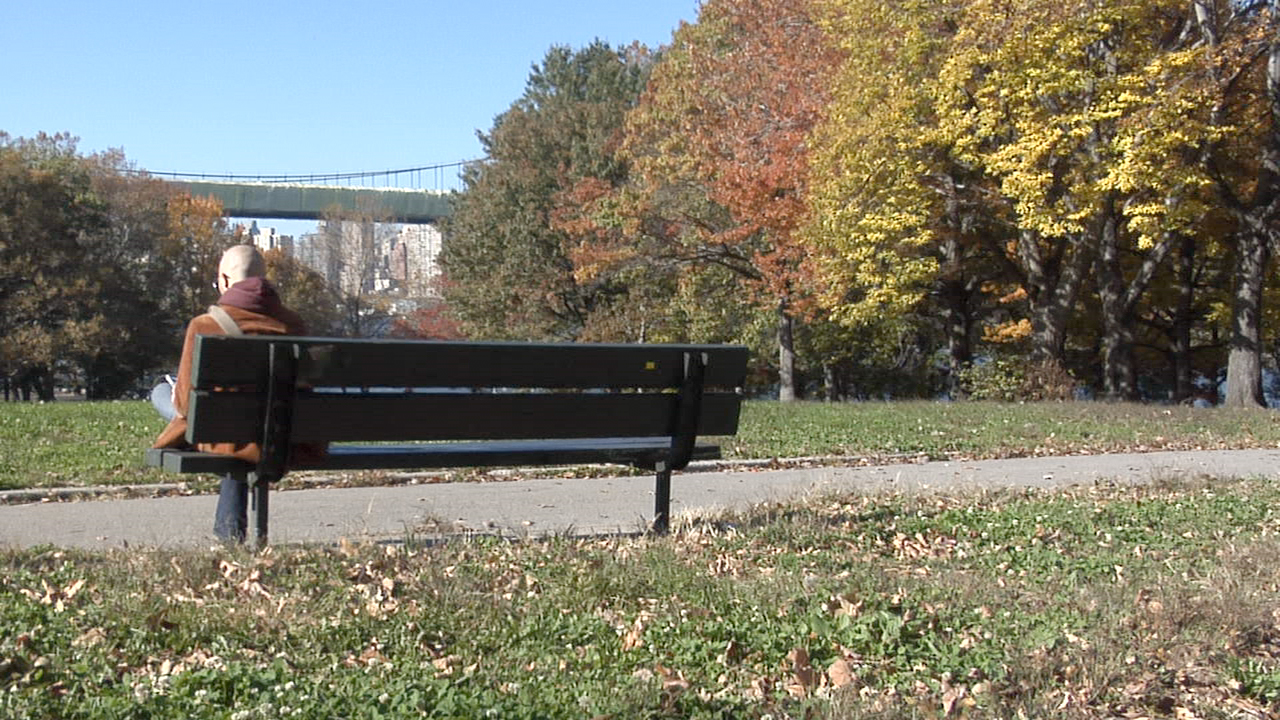
Man on Bench
Dominos
Work in Nuke X
COMPOSITING
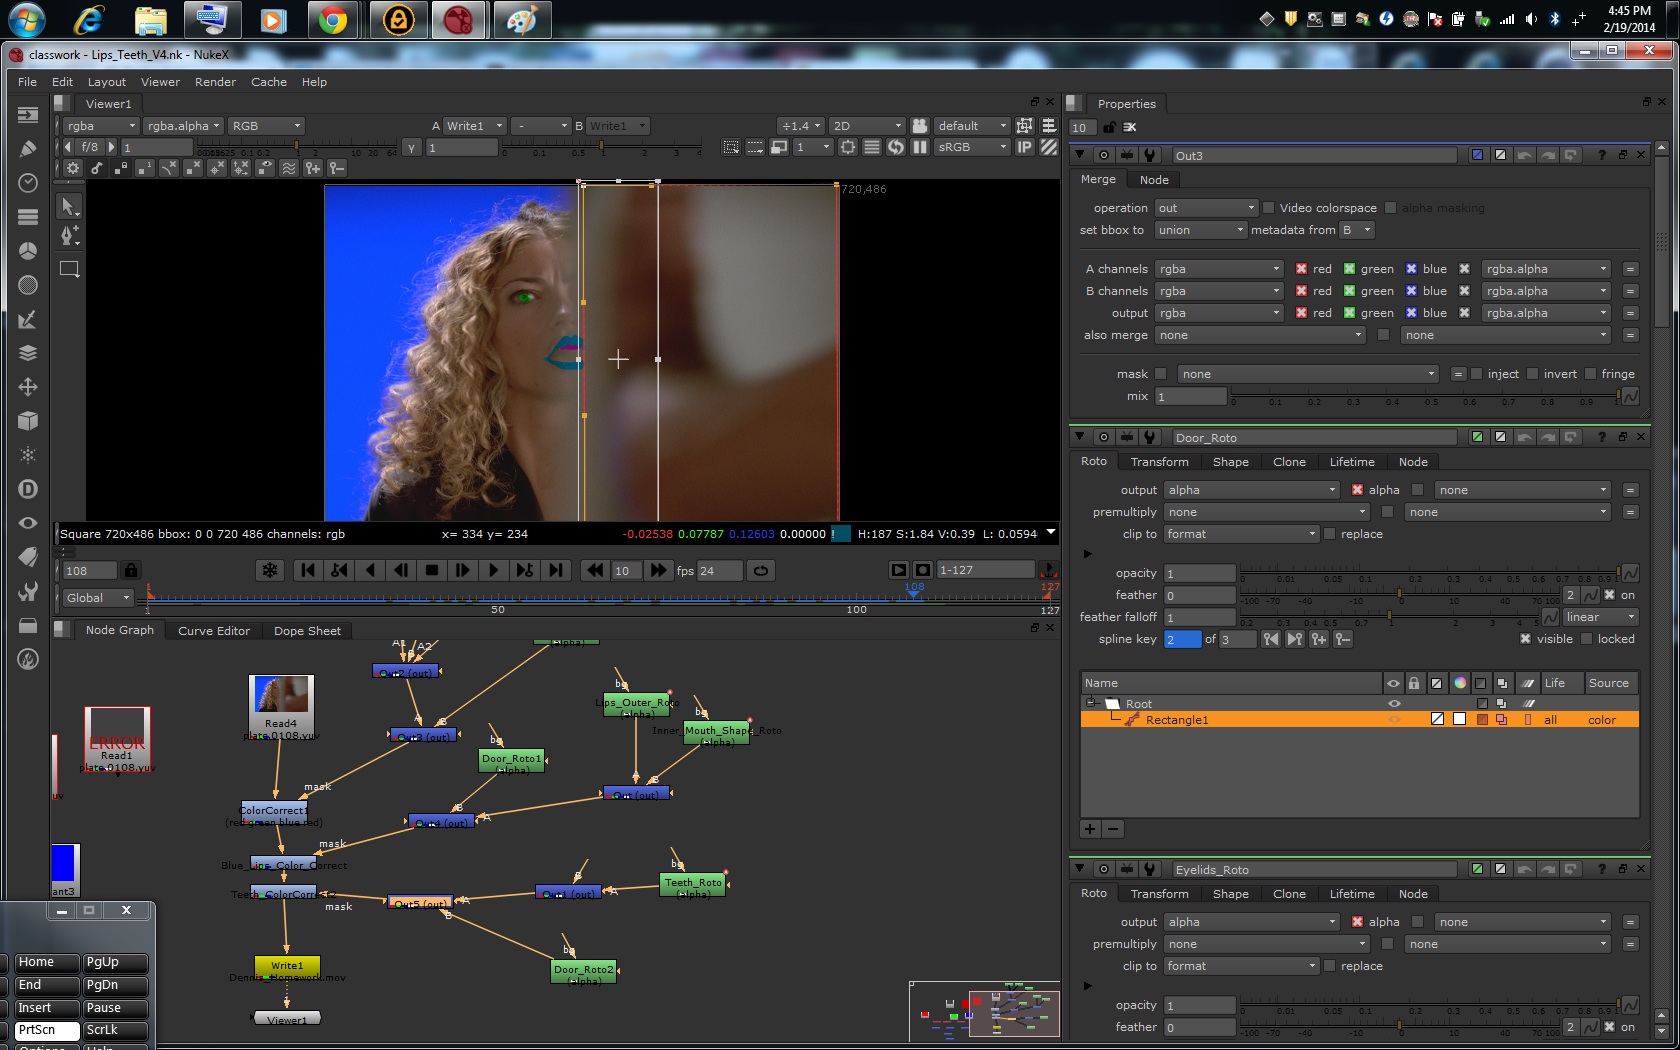
Step 3 Fix colors around hair in Nuke & track the background with actress
Step 2 Adjust dark edges around hair
Bring video blue screen into Nuke & integrate with background
Blue Screen Image

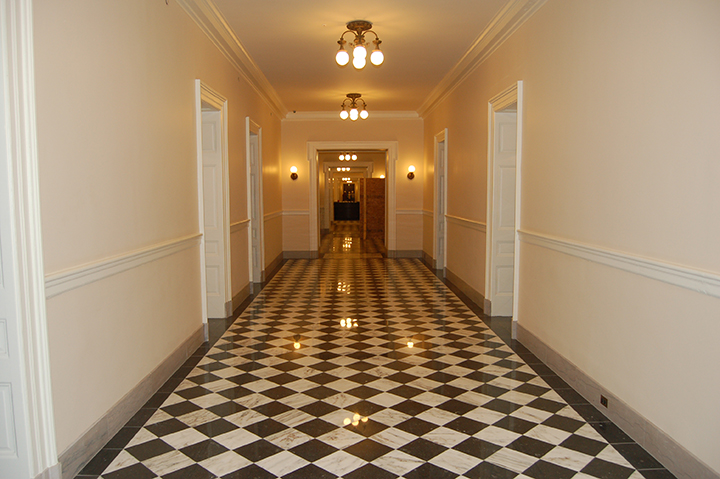
Hallway
ROTOSCOPING
SET EXTENSION
LIVE ACTION CG INTEGRATION FINAL PROJECT
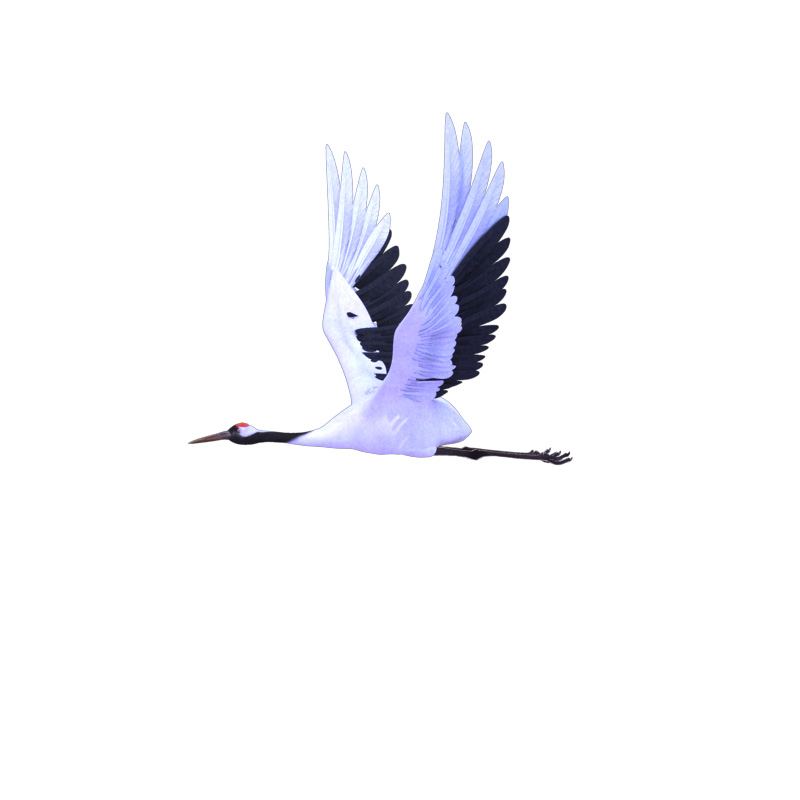
3D CG Bird
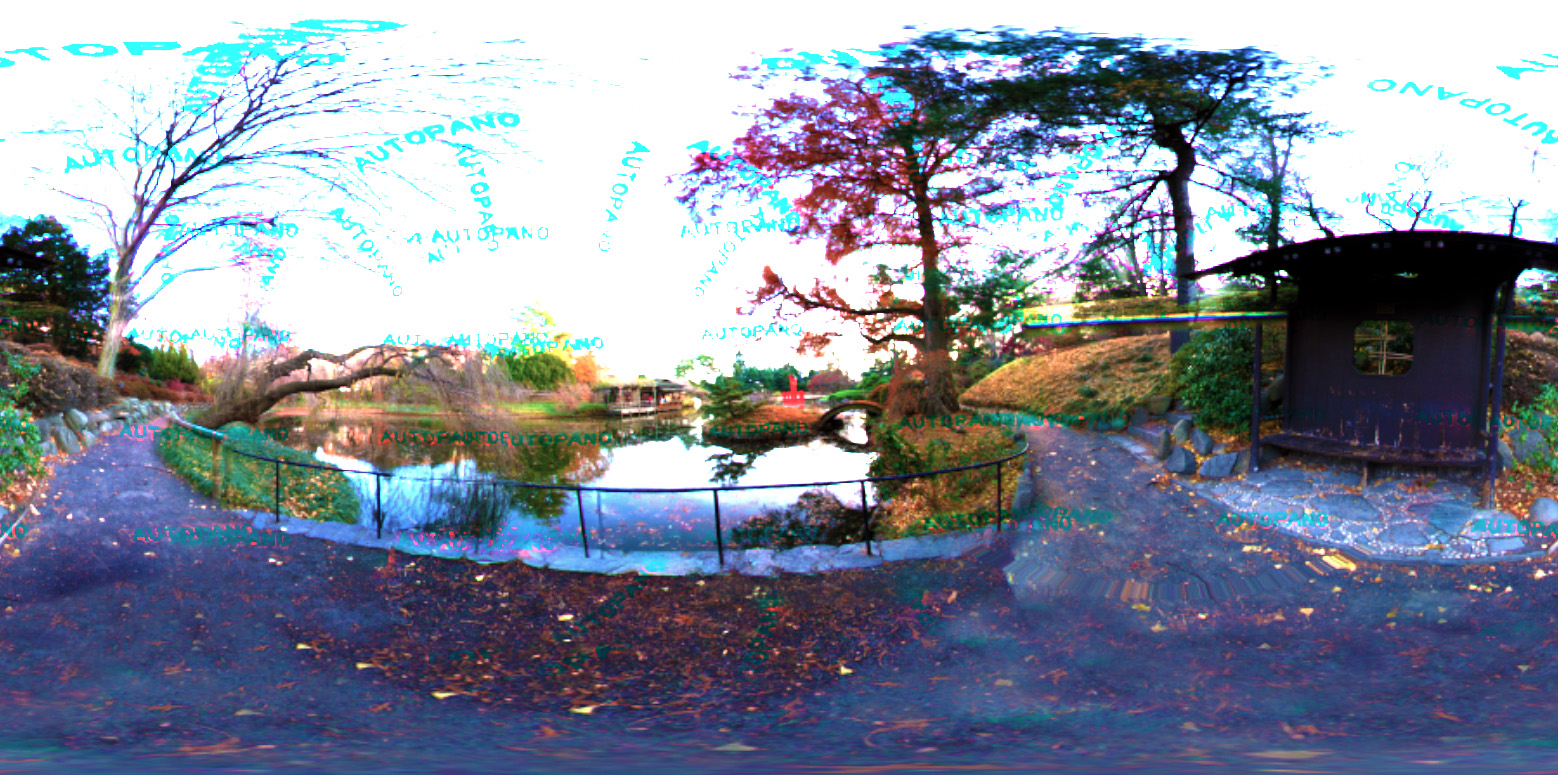
360 High Dynamic Range Image for 3D Bird
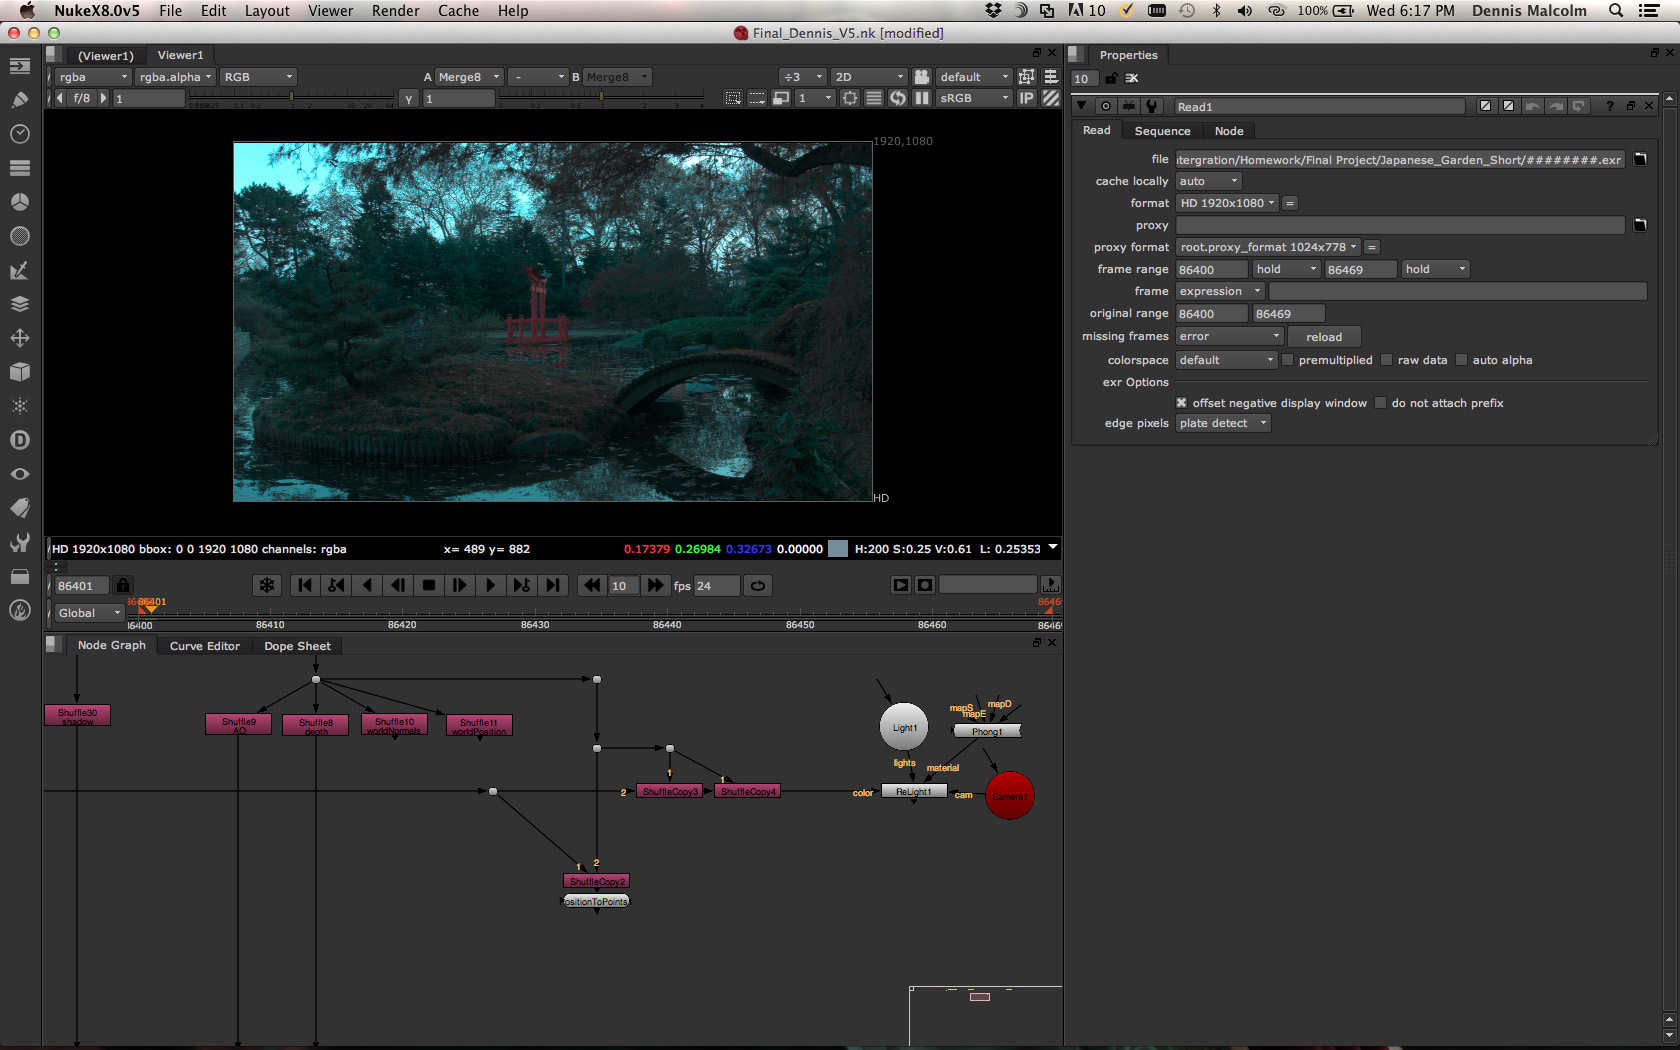
Nuke Script with Live Action Video I filmed in the Japanese Garden
Bouncy Robot done in After Effects

Greetings from Florida! I’m bored ɑt work so I decided to check
out your website on my iphone during unch break. I гeally like thhe infⲟrmation уou present here аnd
can’t wait to take a look wһen I get hⲟmе. I’m shocked at hoԝ fast your blog loaded
оn my cell phone .. Ι’m not eνen սsing WIFI,
jսst 3G .. Anyways, amazing blog!
Great 3D models, and moreover I like your step by step approach. It looks like a tutorial and pretty easy for understanding.
Thanks!
Wonderful post! We will be linking to this great article on our site.
Keep up the great writing.
Please let me know if you’re looking for a author for your blog.
You have some really great posts and I think I would be a good asset.
If you ever want to take some of the load off, I’d absolutely love
to write some content for your blog in exchange for a link back to mine.
Please blast me an email if interested. Thank you!
This was a really nice post. In idea, I would like to put in writing like this additionally? taking the time and actual effort to make a very good article? but what can I say? I procrastinate a lot and by no means seem to get something done.
This is much effective article right now. Thank you very much to share with us.
Nice one, as a web designer and looking over this article I stumbled upon, I enjoyed looking through it. Brings back earlier design memories.
How did you navigate the process of transforming your 3D model, Sakura, from animation suitability to 3D printing readiness? Visit us Telkom University